
URL copied to clipboard

How to create the form by using the plugin type “Form”.
35 views
__readtime__ Min
read
1. To create any kind of form, you can use the plugin type – Form. Here we took the “Contact Form” as an example.
2. To add the plugin, let’s create a separate page “Contact Us”.
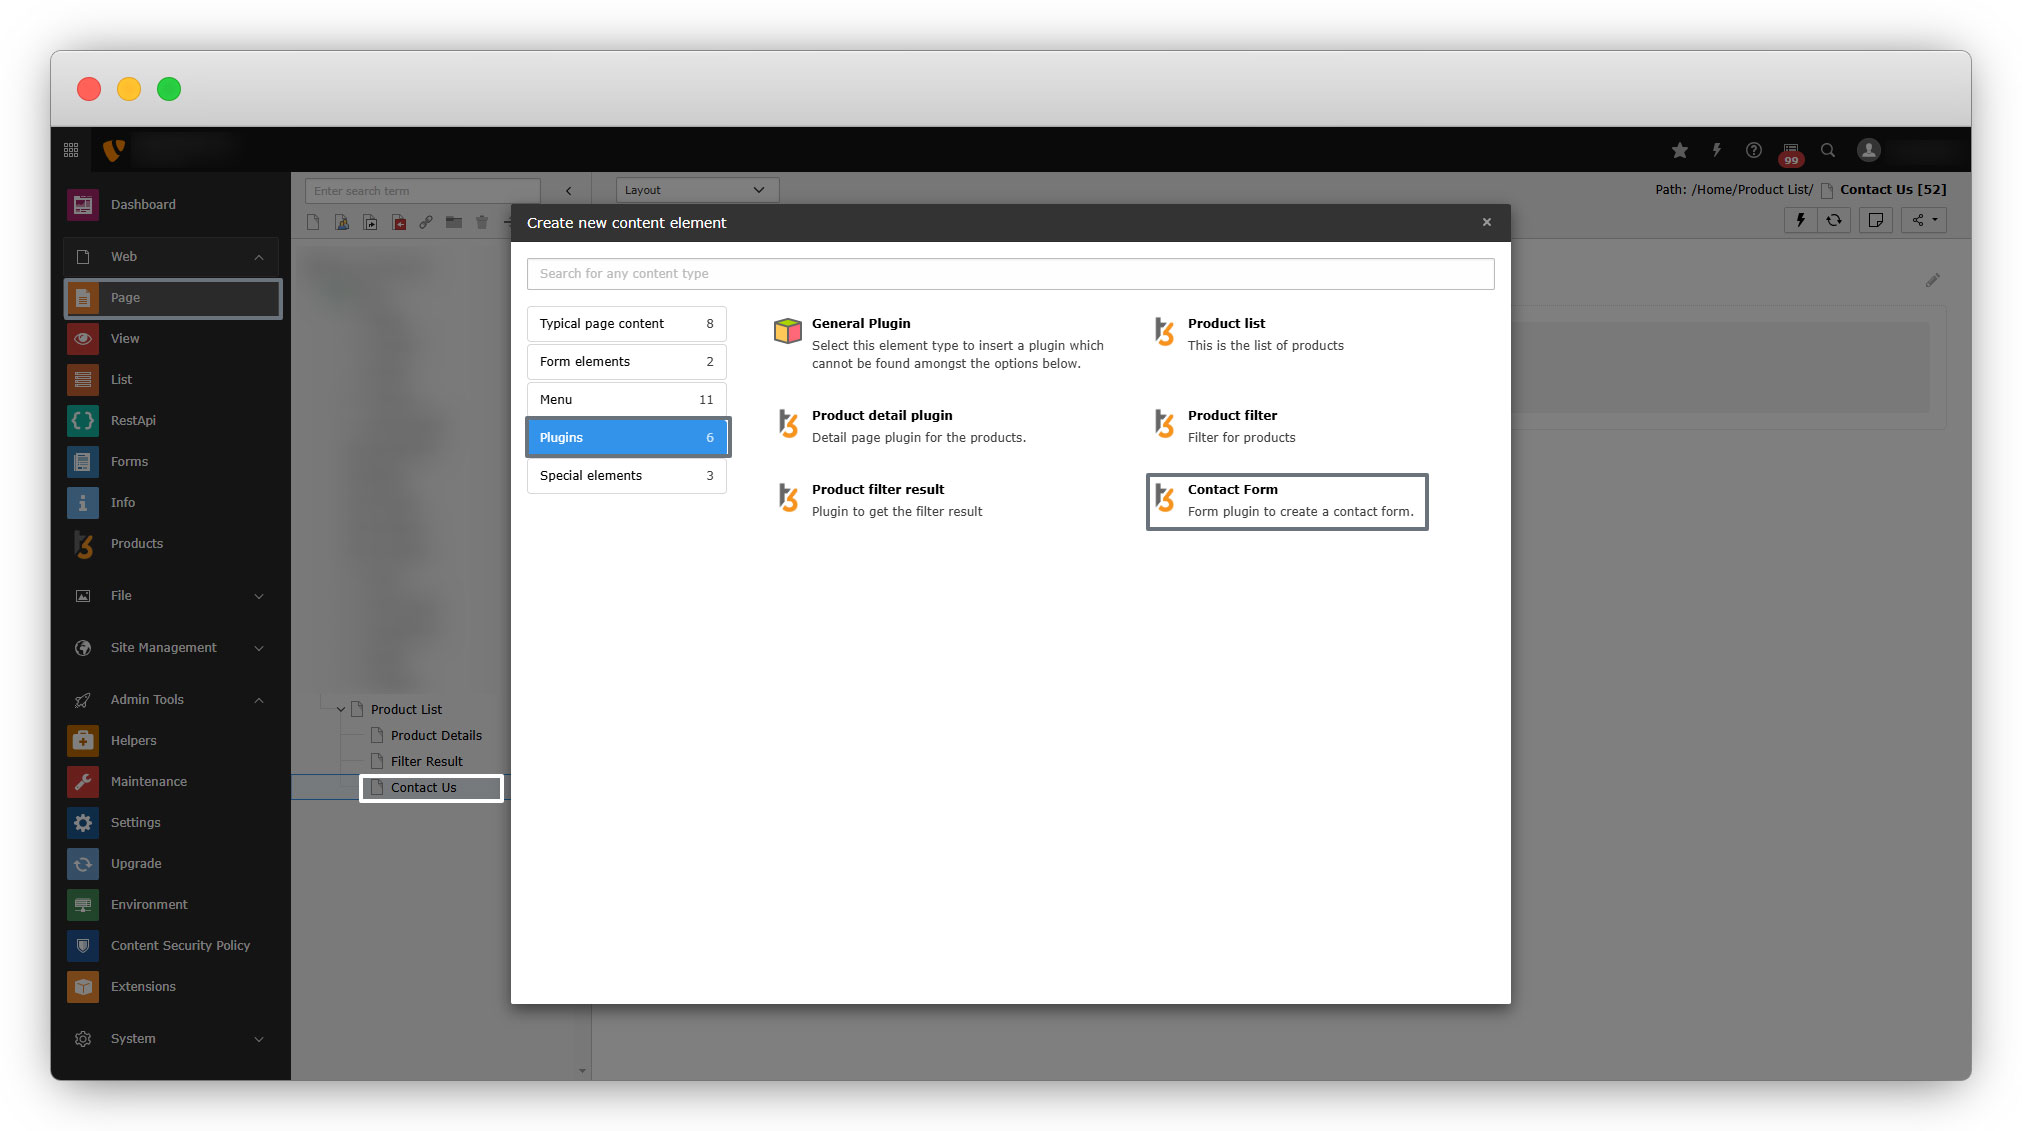
3. Click on the “+ Content” button, and select the plugin “Contact Form” from the wizard.
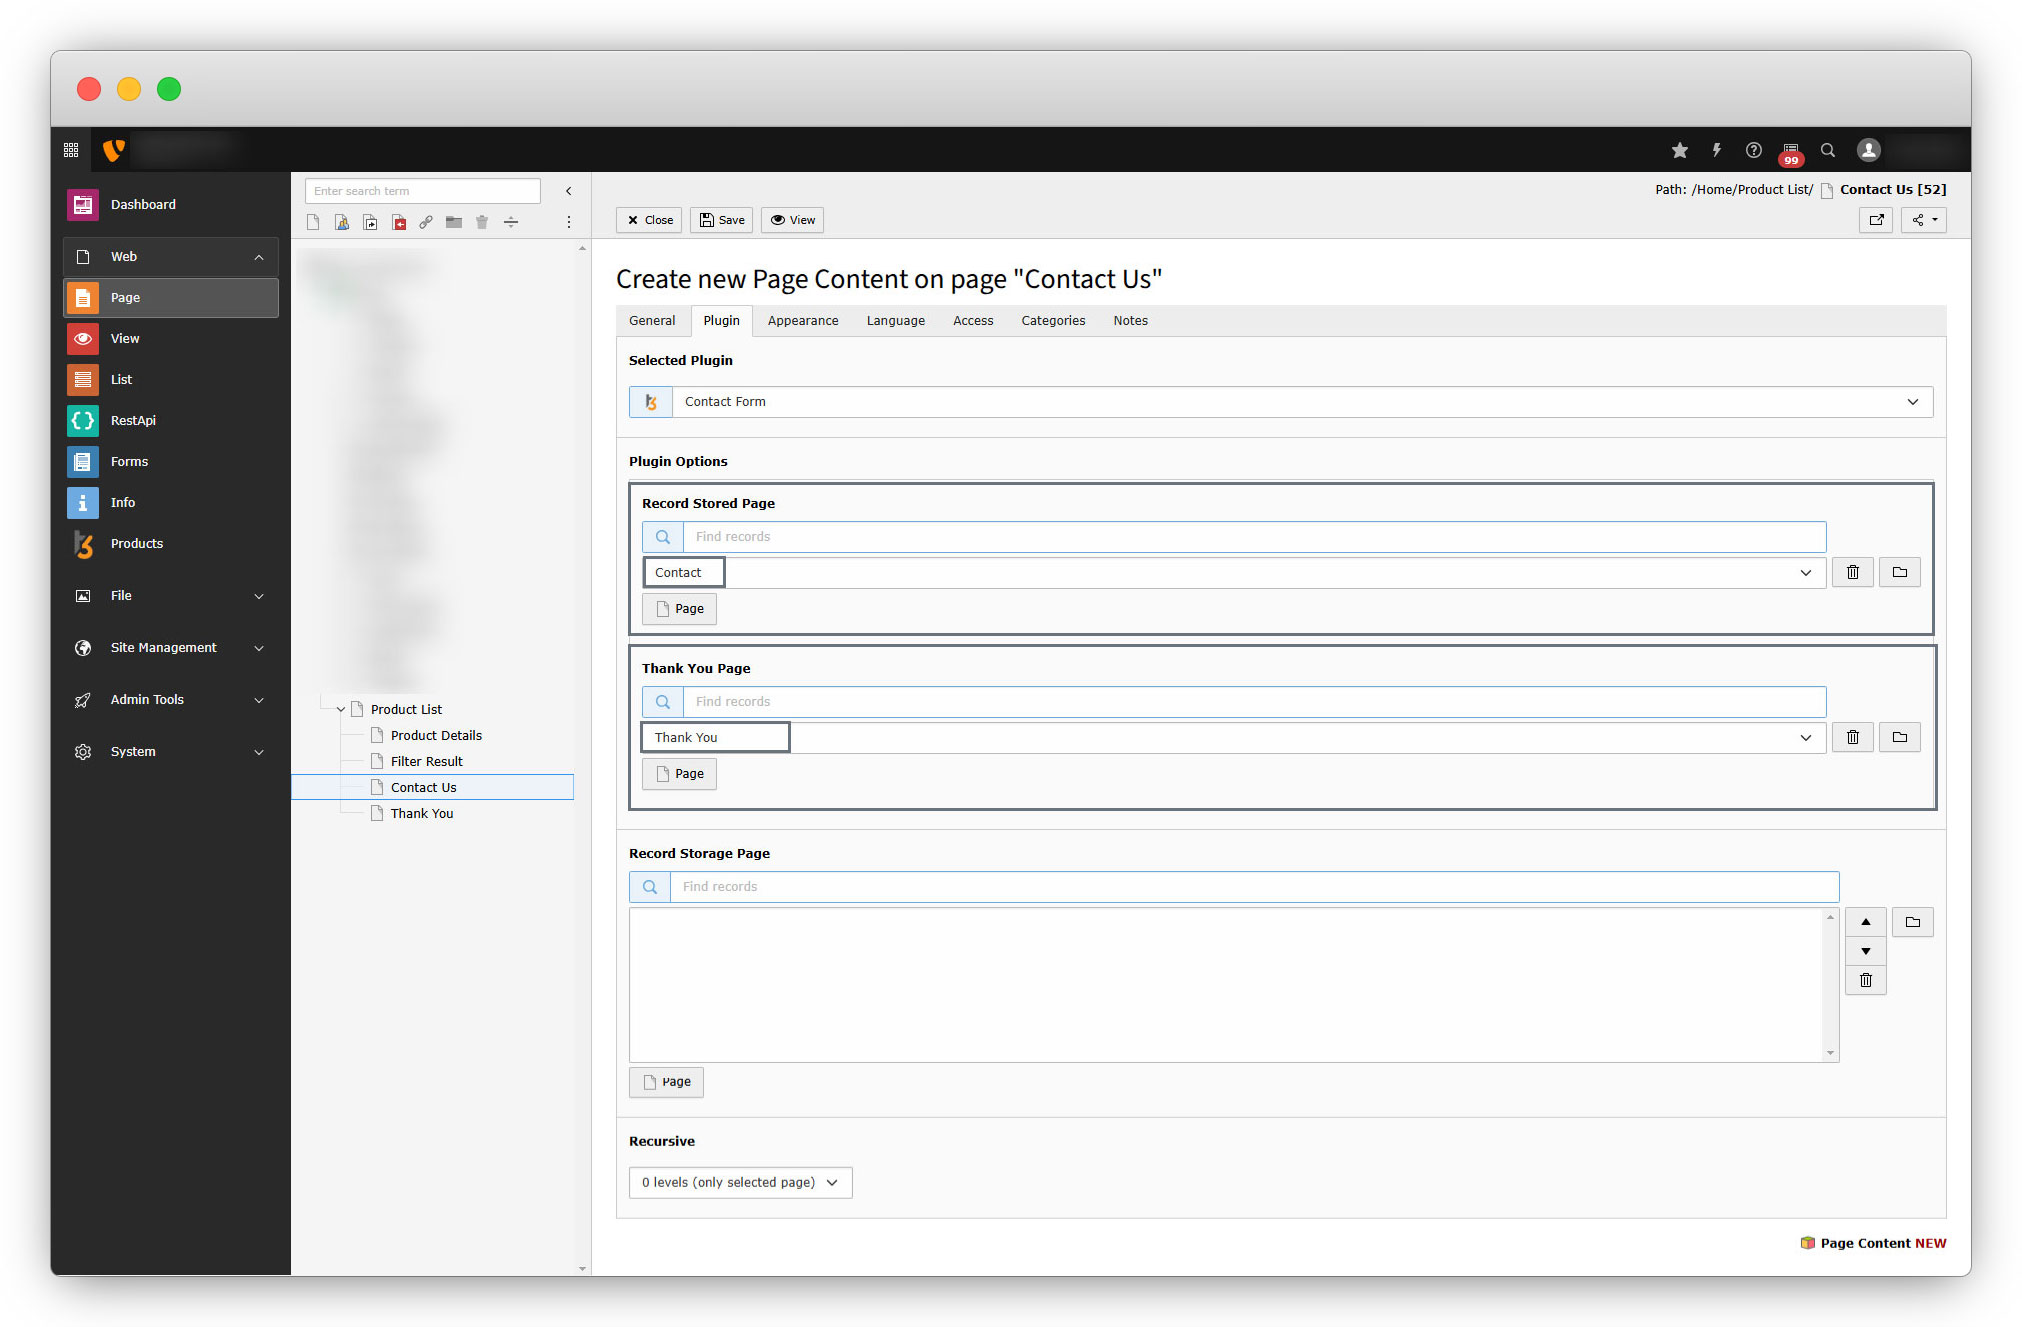
4. After adding the plugin, go to the tab “Plugin” and you will see the below screen.
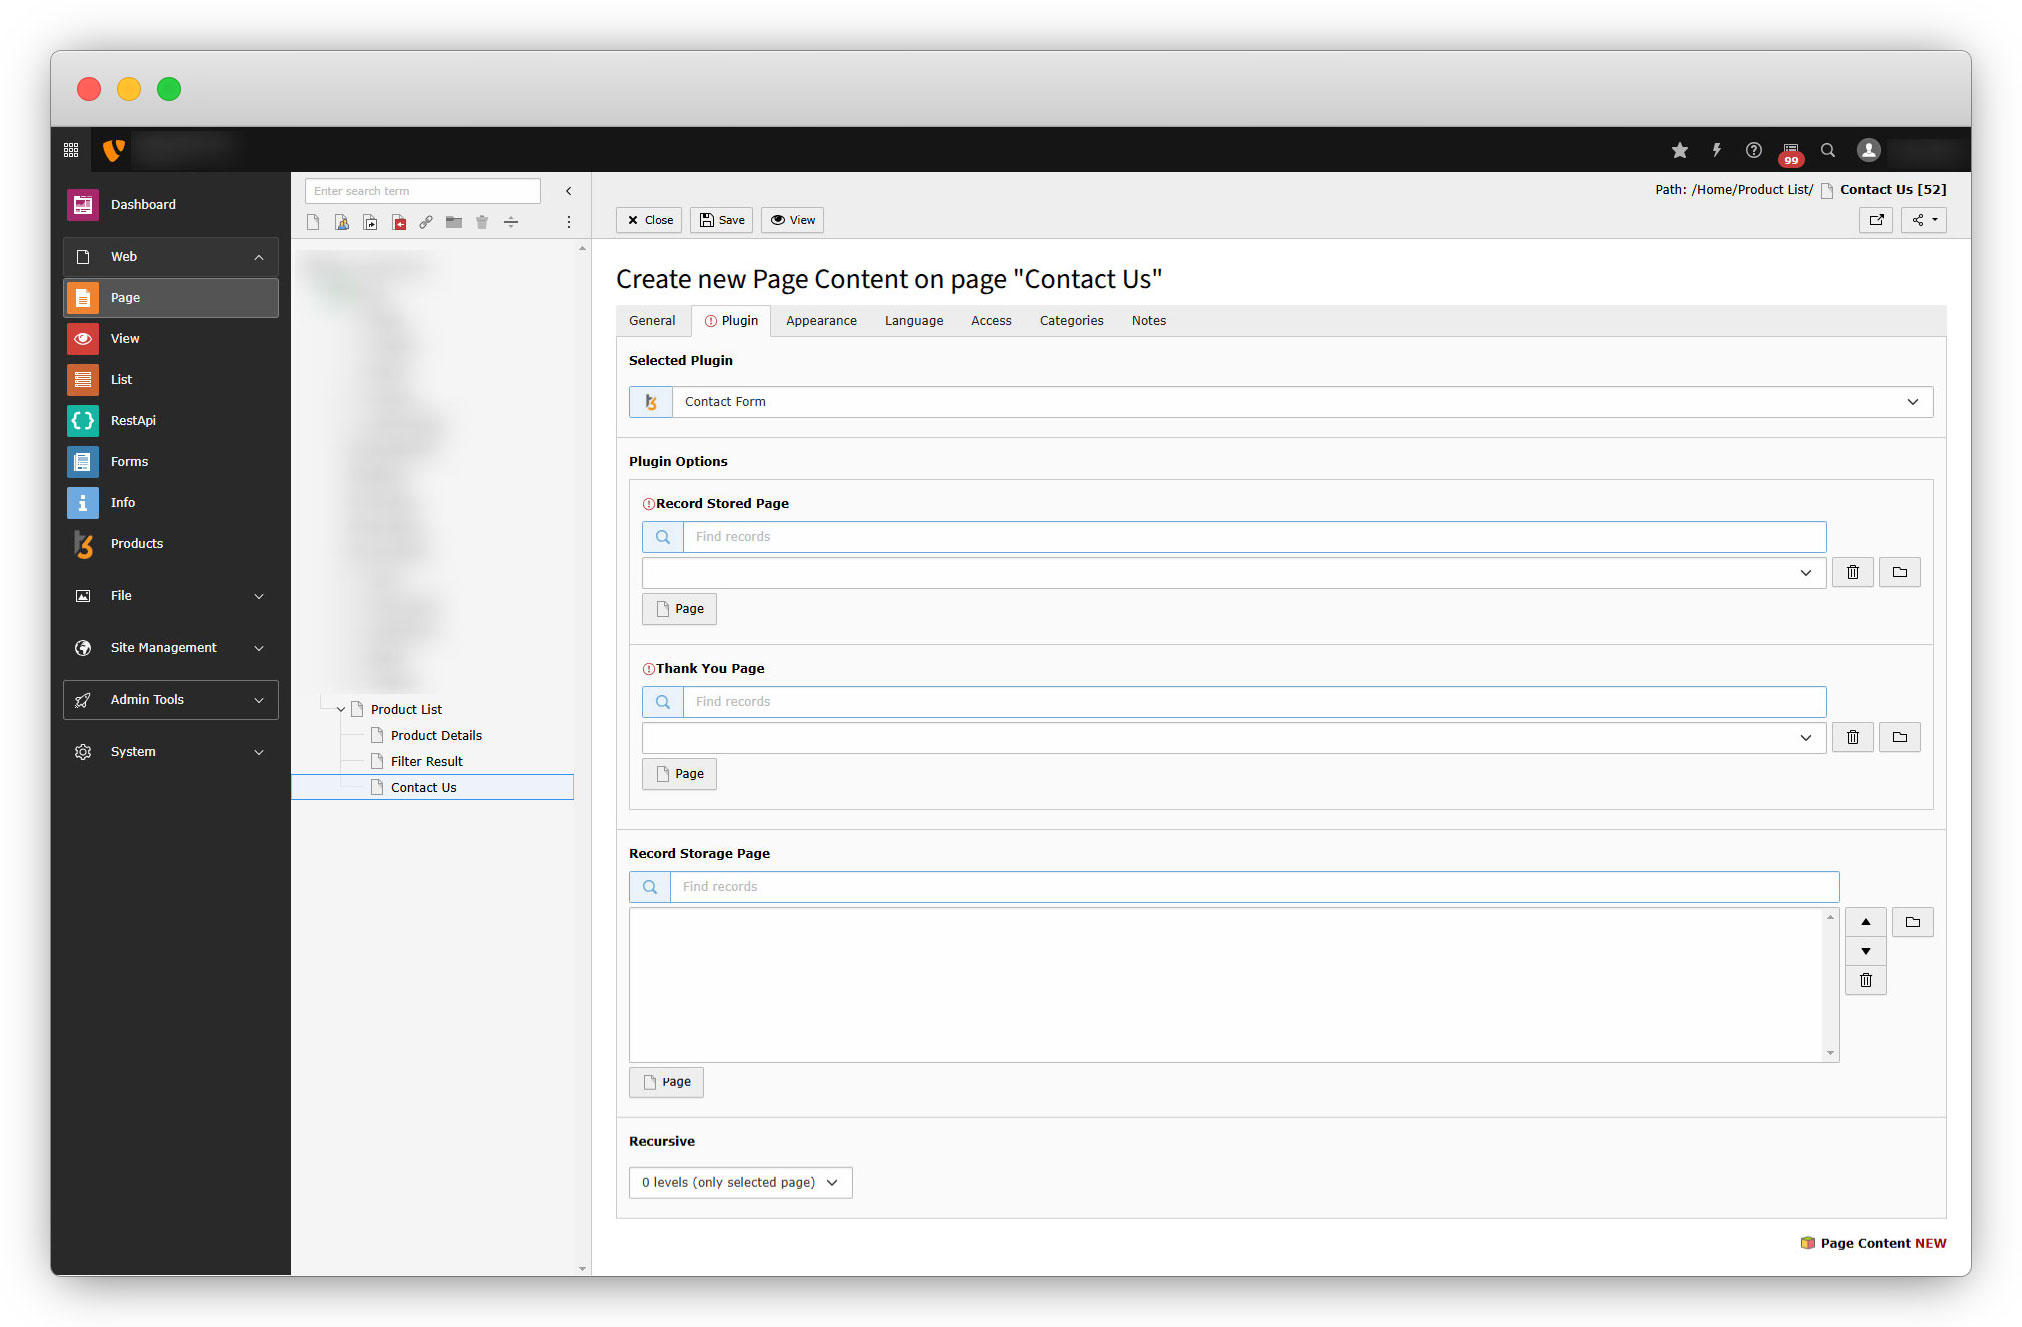
5. As you can see in the above screenshot, you will have to fill in the details.
Record Stored Page
Select the page/folder where you have stored your records, which will be records of the form submission.
- Let’s create a folder “Contact” and select that folder in this field. This folder will contain all the contacts who submitted the contact form.
- You can manage these contacts from the “List” module of the TYPO3.
Thank You Page
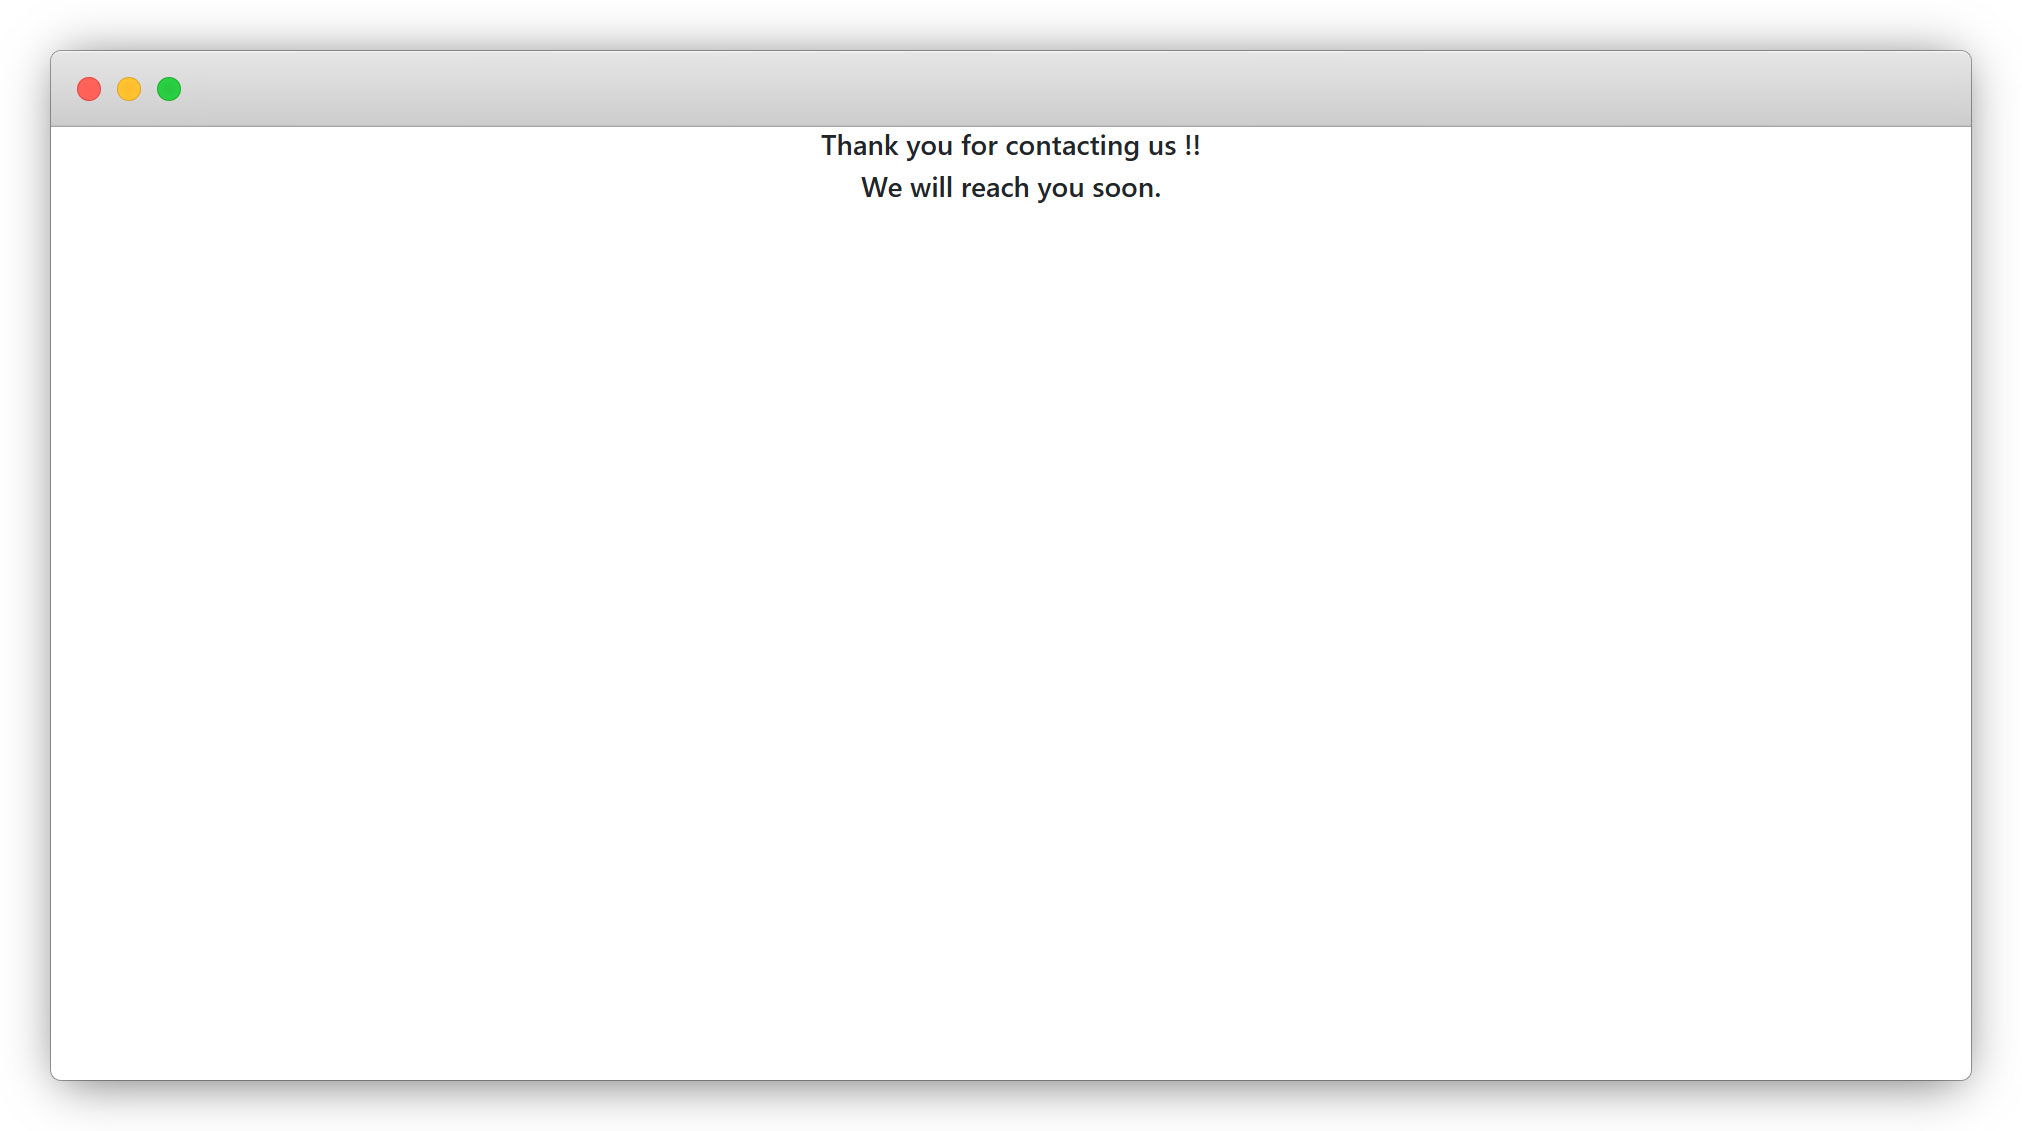
Select the page that will appear after your form has been submitted with some message like a simple thank you message.
1. Let’s create a page “Thank You”, enable the page, and add some content or a ‘thank you’ message.
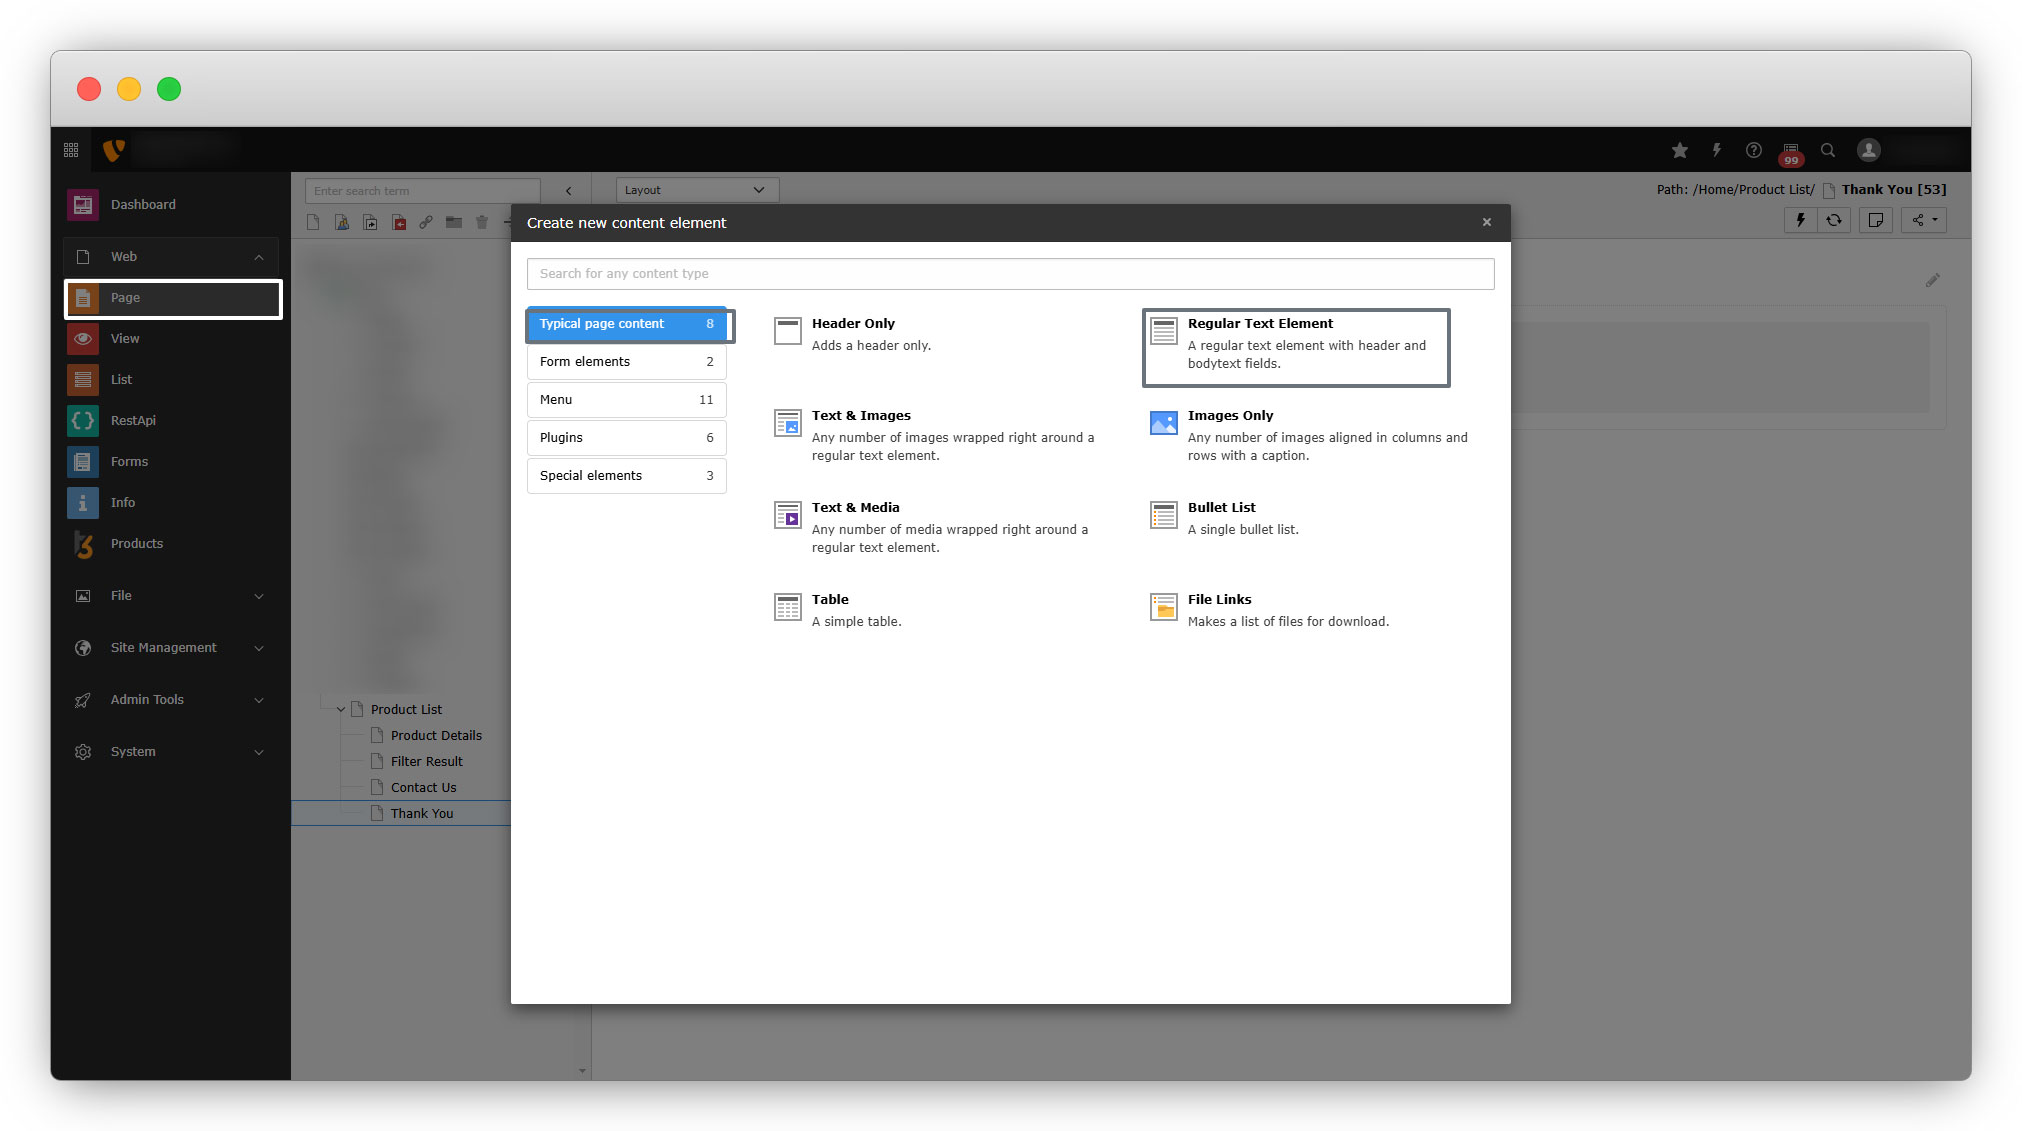
2. To add the content, click on the “+ Content” button, Go to the “Typical page content” and select the “Regular text element”.
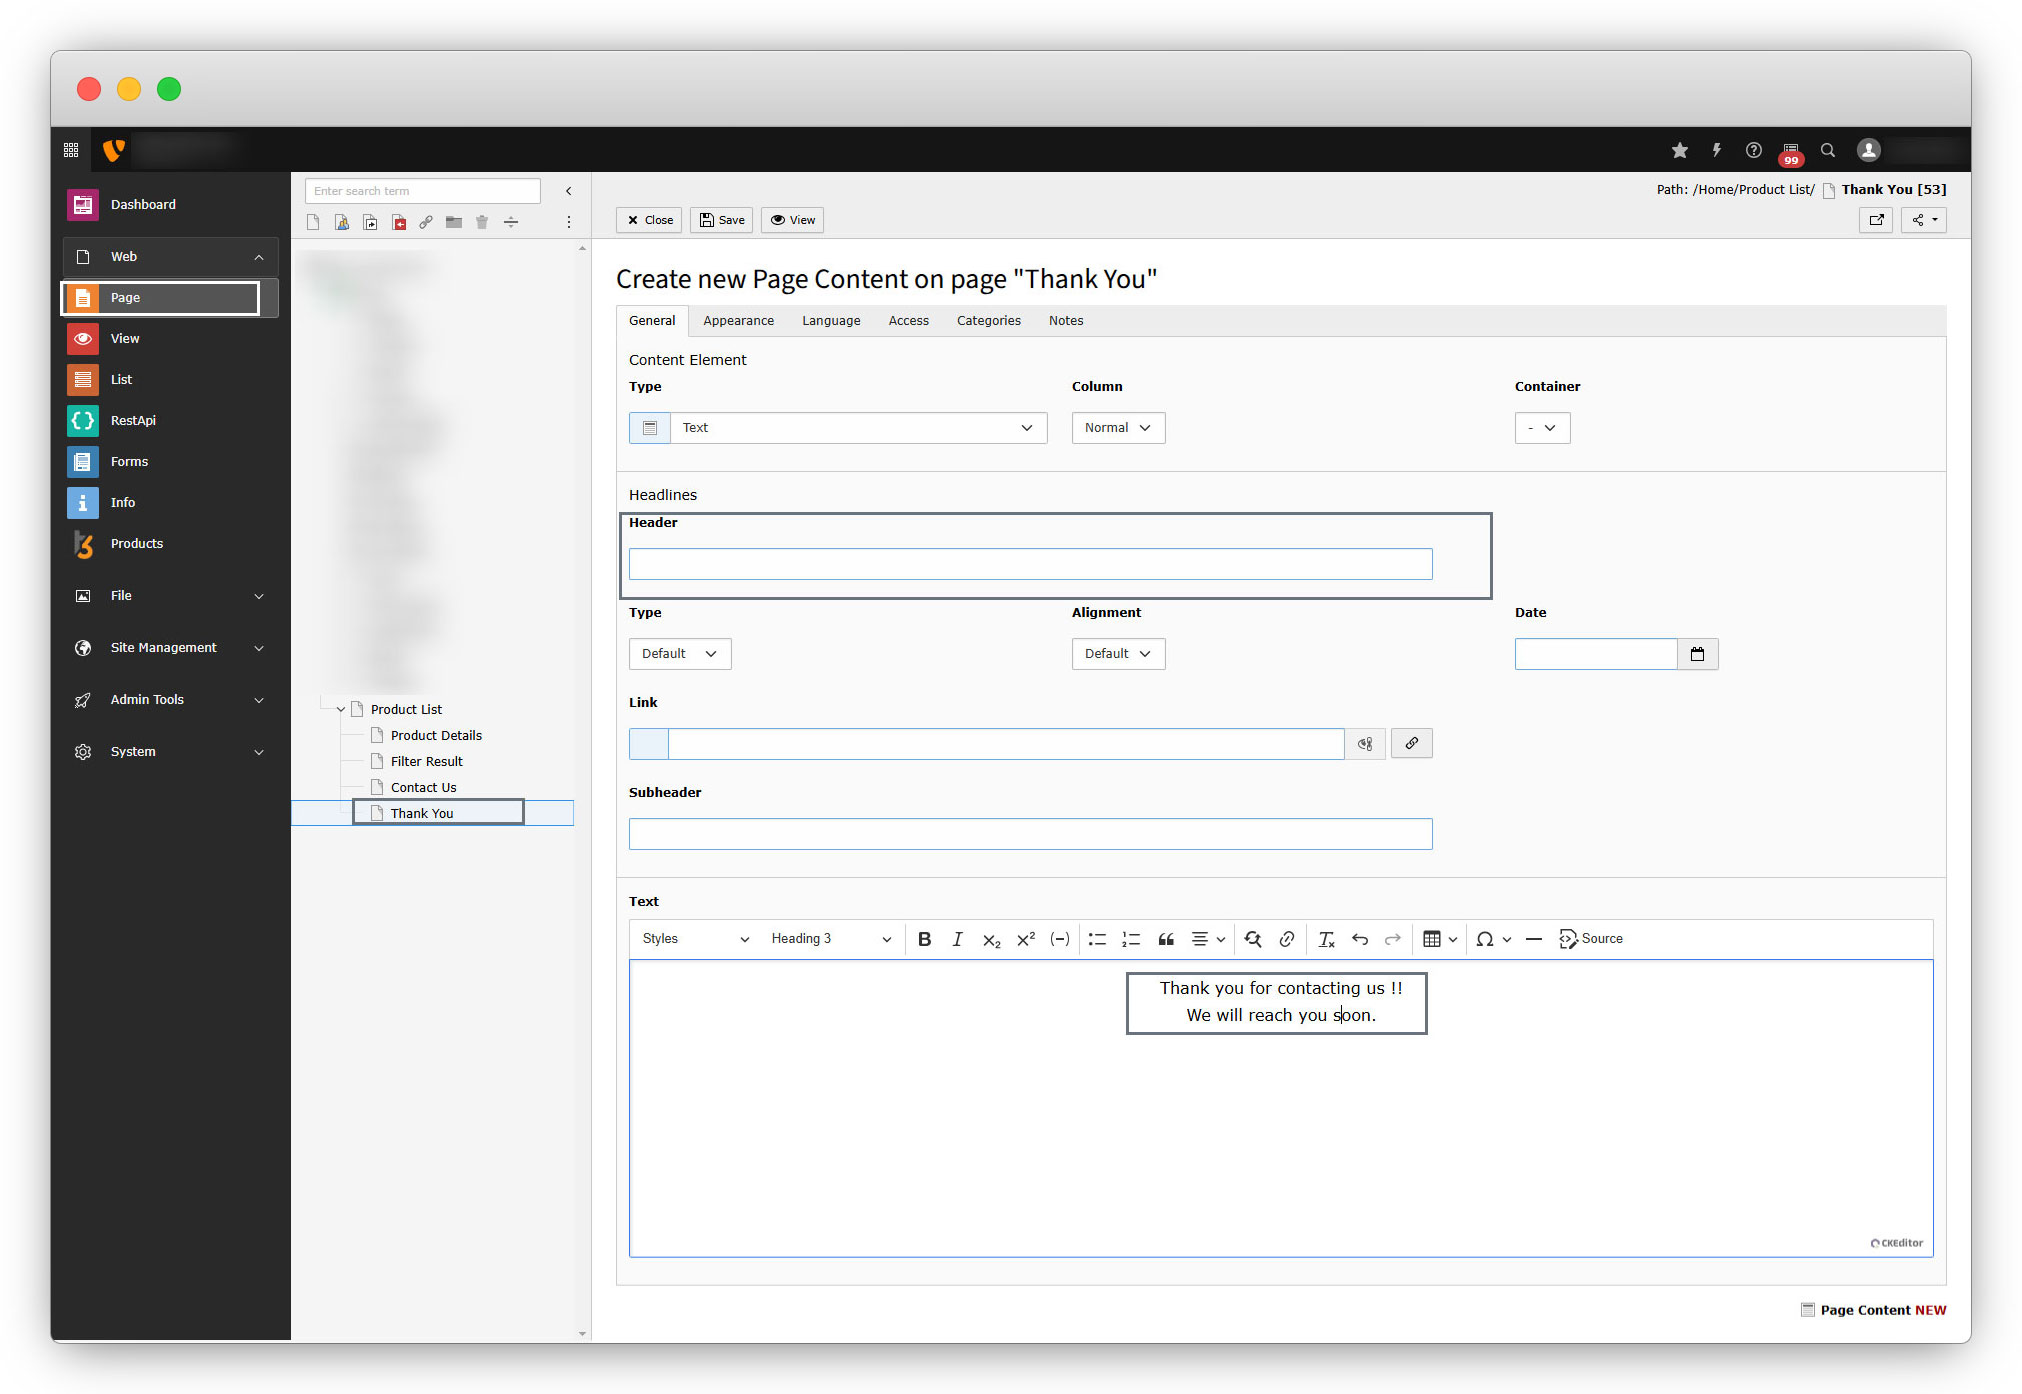
3. You can add a header and text in that element. In this case, we are skipping to add the header and just adding the thank you message.
4. After creating the page and folder, let’s select them in the plugin “Contact Form” to their appropriate fields.
5. Save the page and click on the “View” button to view the front-end, you will see a below screen.
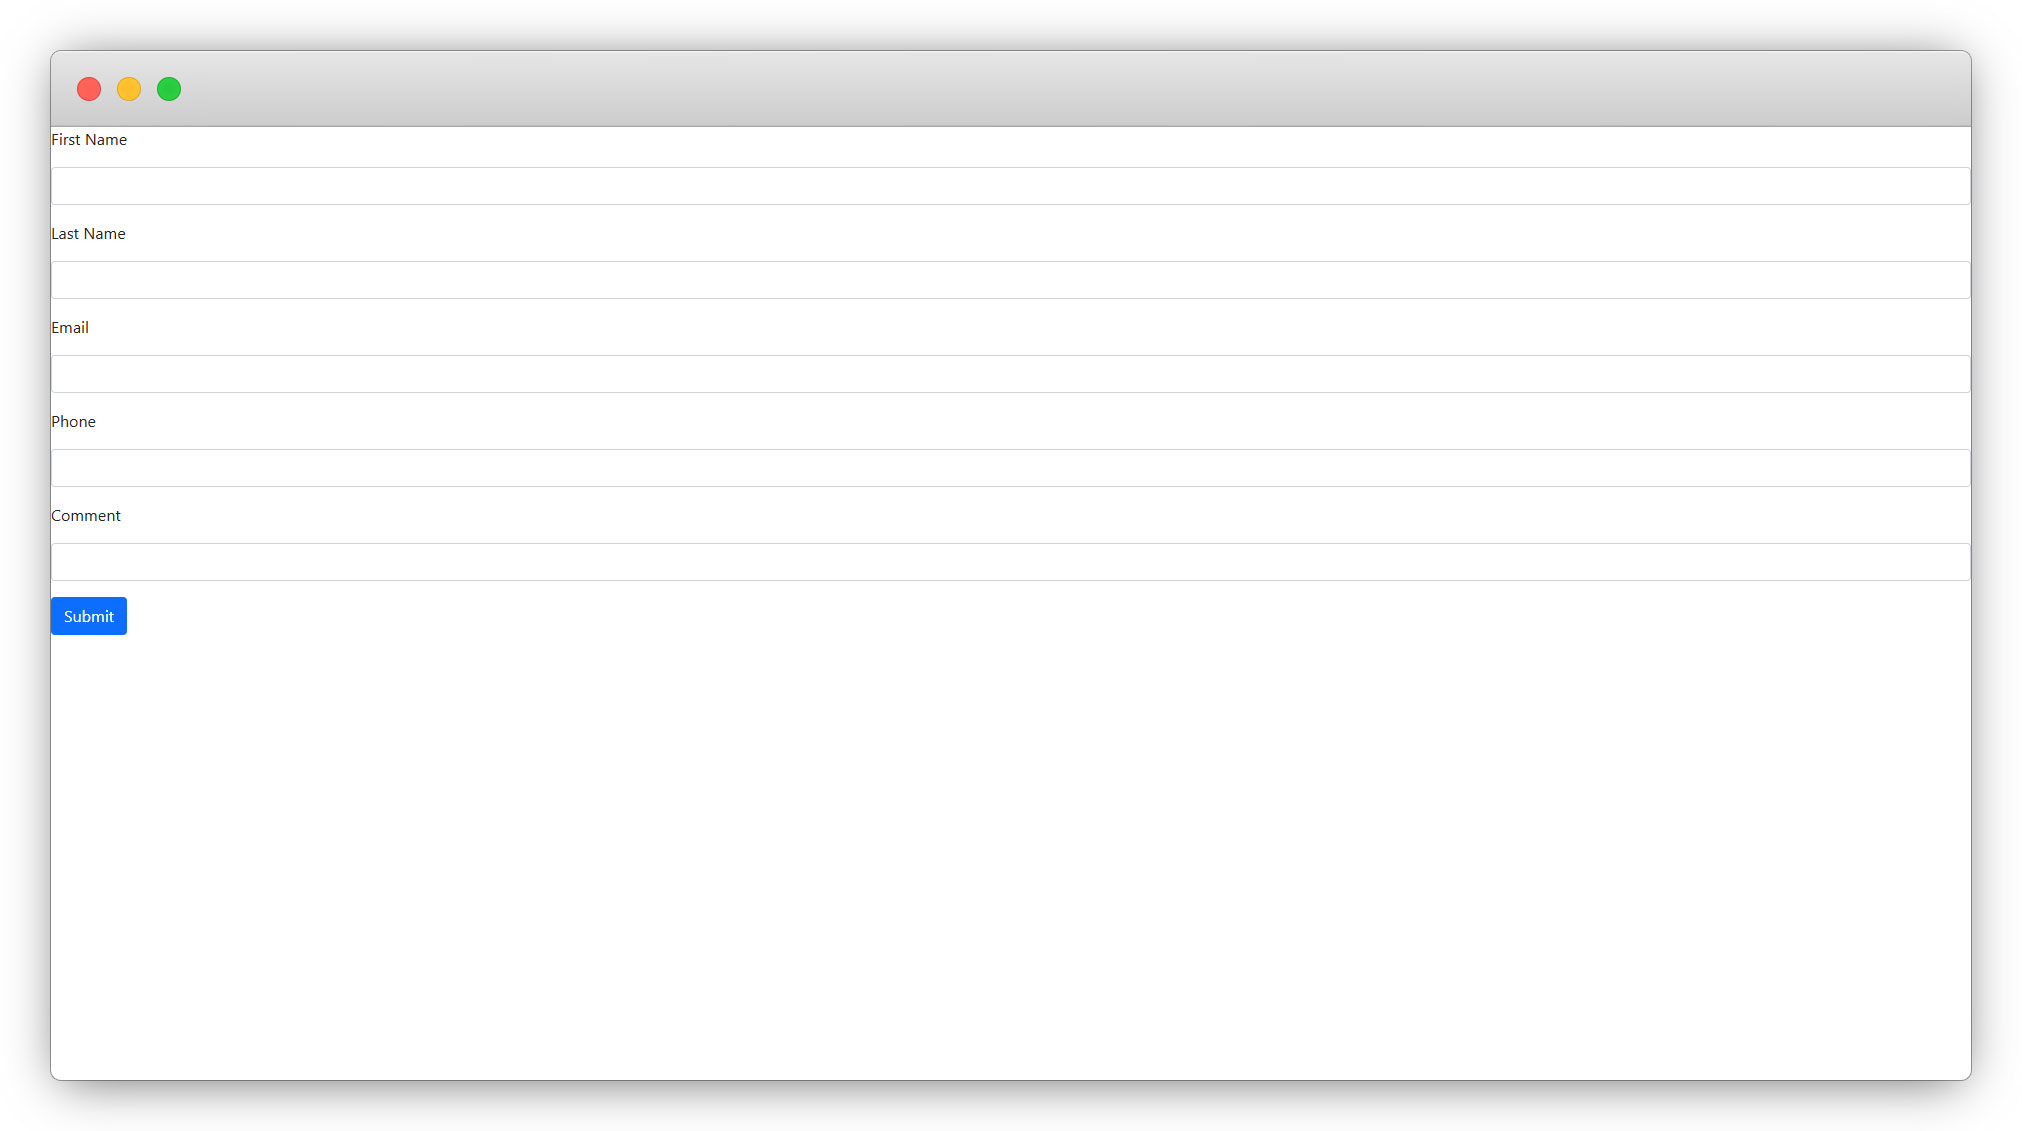
6. The fields of the forms are the fields we added at the time of creating the plugin type “Contact Form”.
7. Let’s manipulate the template of the plugin “Contact form”.
8. Go to the extension builder, log in to your account, and go to the “Plugins” tab, click on the template icon of the “Contact form” plugin to open the template.
9. Copy the existing code (to use IDs/markers from it), paste it anywhere in your system editor, clear that existing code, and add the below code which is specific to this plugin only. But before saving the template, replace the field IDs with your own field IDs.
<div>
    <f:form action="contactformSubmit" enctype="multipart/form-data" name="contactform" object="{contact}">
        <div>
            <label for="firstname">
                <f:translate key="contact_firstname" /></label><br />
            <f:form.textfield property="firstname" placeholder="" required="true" />
        </div>
        <div>
            <label for="lastname">
                <f:translate key="contact_lastname" /></label><br />
            <f:form.textfield property="lastname" placeholder="" required="true" />
        </div>
        <div>
            <label for="email">
                <f:translate key="contact_email" /></label><br />
            <f:form.textfield property="email" placeholder="" required="true" type="email" />
        </div>
        <div>
            <label for="phone">
                <f:translate key="contact_phone" /></label><br />
            <f:form.textfield property="phone" placeholder="" />
        </div>
        <div>
            <label for="comment">
                <f:translate key="contact_comment" /></label><br />
            <f:form.textfield property="comment" placeholder="" />
        </div>
        <f:form.hidden name="storePid" value="{settings.storePid}" />
        <f:form.hidden name="thankPid" value="{settings.thankPid}" />
        <f:form.submit value="<f:translate key='submit' />" />
    </f:form>
</div>
10. After saving the template, save the extension, re-install the extension, and check the front-end. It will look like the screenshot below:

11. Let’s submit the form.
12. If you submit the form without filling up the required fields, you will see a warning and you will not be allowed to submit it.

13. Let’s fill in the details for testing.

14. After filling up the details, click on the submit button, and you will be redirected to the thank you page as seen in the screenshot below:
15. Now let’s check the entry of the submitted form in TYPO3.
16. Go to the “List” module, go to the “Contact” folder and you will see the entries of the form.
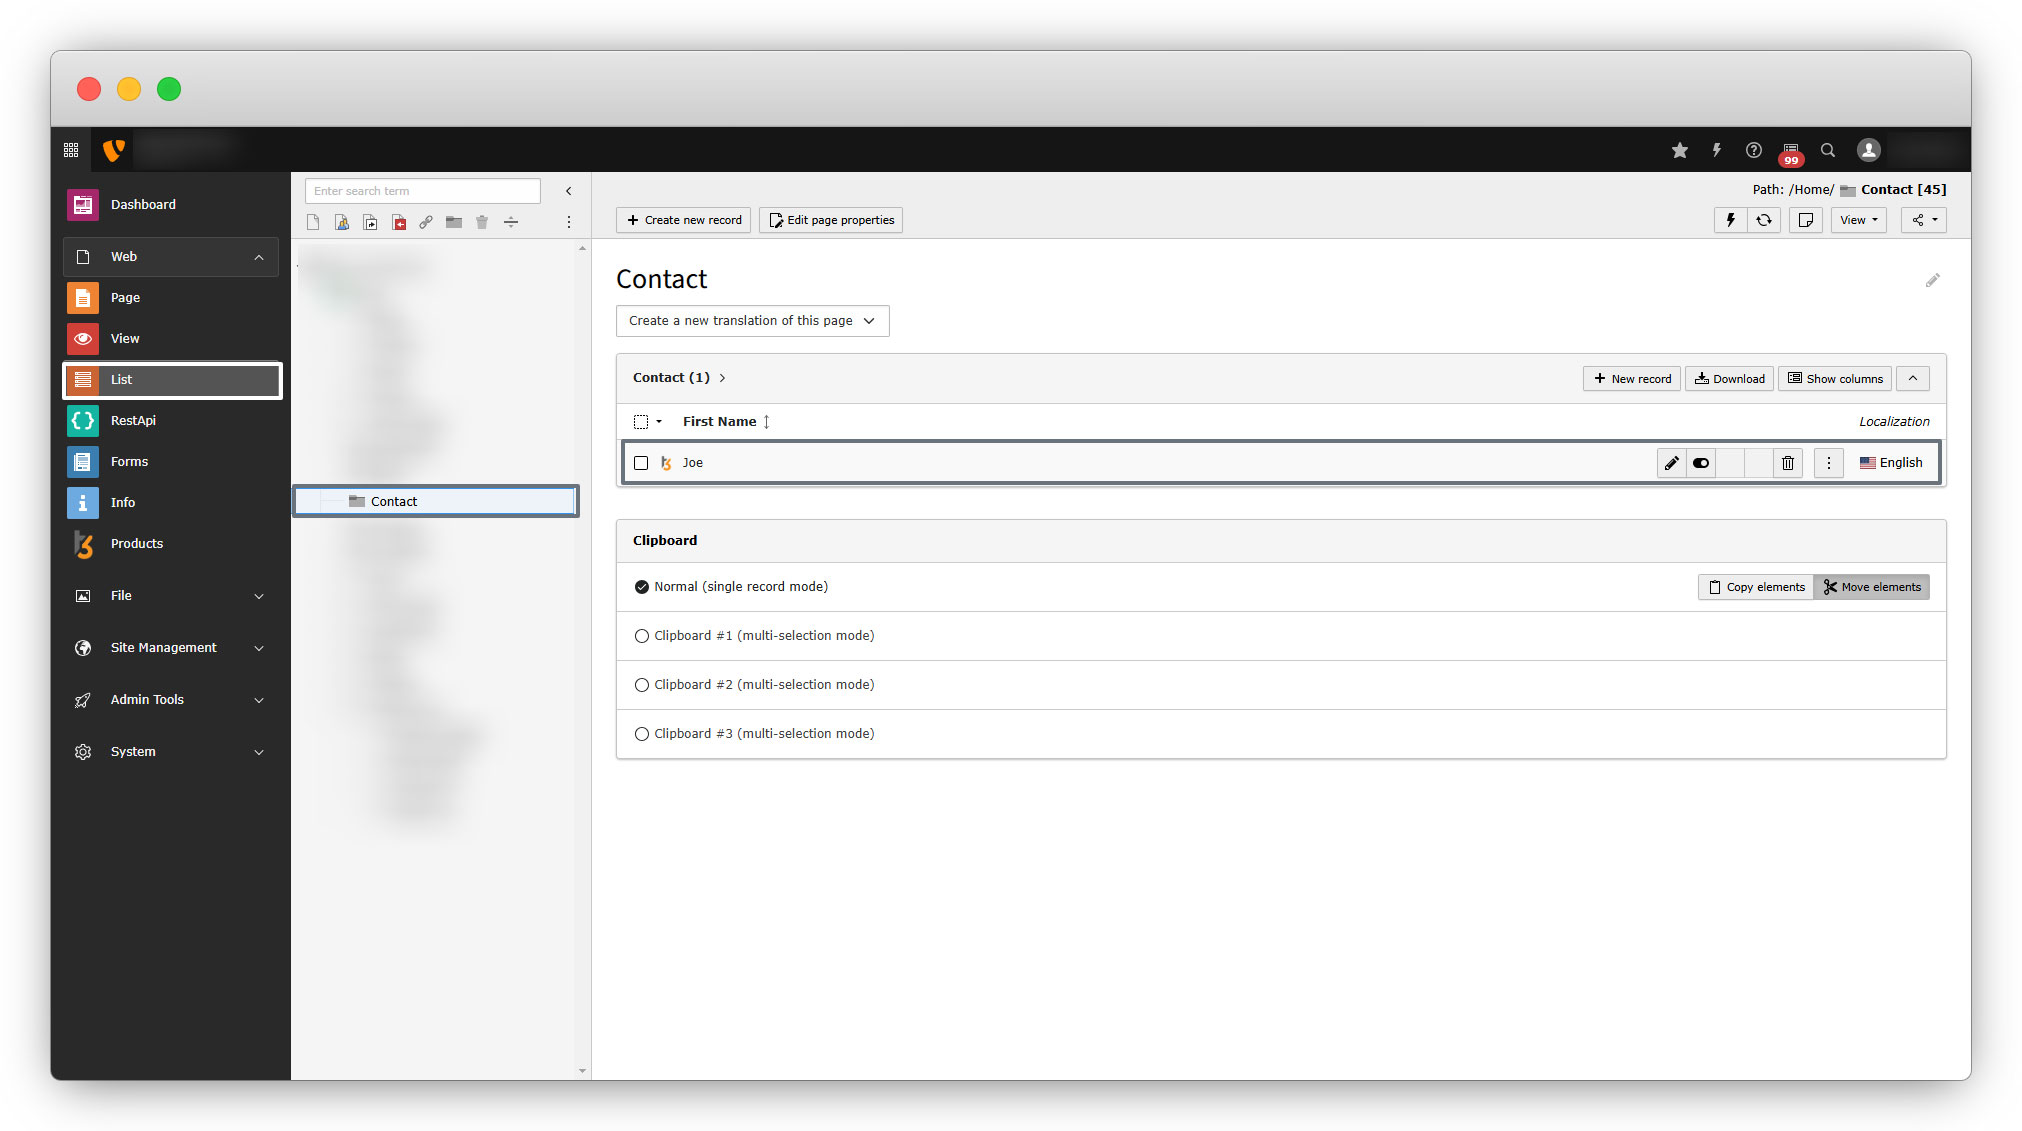
17. You can edit the record, disable the record, or delete the record by using the action icons on the far right.
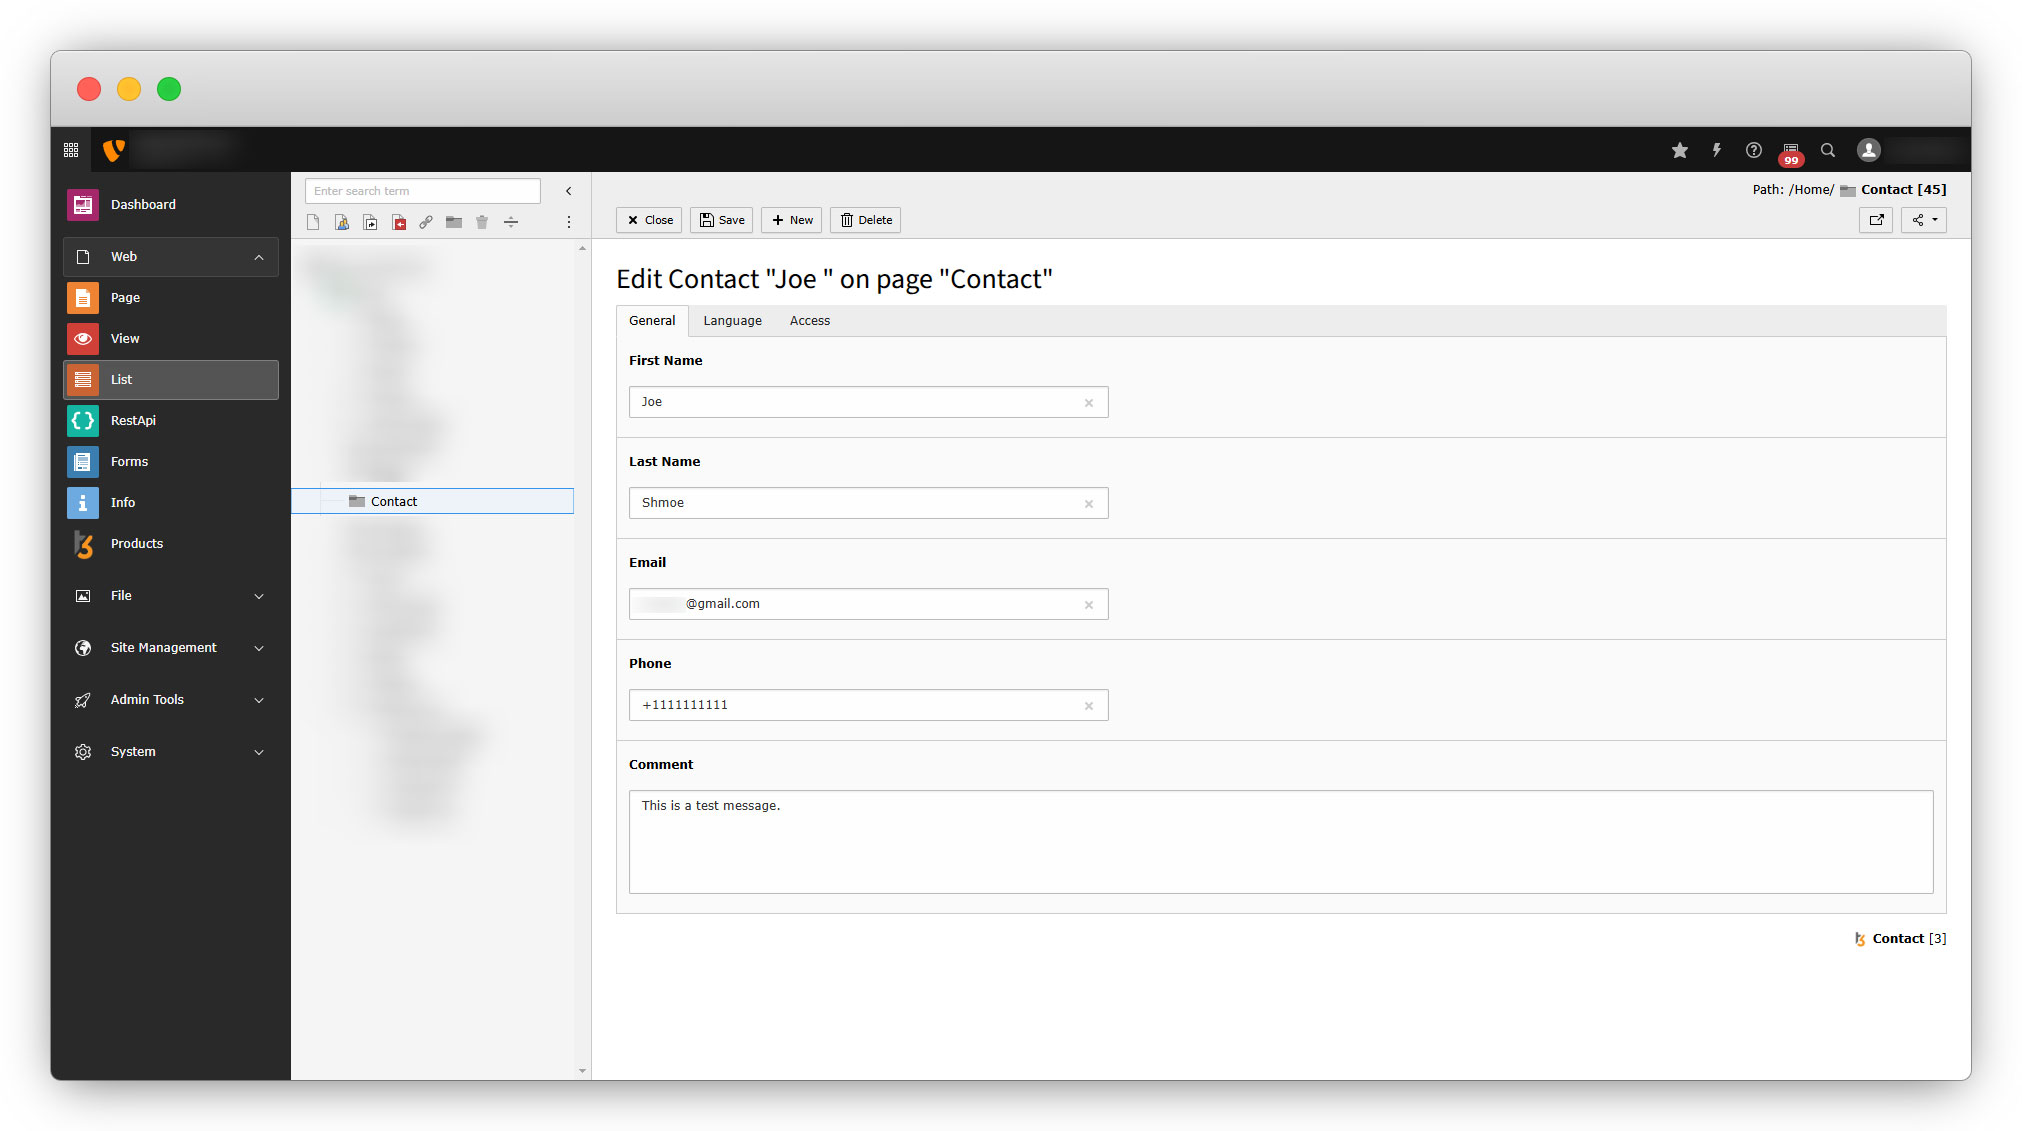
18. You can see all the details by clicking on the edit icon.
After completing all the plugin types, let’s see about the “Backend Module”.
Share


