
URL copied to clipboard

Next.js Package Installation
11 views
__readtime__ Min
read
Install Next.js
1. Add provided Next.js (headless) folder in the domain’s root directory.
2. Login with SSH access into git Bash or puTTY or any other server CLI.
3. Install yarn if it is not already installed in server.
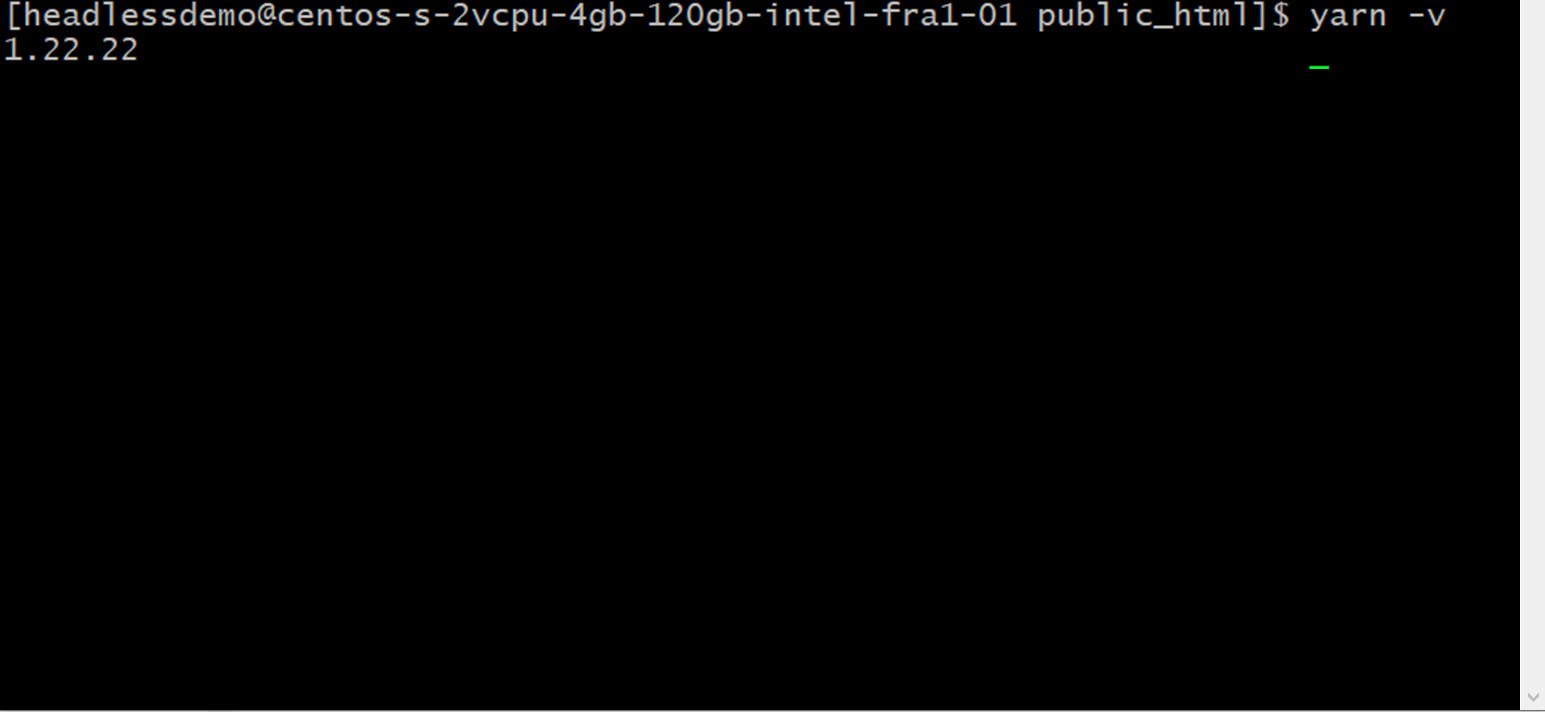
3.1 You can check if the yarn is already installed in your server or not by this command:
yarn –v
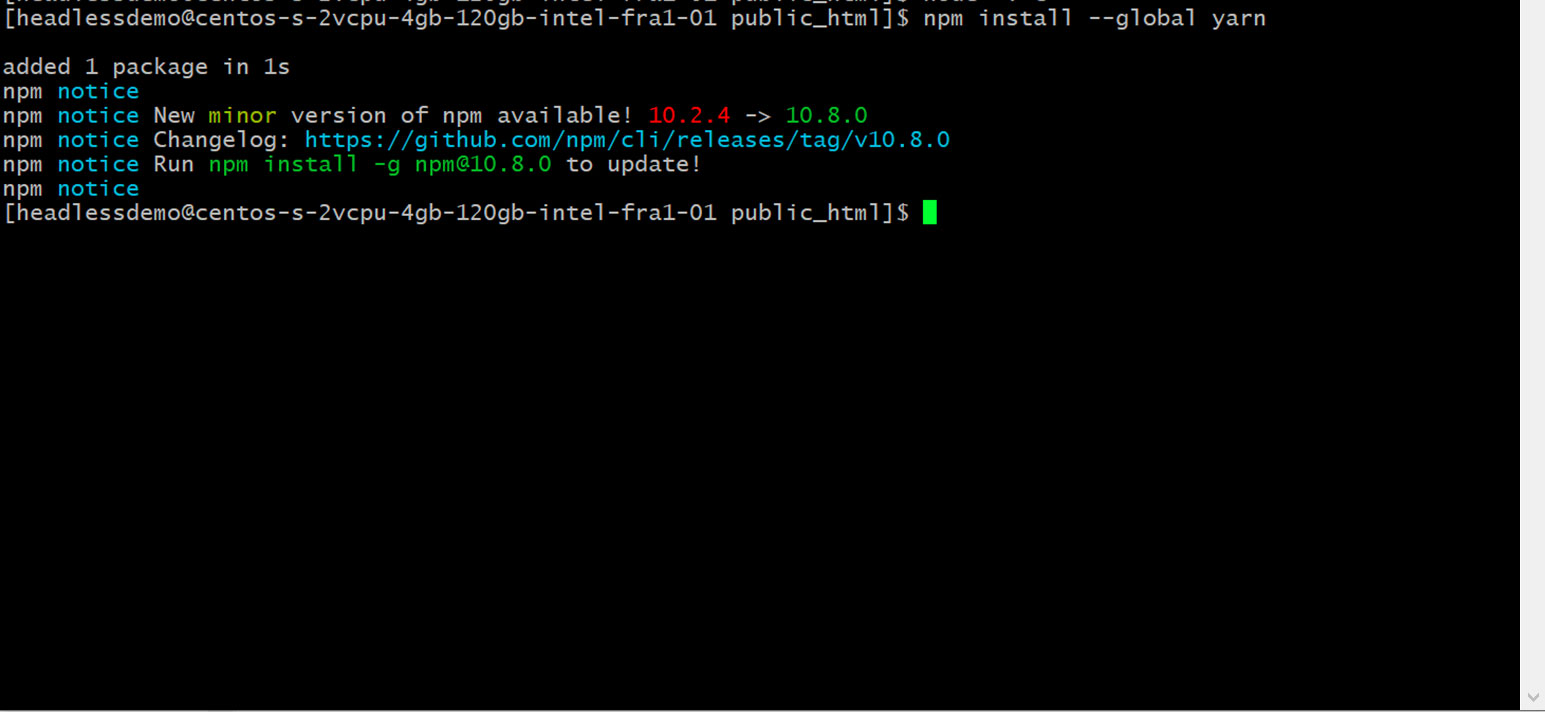
3.2 If yarn is not installed in your server, you can install yarn with this command: npm install –global yarn and you will get the output like this.
3.3. After yarn installation, we can install the package using this command: yarn install
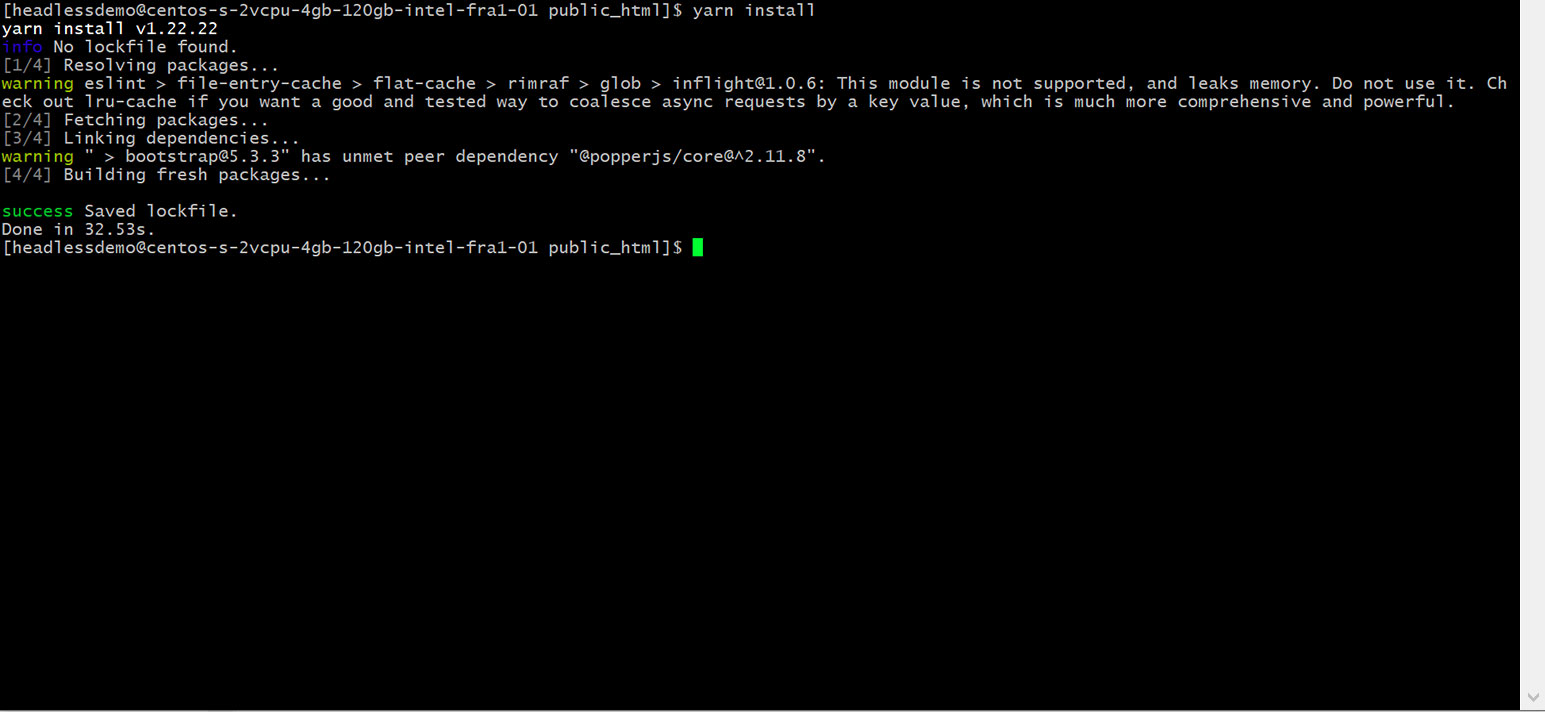
If you couldn’t install yarn for any reason, then you can do package installation with this command: npm install –force
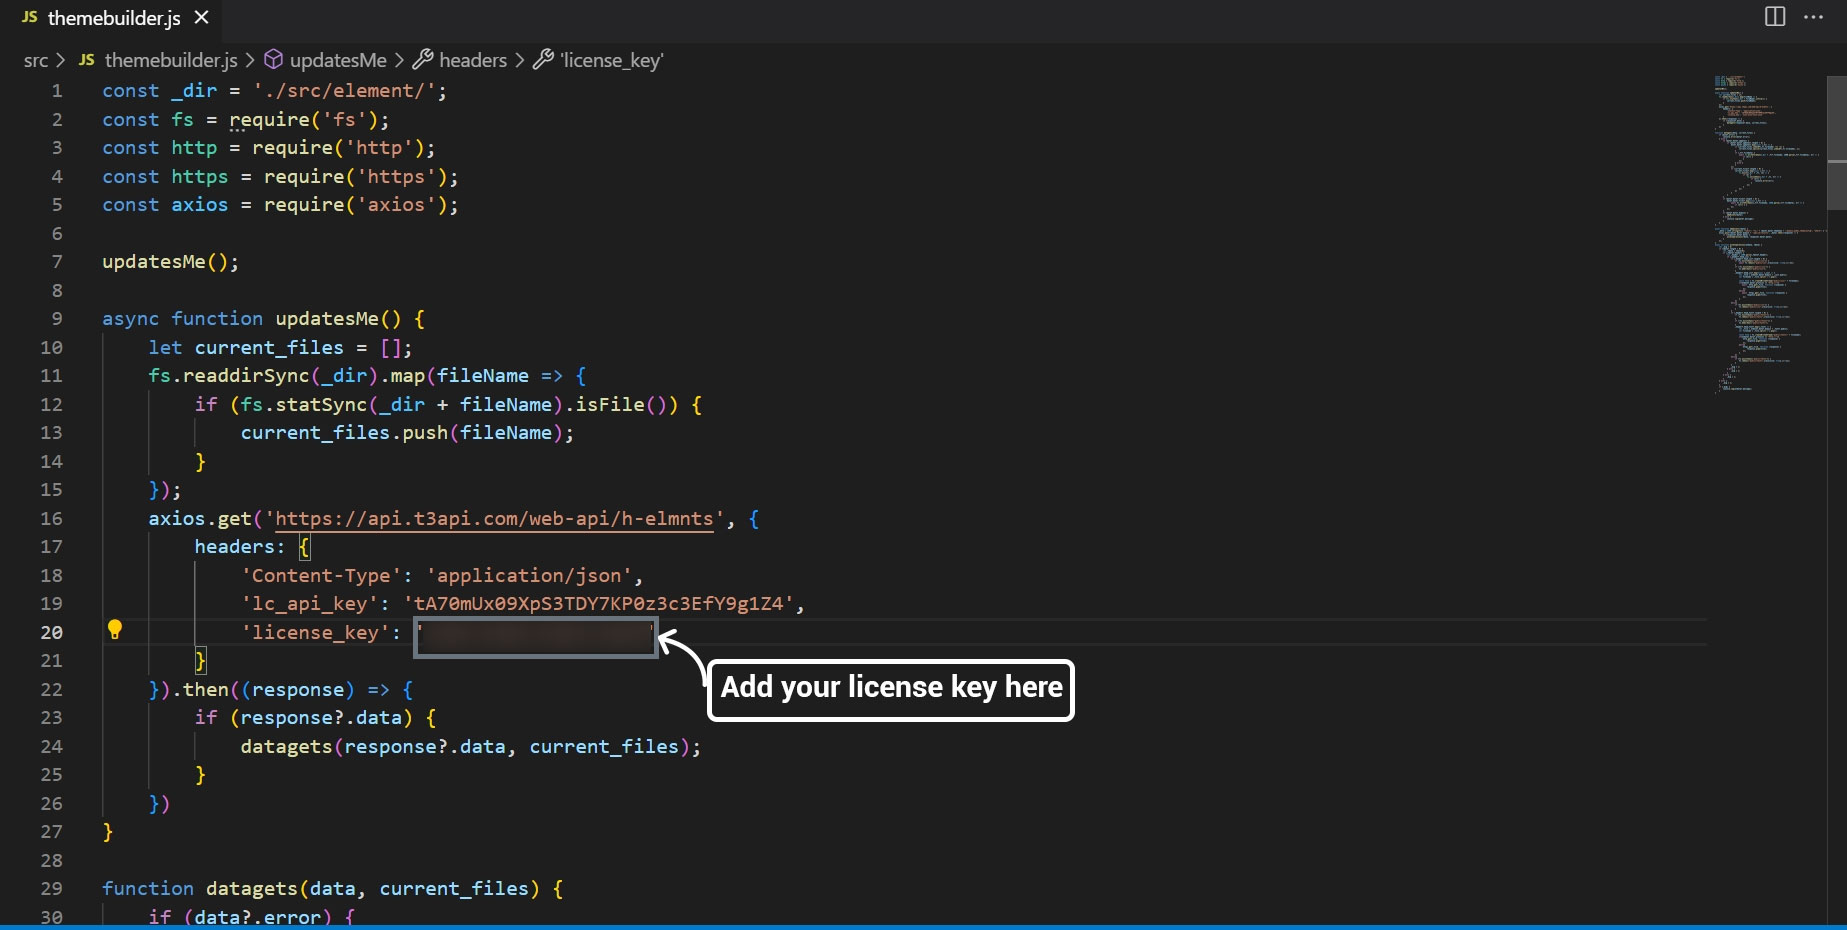
3.4 License key Configurations
3.4.1 Please open the file themebuilder.js from the provided folder. The file is located in the src folder: srcthemebuilder.js and add your license key. Please check “t3headless Activation” to see how to get the license key.
3.5. Sync Theme configurations in a headless package
3.5.1 Once you set the license key, running the below command is a must, otherwise your setup will not work anyway.
Command: node src/themebuilder.js
3.5.2. Now your theme-wise headless package is ready to serve. You can serve by the below command.
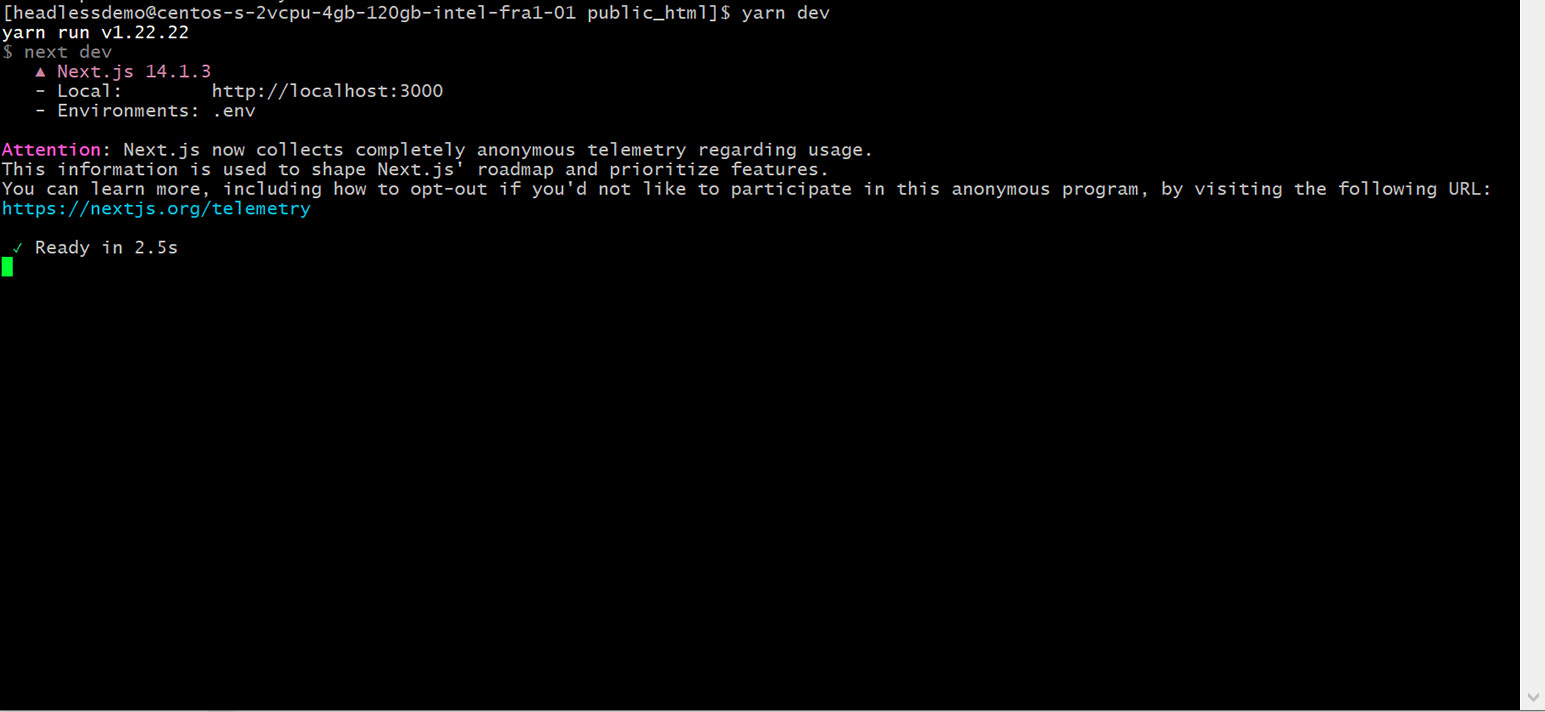
3.5.2.1 Development mode of site executed by the command: yarn dev
3.5.2.2. Production mode of site executed by the command: yarn build && yarn start
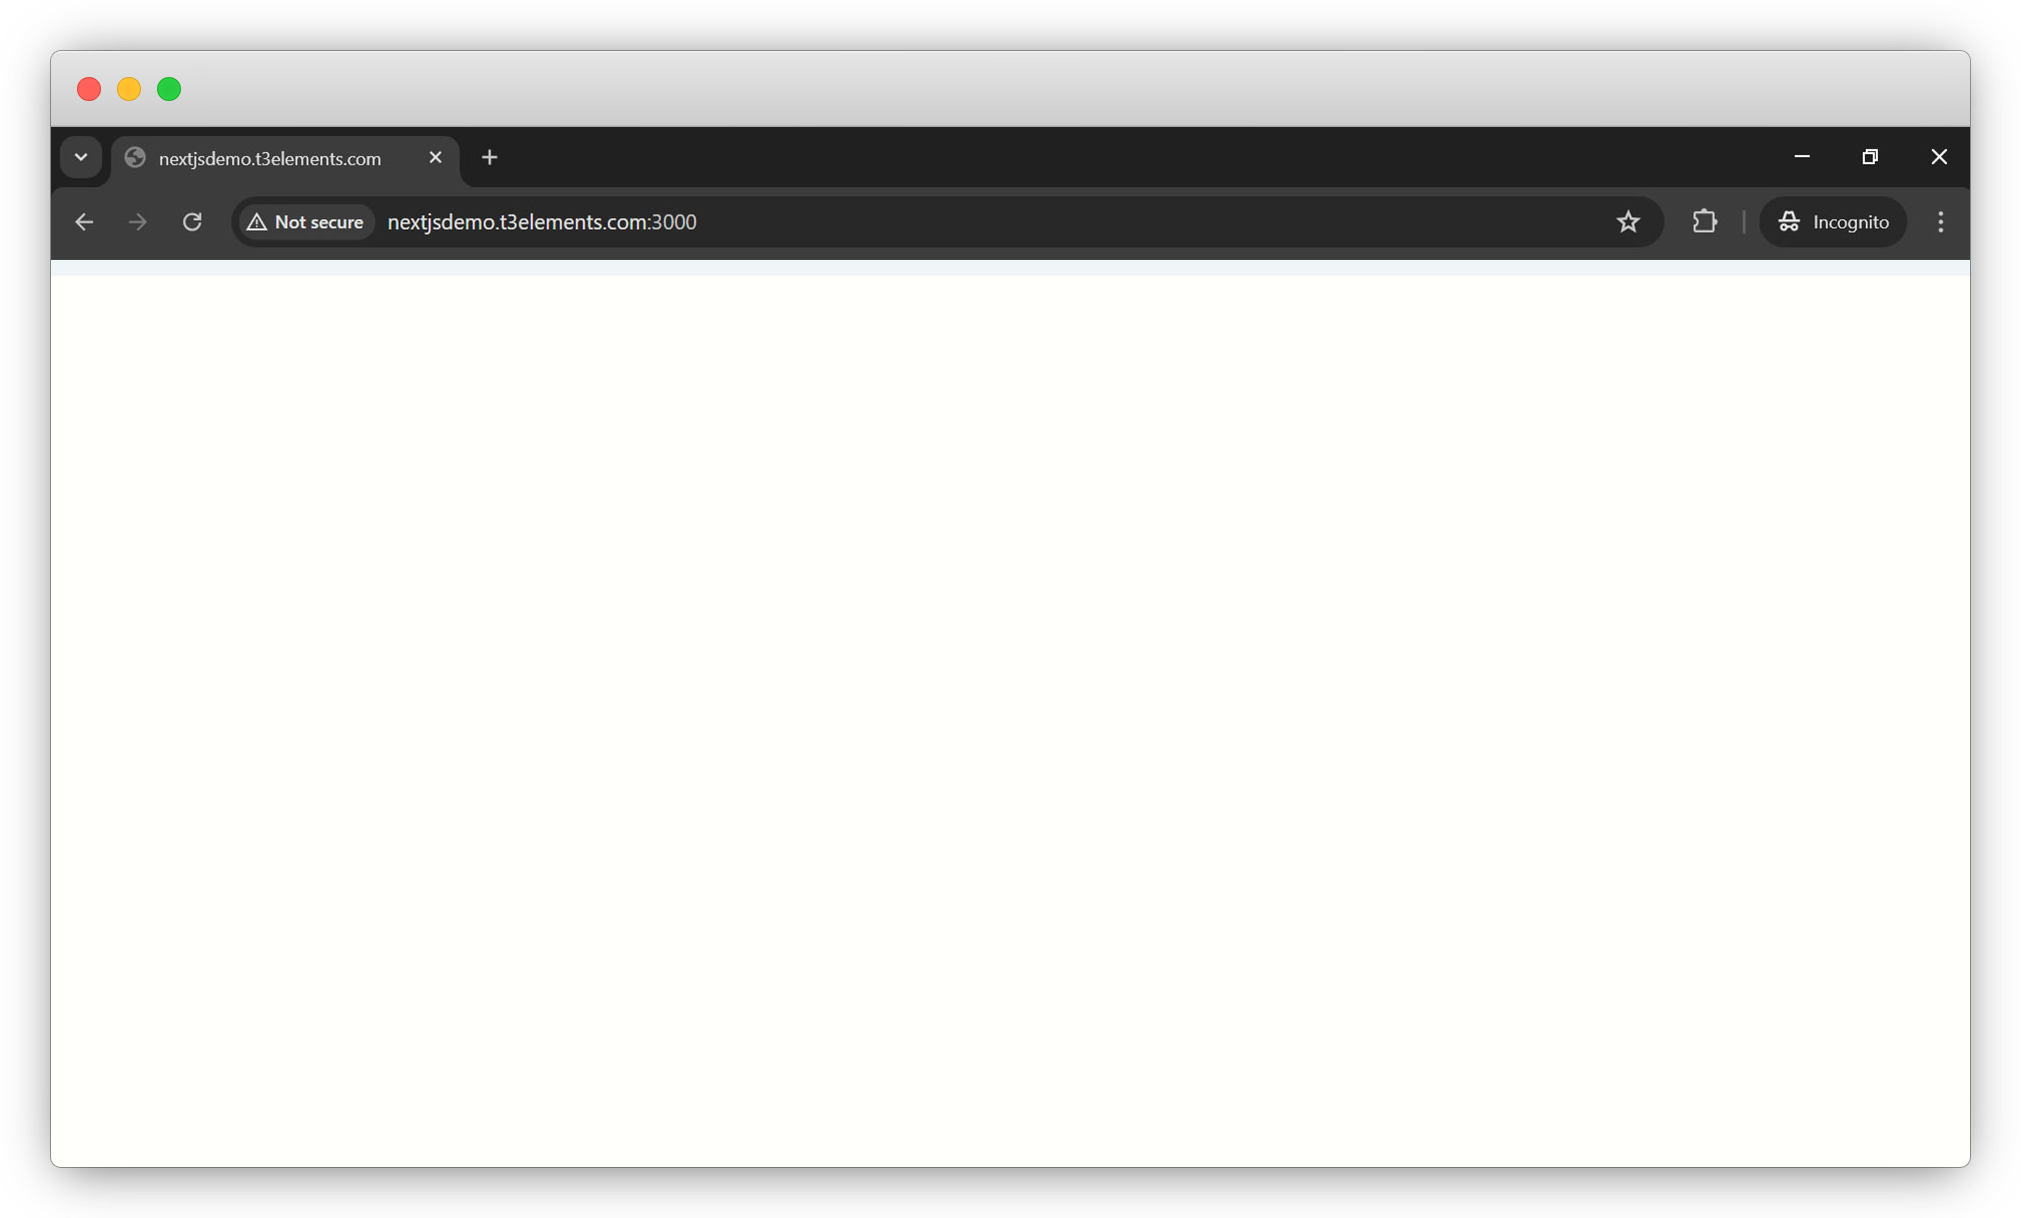
3.5.2.3. Now open your browser with port 3000, here the domain is headless.t3elements.com so the URL will be headless.t3elements.com:3000. You will see an empty page as we didn’t add anything yet to the page.
Share


