
URL copied to clipboard

Basic of Extension
4 views
__readtime__ Min
read
1. In the extension list click on the button “Add New Extension” on the top right and you will see the below screen.
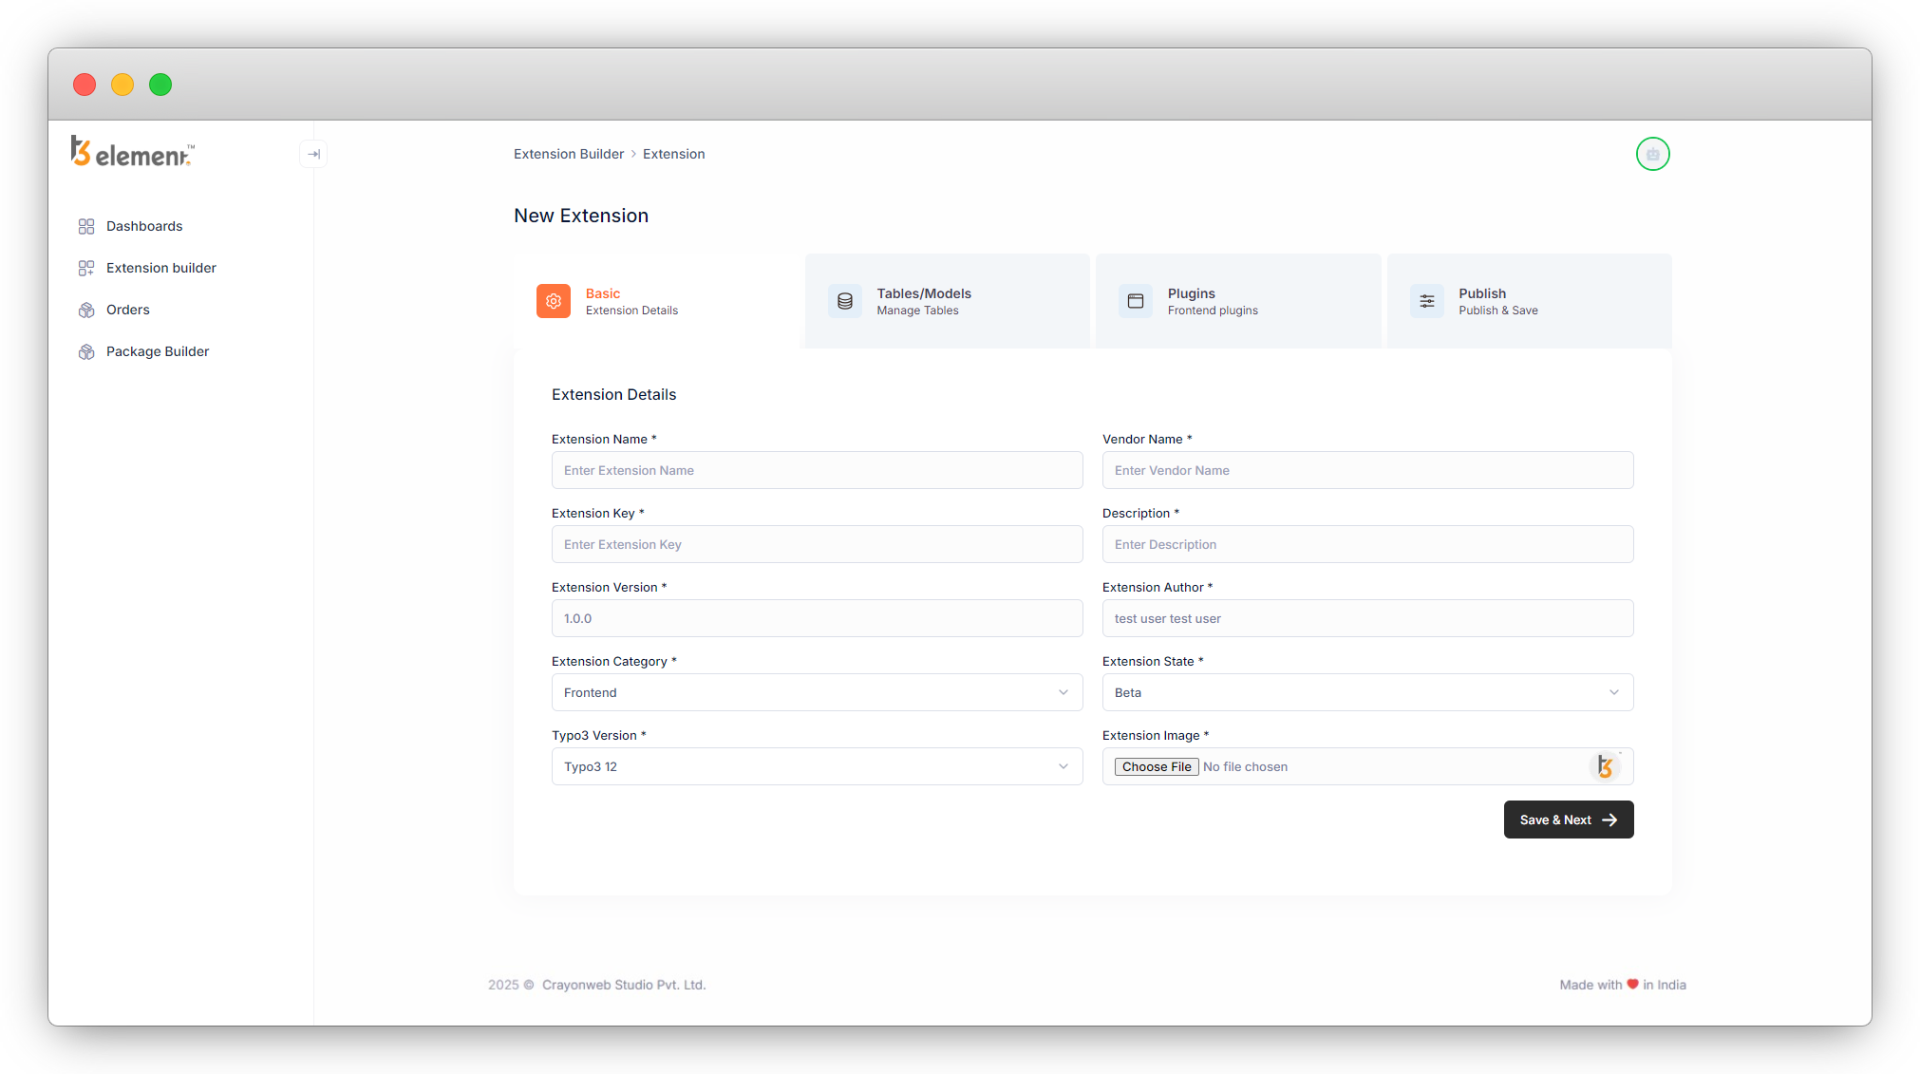
2. As you can see in the above screenshot, some fields are empty and some are pre-filled. Let’s see about each of them.
- Extension Name: Add the name of the extension you want to create.
- Vendor Name: Add your vendor name.
- Extension key: It will be generated automatically according to the name of your extension, you can edit the extension key and add a valid key, once it is generated automatically. You can check this ref. link for the valid extension key: https://docs.typo3.org/m/typo3/reference-coreapi/main/en-us/ExtensionArchitecture/BestPractises/ExtensionKey.html
- Description: Add the description of the extension.
- Extension version: You can update the pre-filled version of your extension to match your extension’s version.
- Extension Author: You can update the author’s name of your extension.
- Extension Category: Select the category of your extension to update it. Below is the list of the categories (Ref. link: https://docs.typo3.org/m/typo3/reference-coreapi/12.4/en-us/ExtensionArchitecture/FileStructure/ExtEmconf.html#file-ext-emconf-php)
- Frontend plugins: Frontend plugins (Plugins inserted as an “Insert Plugin” content element)
- Backend modules: Backend modules (When something is a module or connects with one)
- Miscellaneous: Miscellaneous stuff (Where not easily placed elsewhere)
- Backend: Backend (Generally backend-oriented, but not a module)
- Frontend: Frontend (Generally frontend oriented, but not a “true” plugin)
- Services: Contains TYPO3 services
- Templates: Contains website templates
- Distribution: Distribution, an extension kickstarting a full site
- Examples: Example extension (Which serves as examples etc.)
- Documentation: Documentation (e.g. tutorials, FAQ’s, etc.)
- Extension state: select the extension state to update it. (Ref. link for state: https://docs.typo3.org/m/typo3/reference-coreapi/main/en-us/Security/GuidelinesIntegrators/Extensions.html)
- Alpha
- Beta
- Stable
- Experimental
- Test
- Select the Typo3 version of your project: select the TYPO3 version of your TYPO3 setup where you want to add the extension.
- Select the icon for your extension: select the icon for your extension, else the default icon will be set for your icon.
3. After filling out all the details, click on the “Save & Next” button.

4. When you click on the “Save & Next” button, the extension will be saved in a draft.
4.1. As you click on the “Save & Next” button, the next step “Tables/Models” will open as seen in the screenshot below
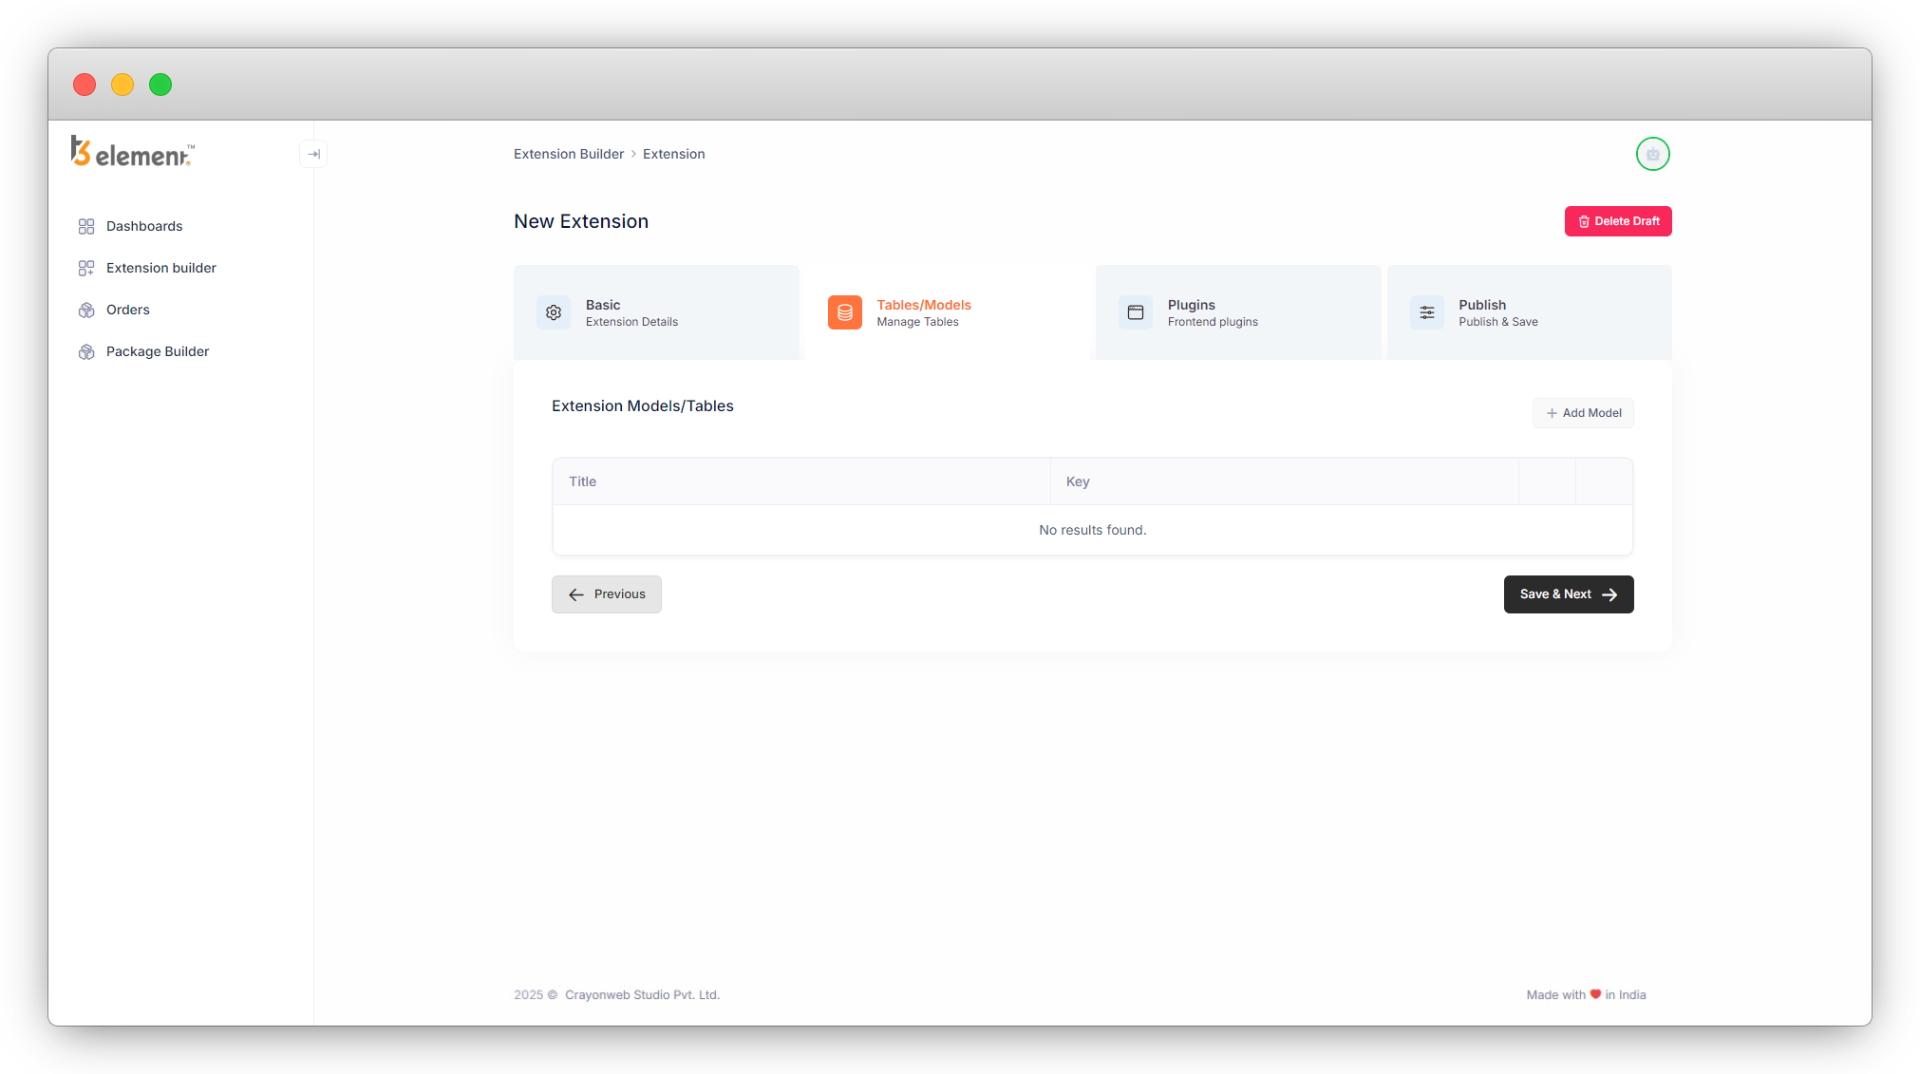
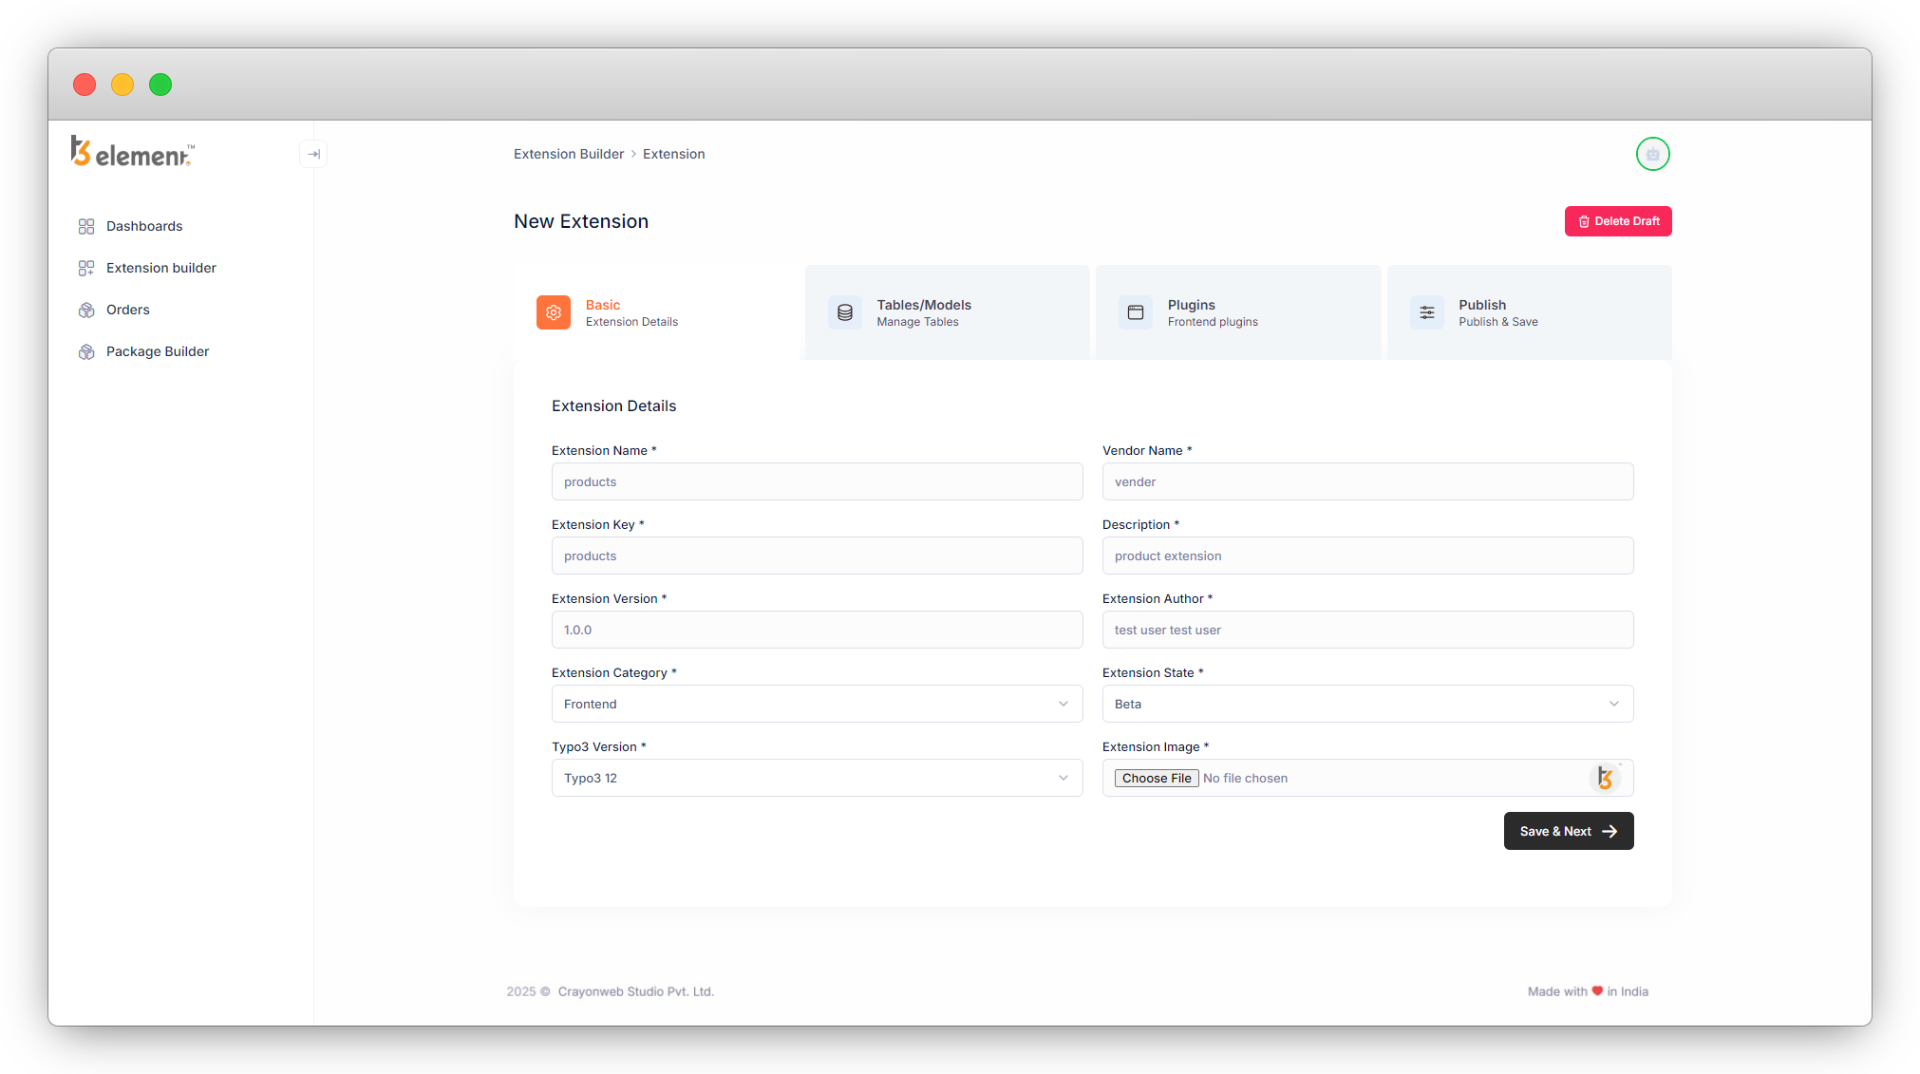
4.2. In step 2 “Tables/Models”, if you click on the cancel button you will close the extension window and the extension list will open but you will not lose the data you have filled up in step 1 “Basic”, and when you add the new extension again by clicking on the “Add New Extension”, you will see the fields of basic details are filled up with your previous values. You can delete that information by clicking on the “Delete Draft” if you don’t want to continue with that information and fill out the fields with the new information
4.3. Click on the “Save & Next” button again and you will see step 2 and you can add your tables/models there.
Share


