
URL copied to clipboard

Plugin Type – Form
4 views
__readtime__ Min
read
If you want to provide the form for the front-end user, you can do that by using the plugin type “Form”. E.g if you want to provide a form of the “Job Application”, “Contact” form, or any other as per the requirement you can create them by using the “Form” plugin type. Let’s start to create a contact form.
1. To create a contact form, we need to create a new table “Contact”. We need to go to the “Previous”, but before clicking on the “Previous” button, it is a must to click on the “Save & Next” button, otherwise you will lose the plugins you created.
2. So after clicking on the “Save & Next” button, let’s click on the “Previous” button, and go to the Tables/Models.
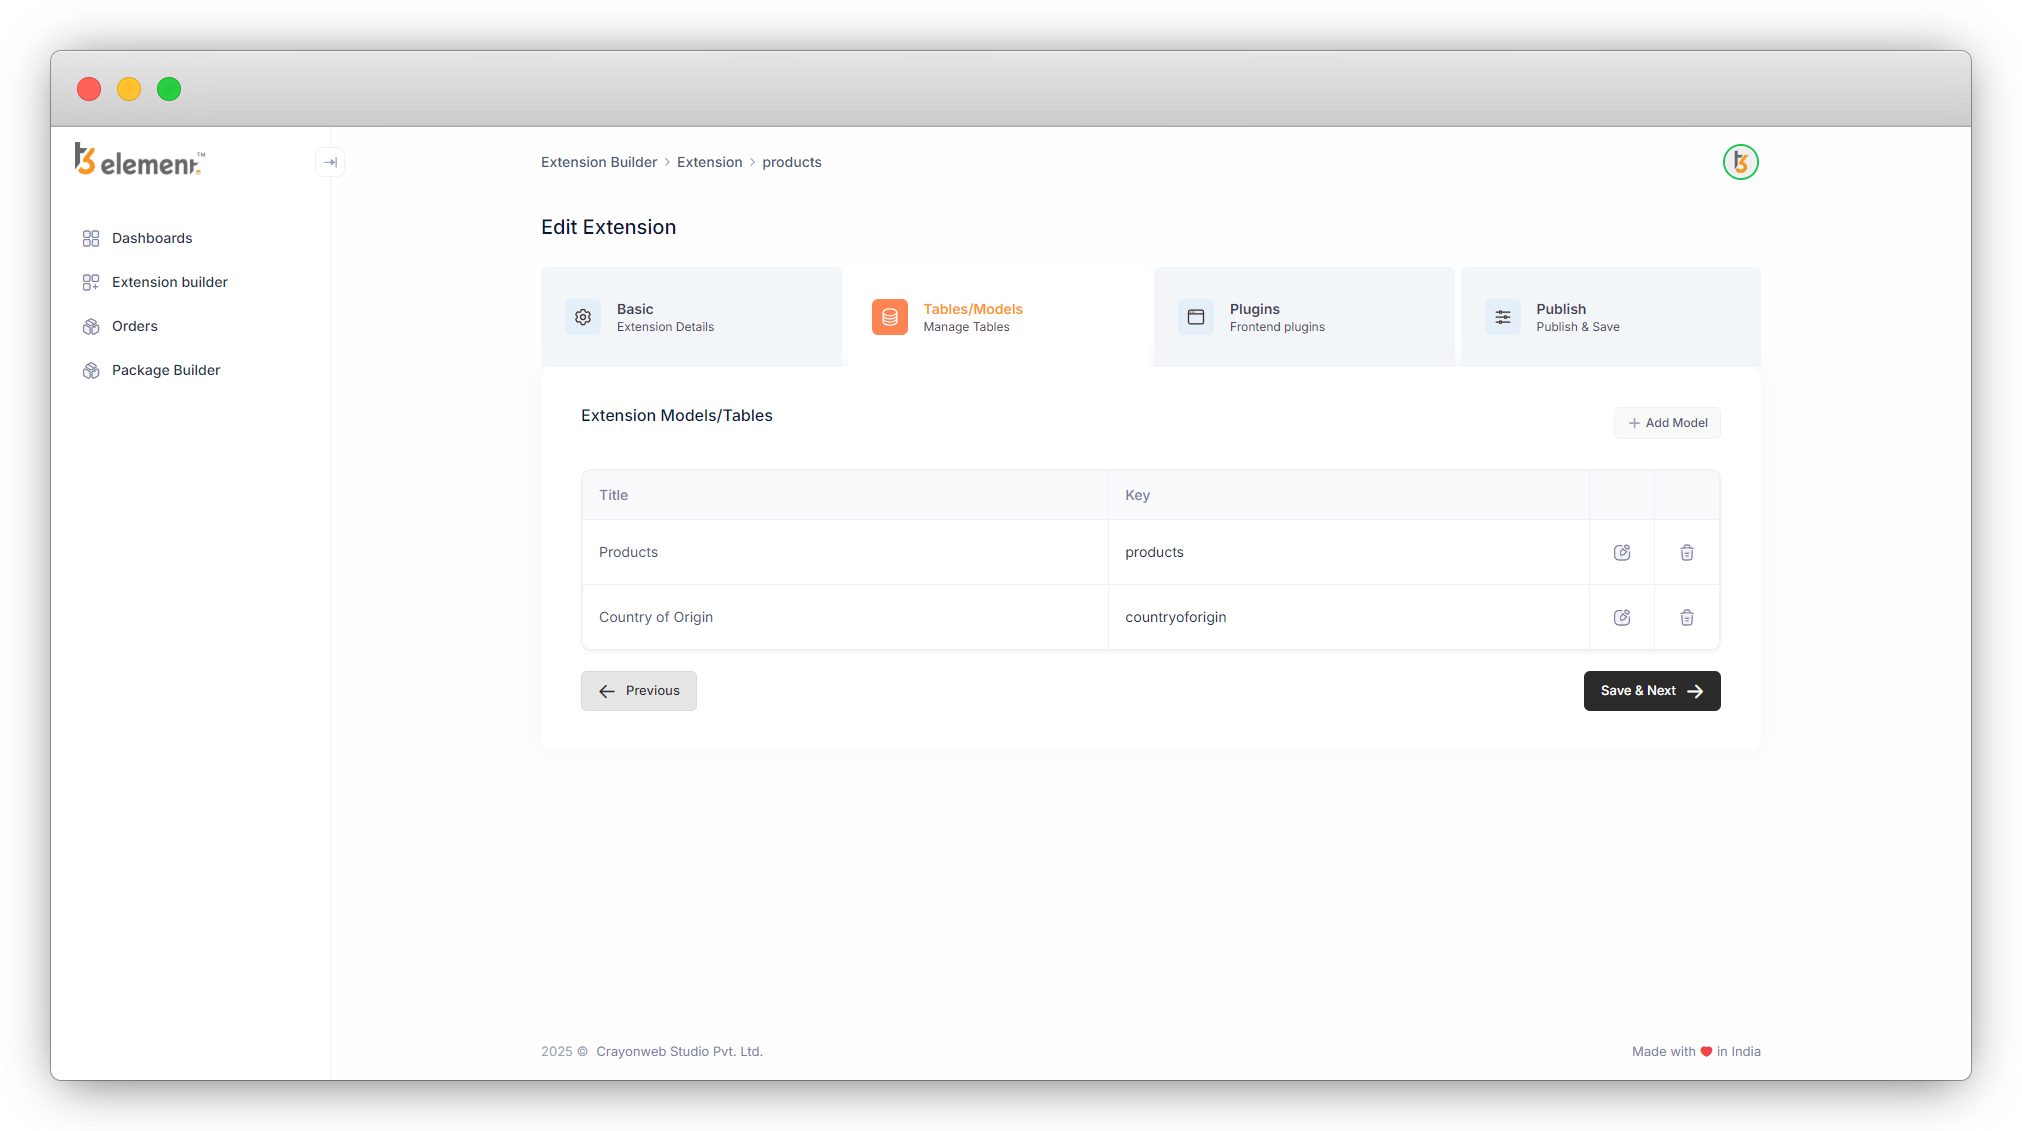
3. Let’s add the new table/model by clicking the “Add Model” table.
4. Let’s add the title, key, and all the fields we require for the contact form.
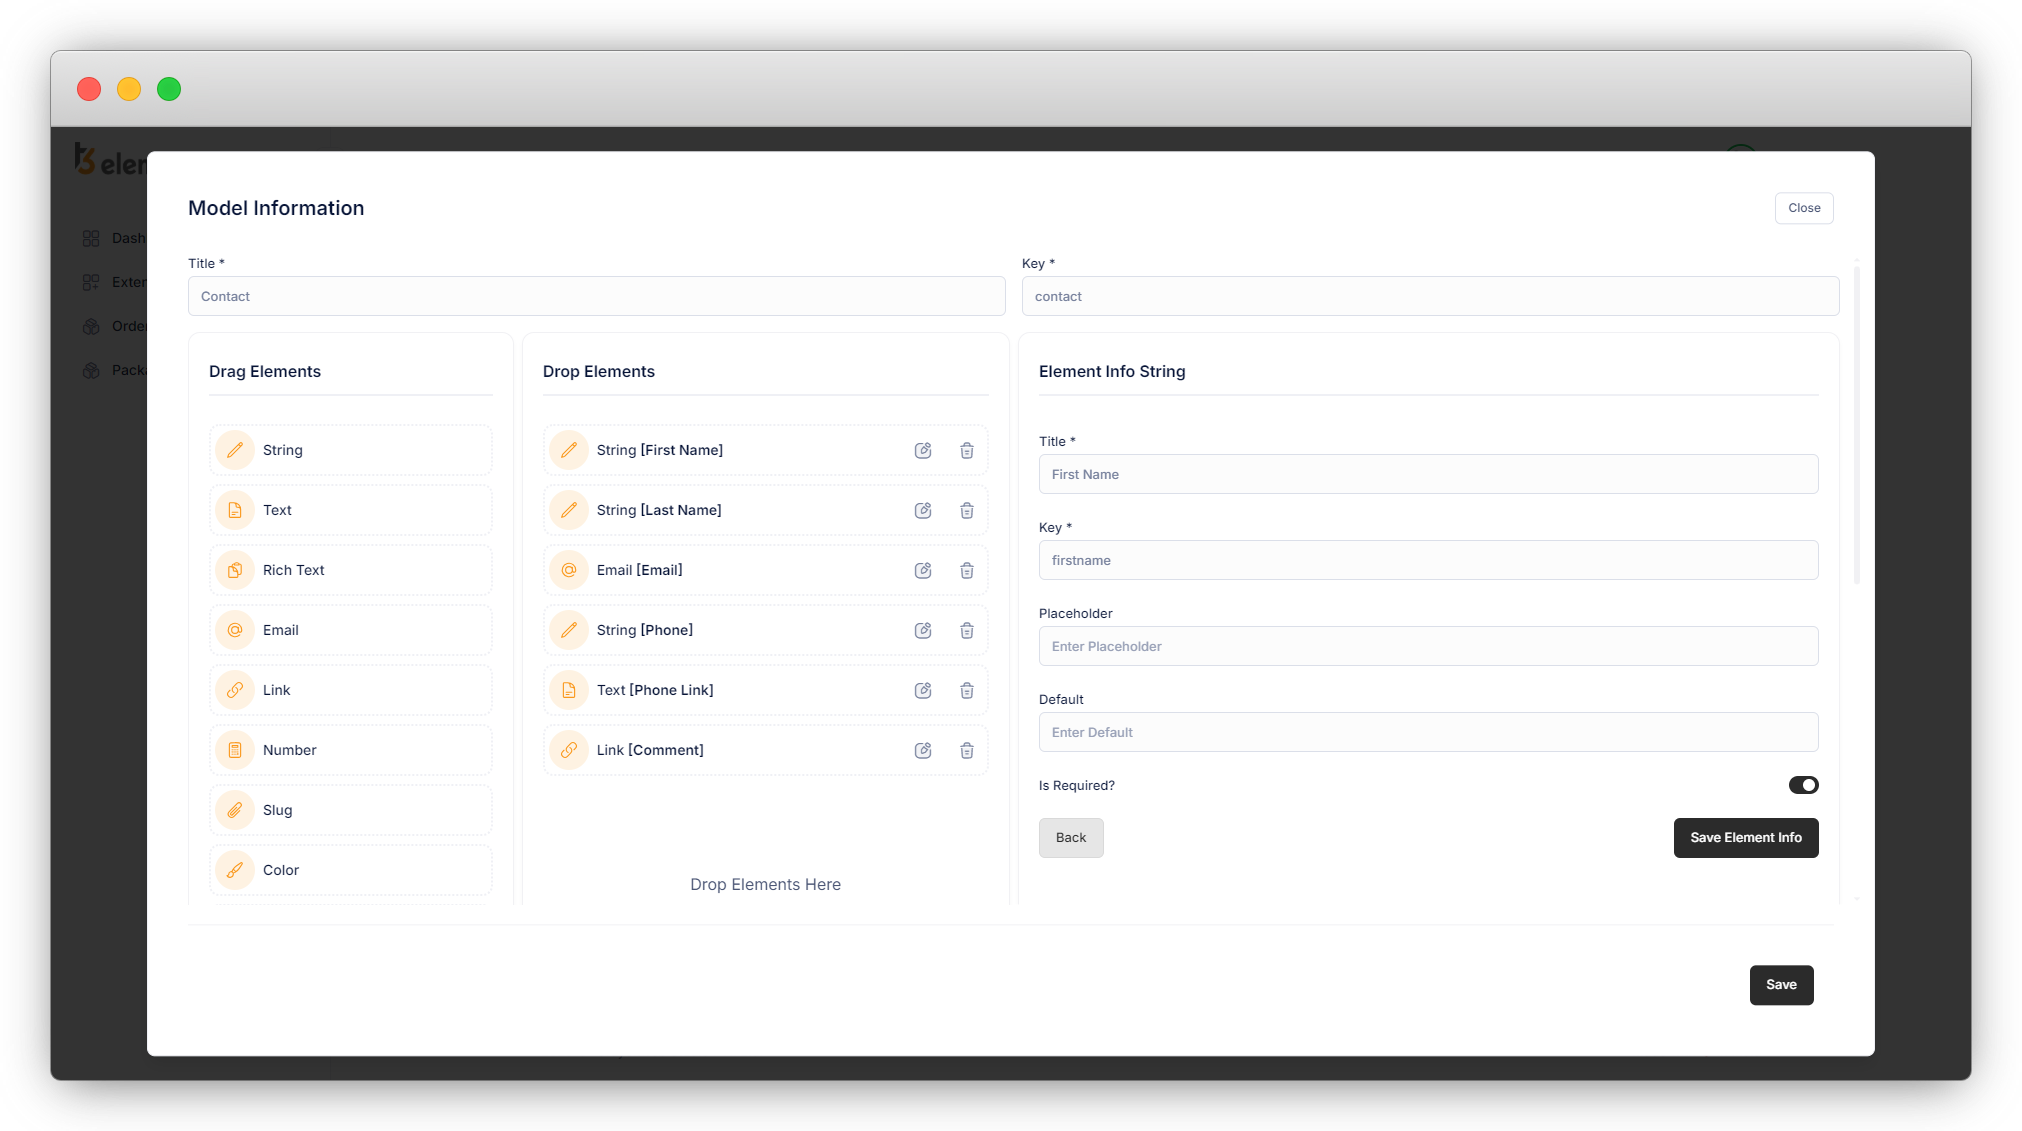
5. Here we have added First Name [Required] – String Field, Last Name [Required] – String Field, Email [Required] – Email field, Phone – String Field, and Comment – Text Fields.
6. Save the Table by clicking on the “Save” button and you will see the table is added to the list.
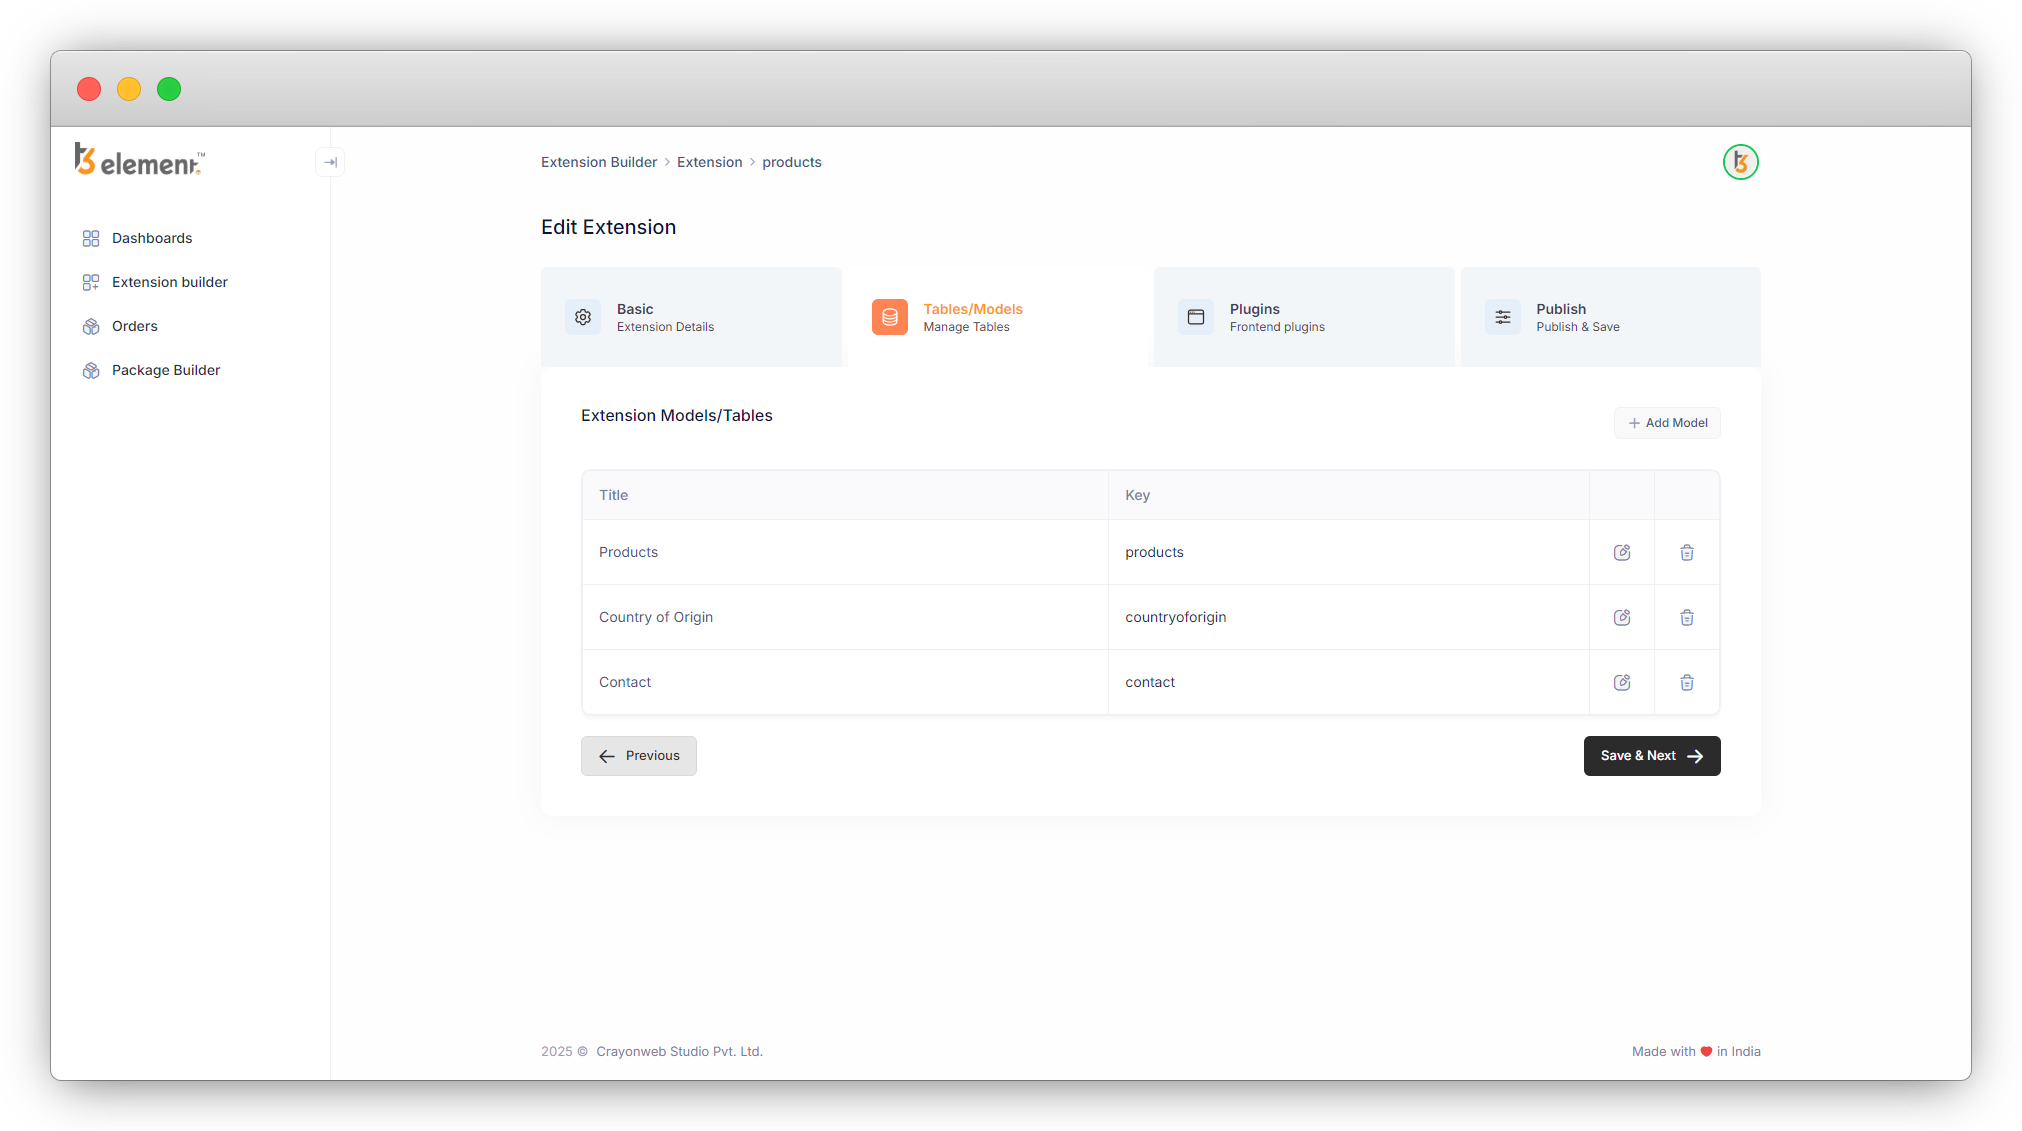
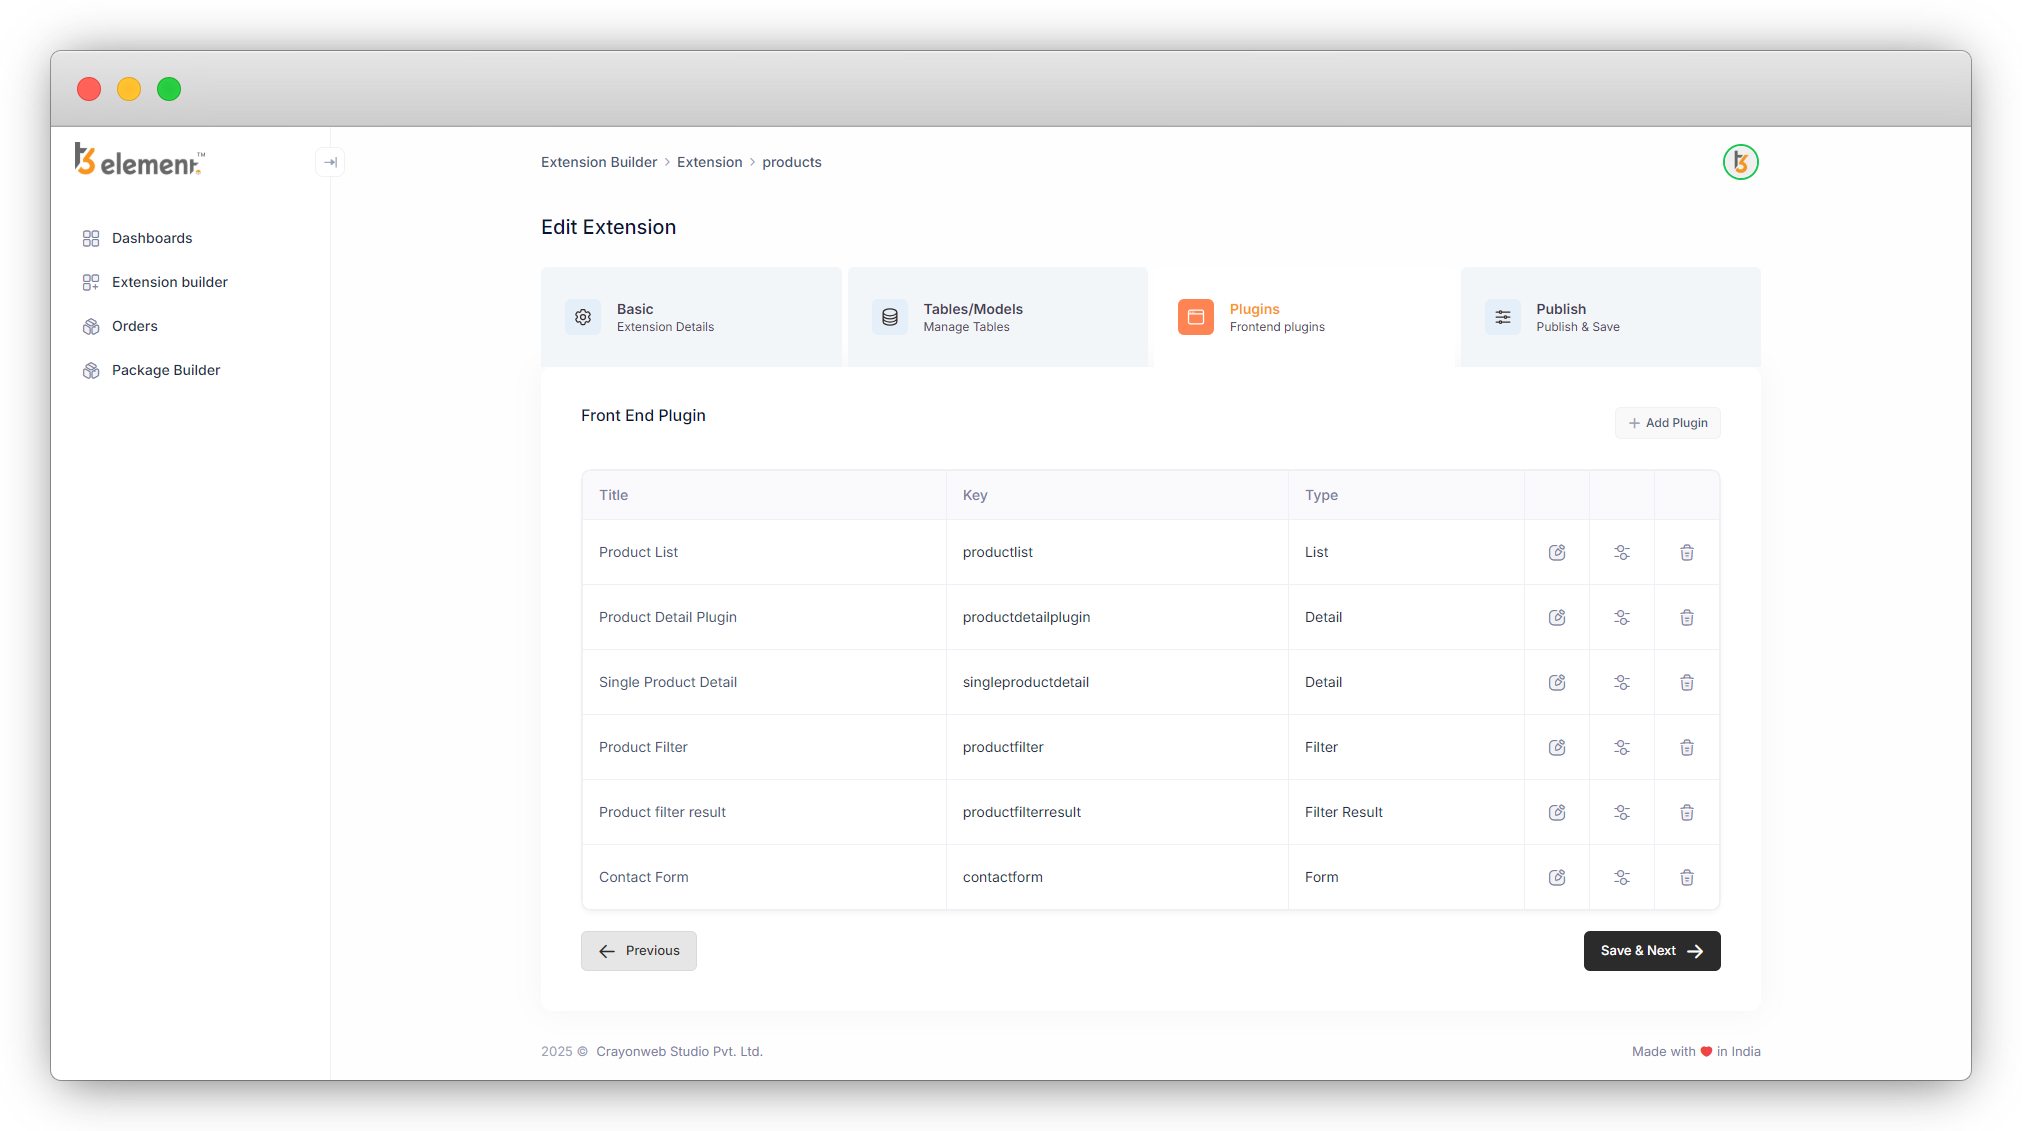
7. Click on the “Save & Next” button, and the next tab “Plugins” will open with a list of 5 plugins we created as seen in the screenshot below.
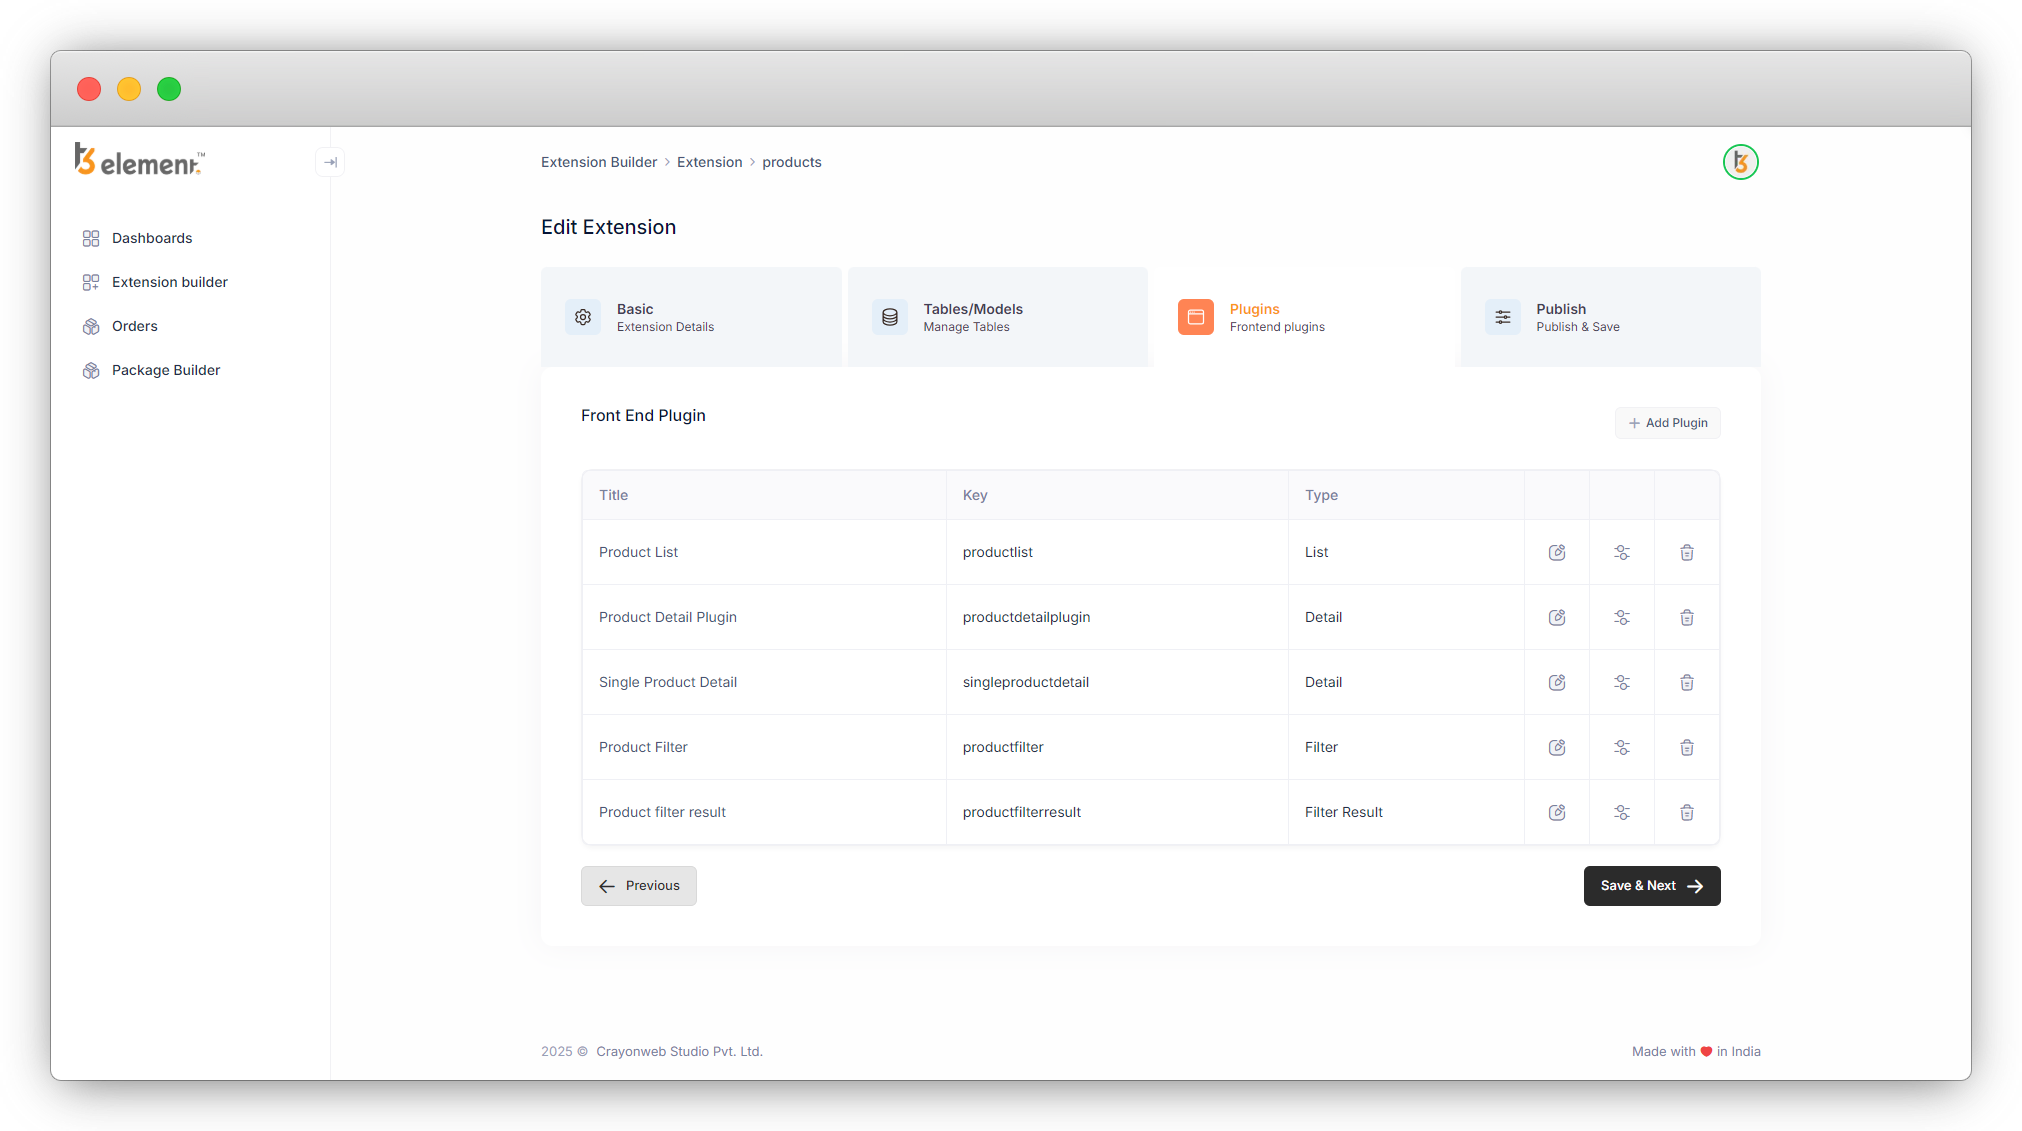
8. Now create the “Form” plugin for the contact table here.
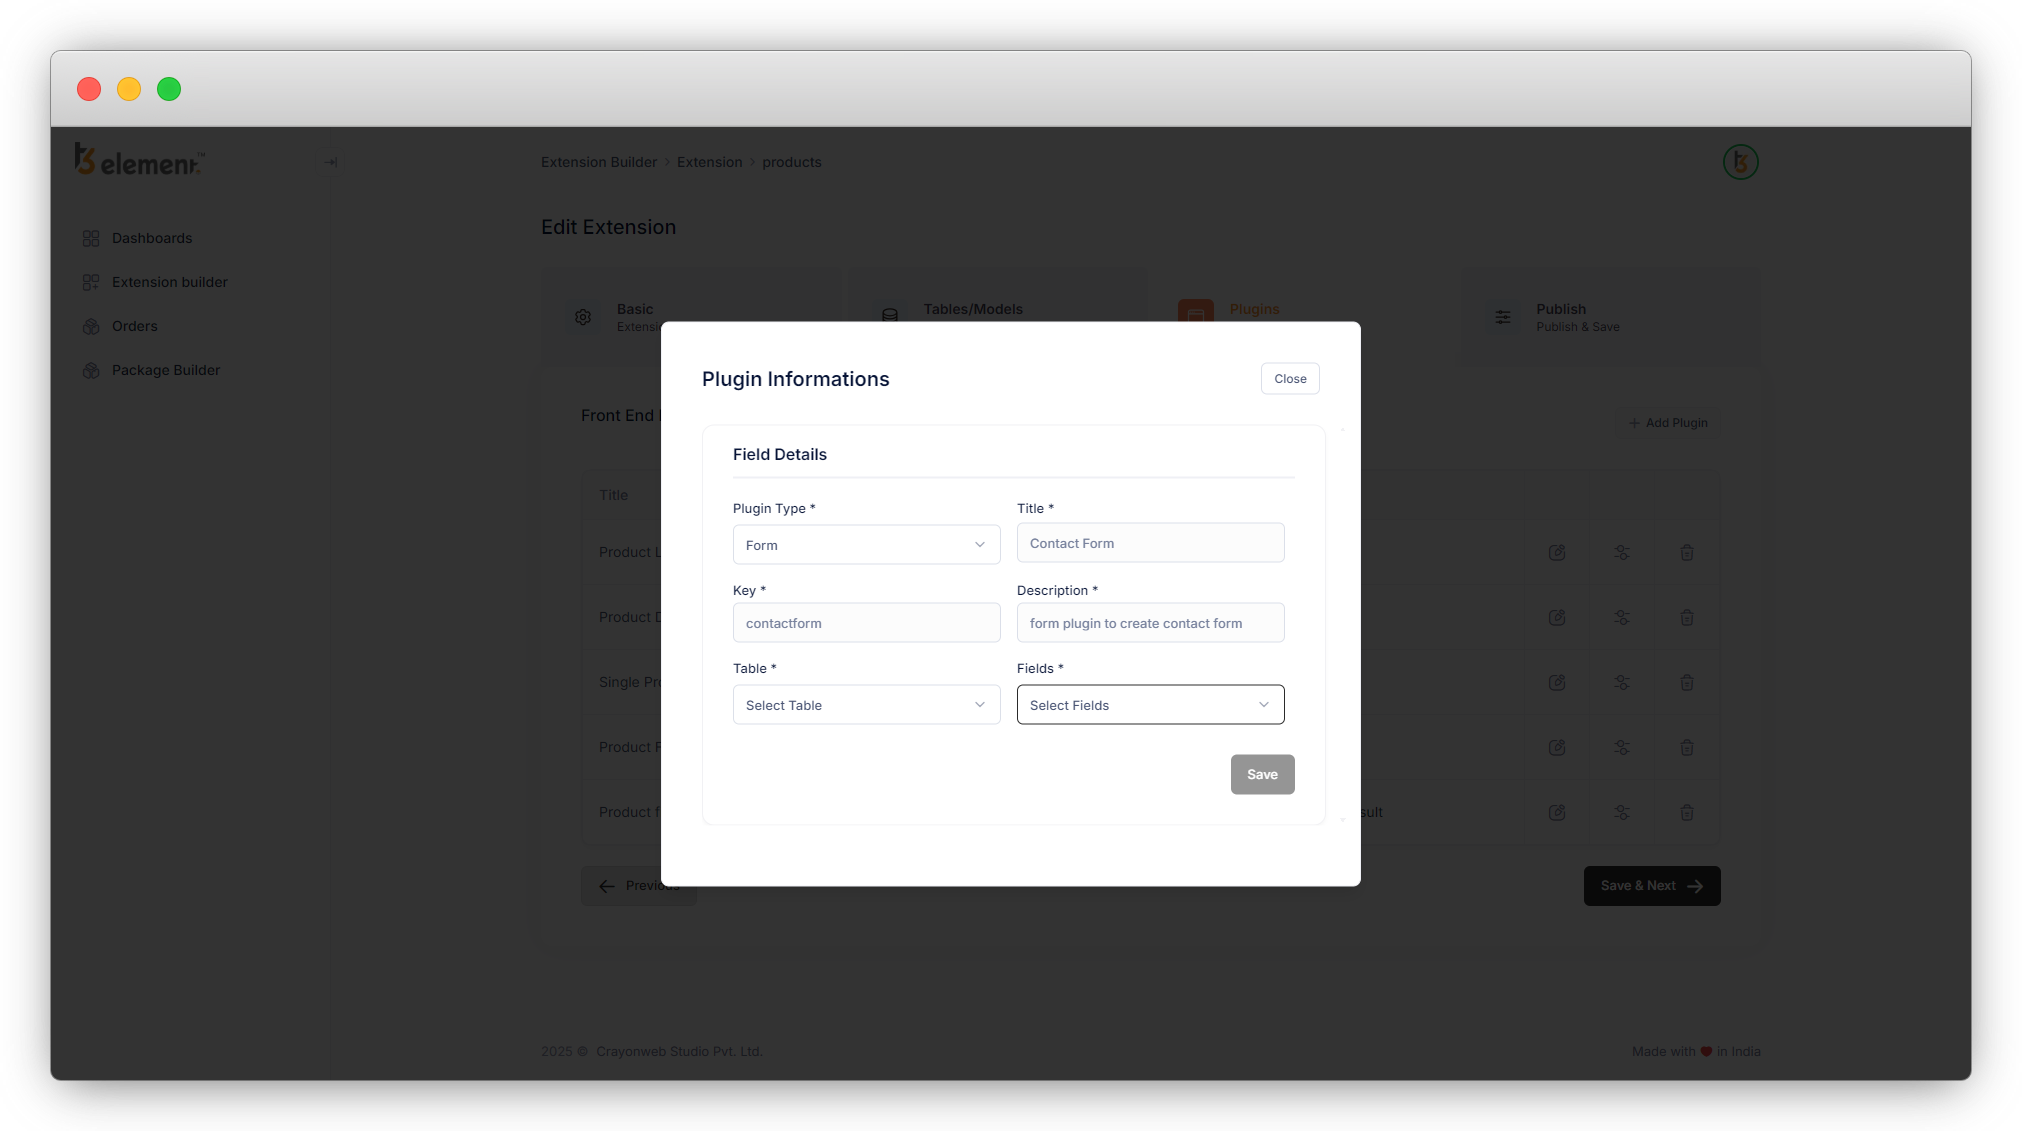
9. Click on the “Add Plugin” button to add a new plugin.
10. Select the plugin type “Form”.
11. Add the Title, Key, and Description for the plugin. (Title and Key are the mandatory fields).
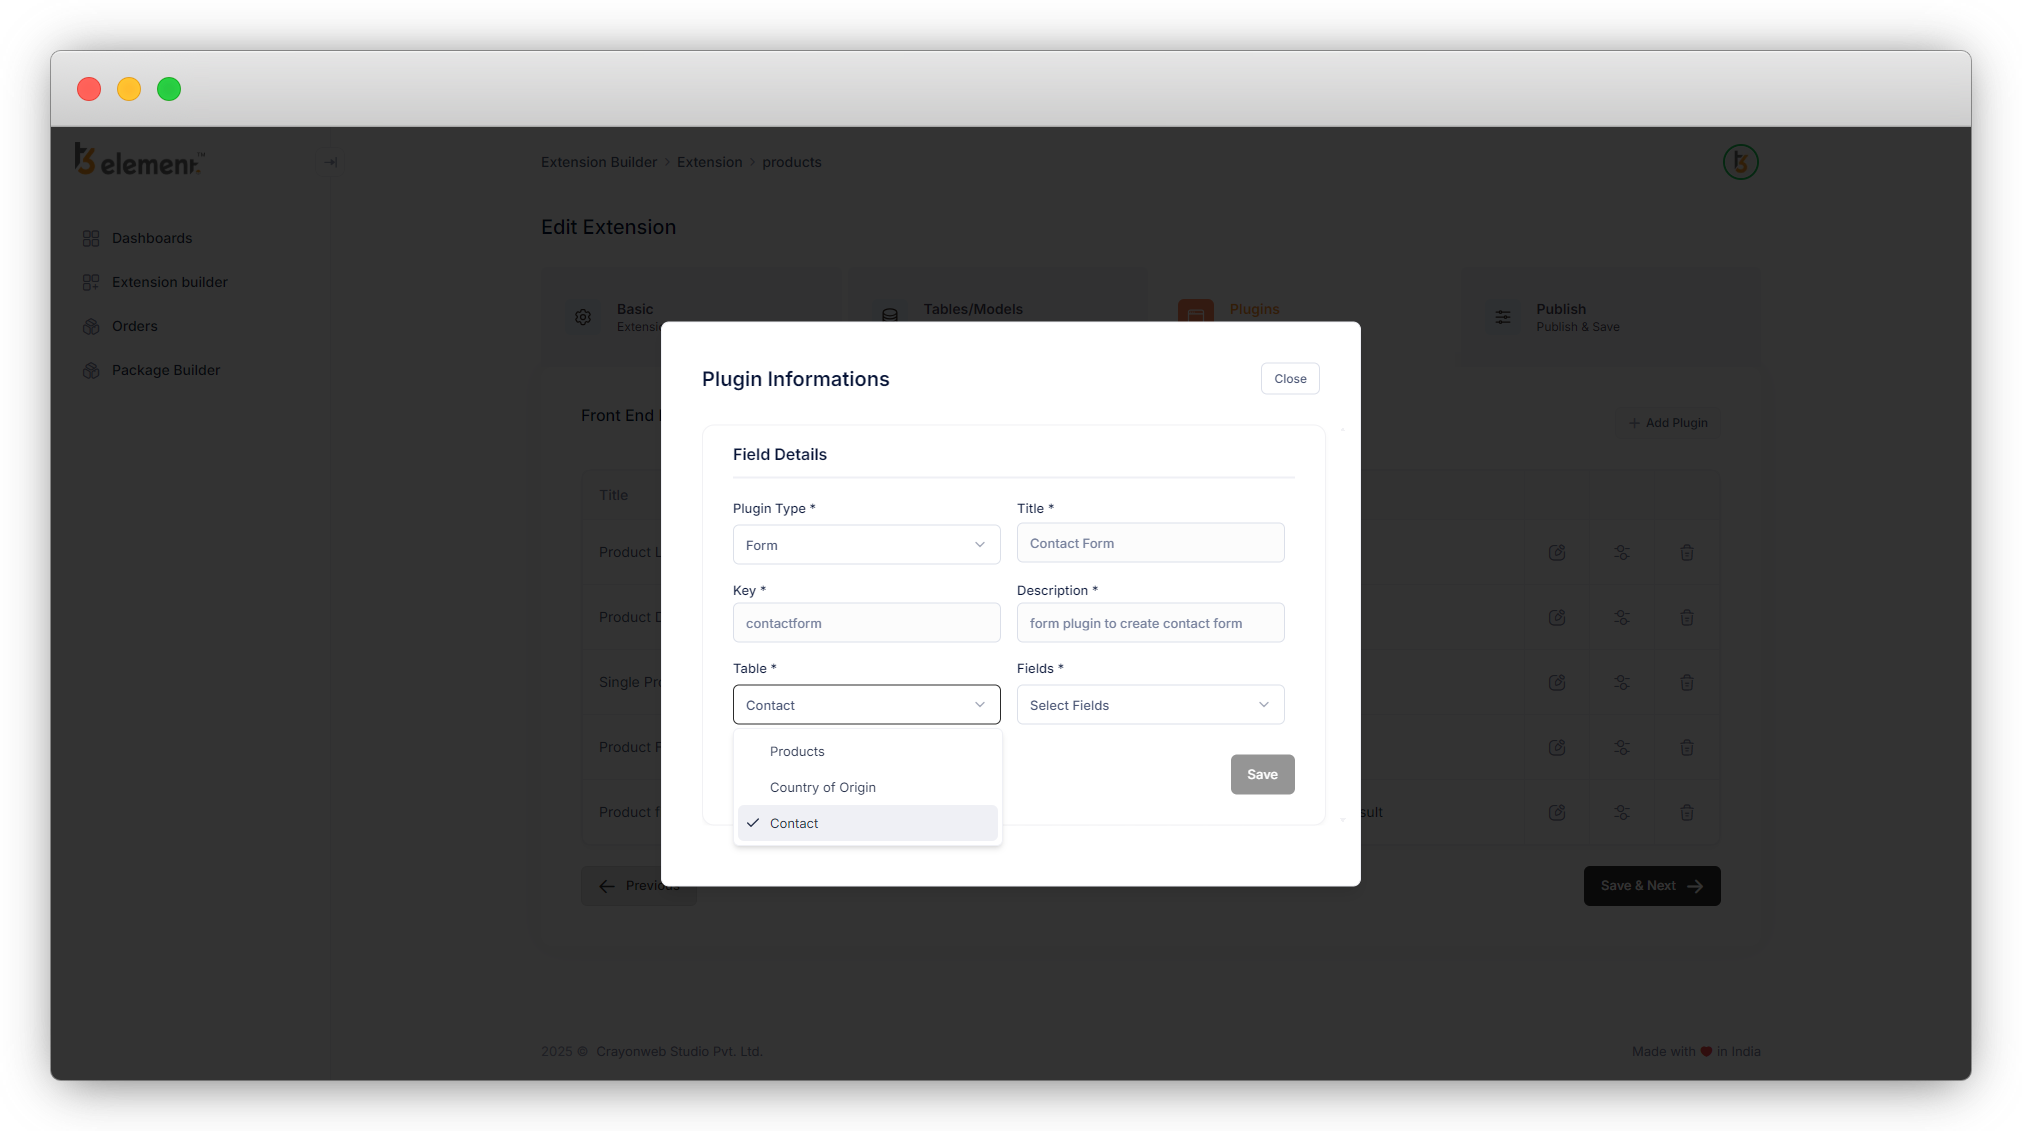
12. Then select the table you want to create a form for. Here we are creating the contact form, so let’s select the table “Contact”.
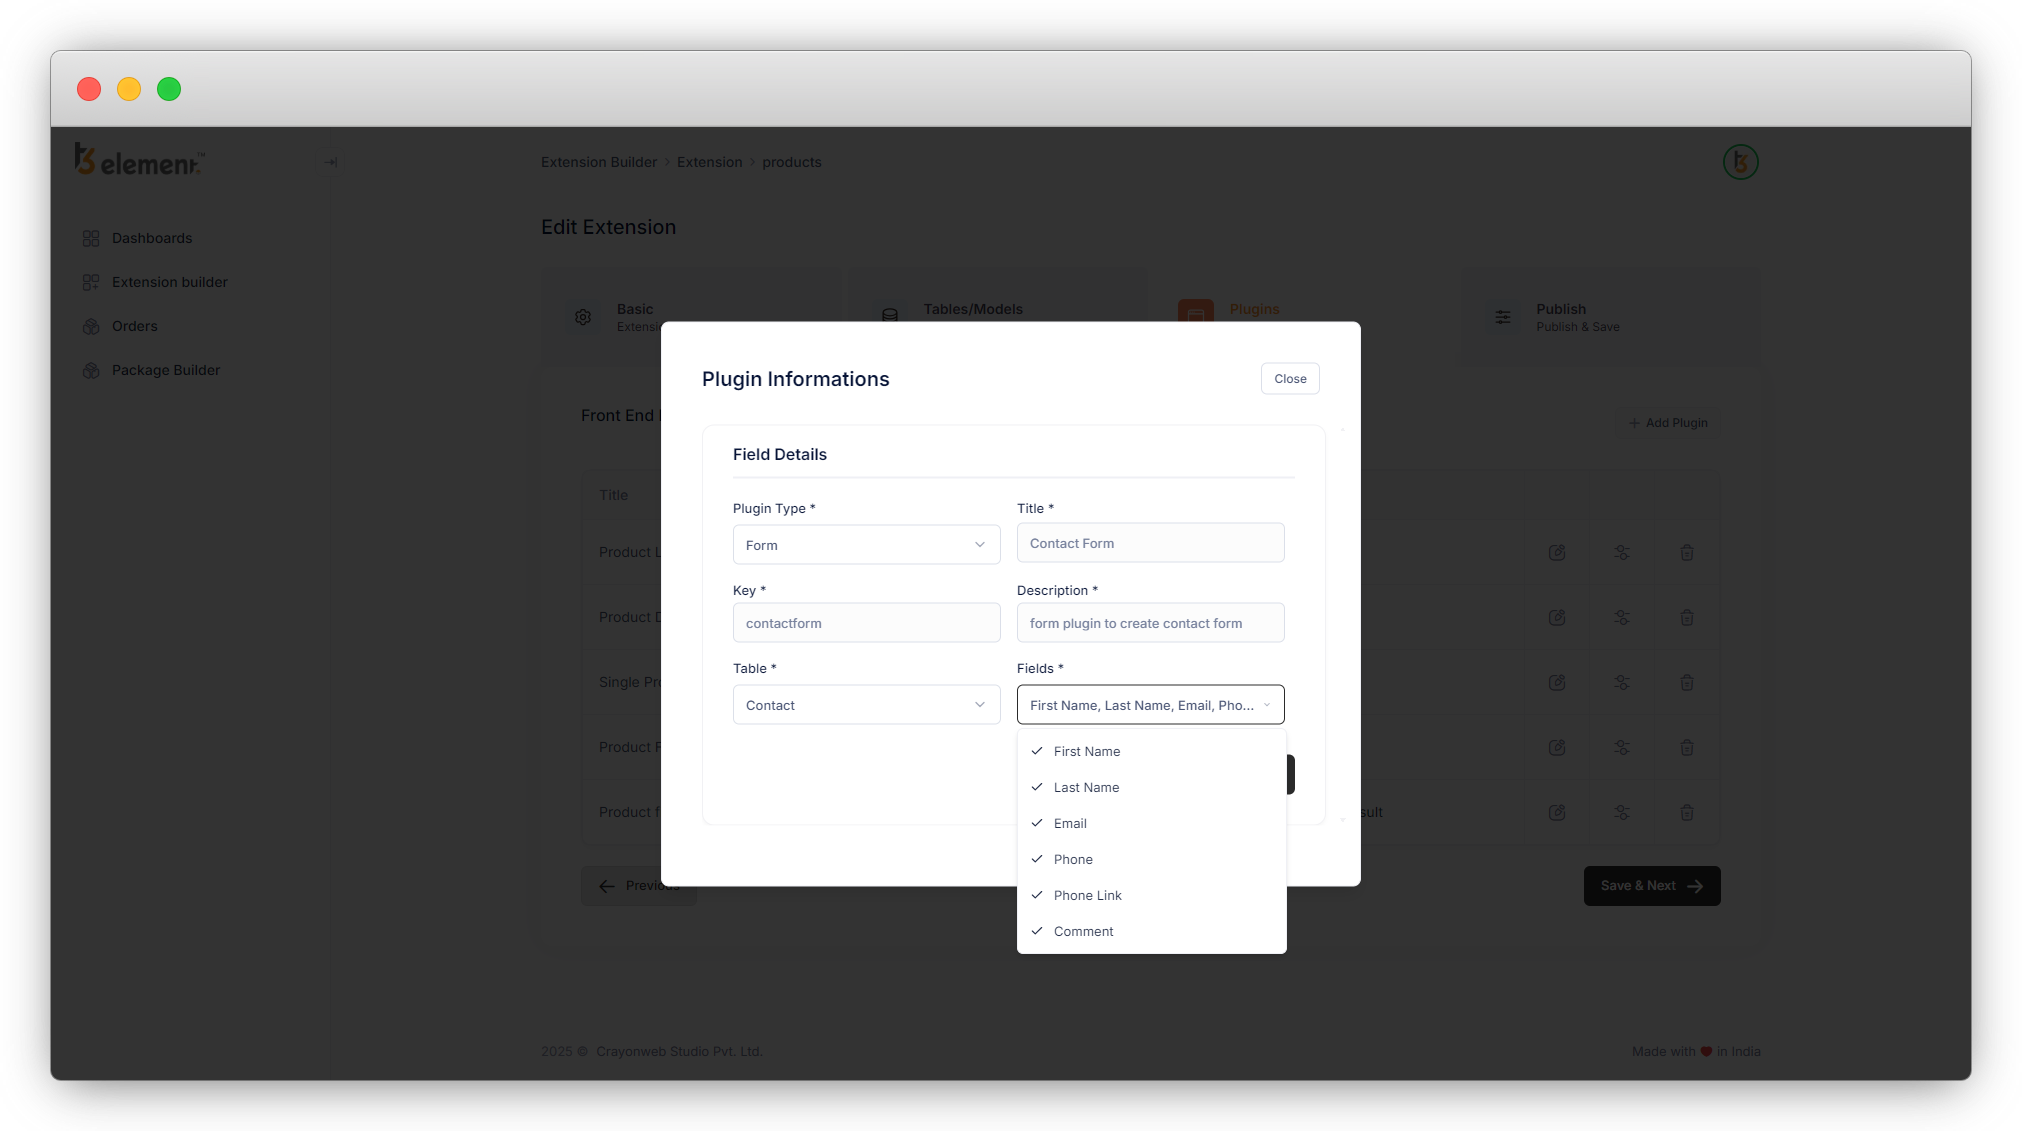
13. Then select the fields of the table you want to add to the form into the “Fields”. Here let’s select each field of the contact table.
14. Then click on the save button and the plugin information will be saved and you will be redirected to the plugin list.
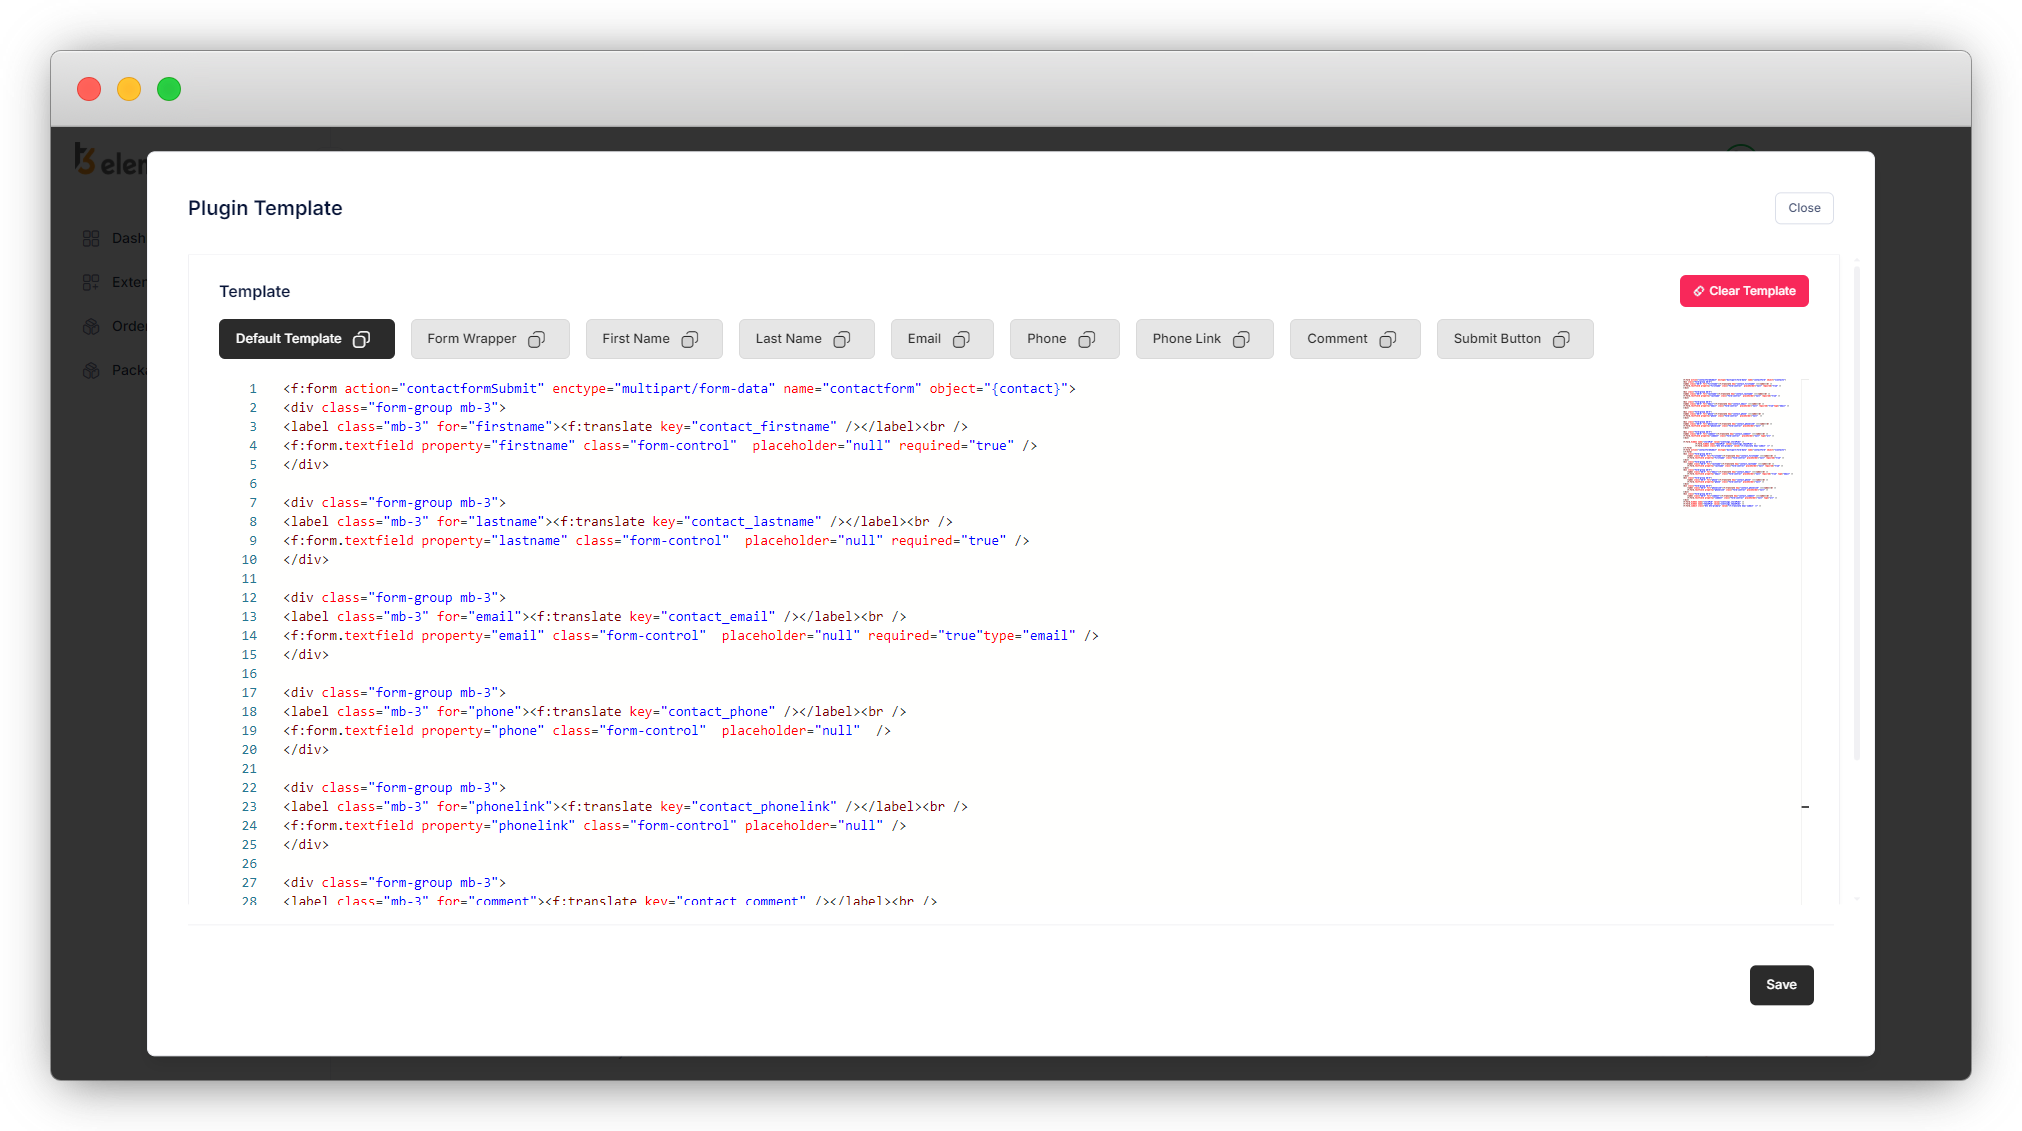
15. Save the plugin and the plugin will be added to the plugin list, and then save the template for the “Contact Form”.

16. Now click on “Save & Next” so the “Contact Form” plugin can be saved (we already saved other plugins at the time of creating the “Contact” table). The next tab is about creating the backend modules of your tables and saving the extension.
17. In the last step, step-4, let’s see the backend module.
Share


