
URL copied to clipboard

Plugin type – Filter Result
4 views
__readtime__ Min
read
Let’s create a plugin to display the result after the product list filter.
1. Click on the “Add Plugin” button. By default, the selected plugin will be “List”.
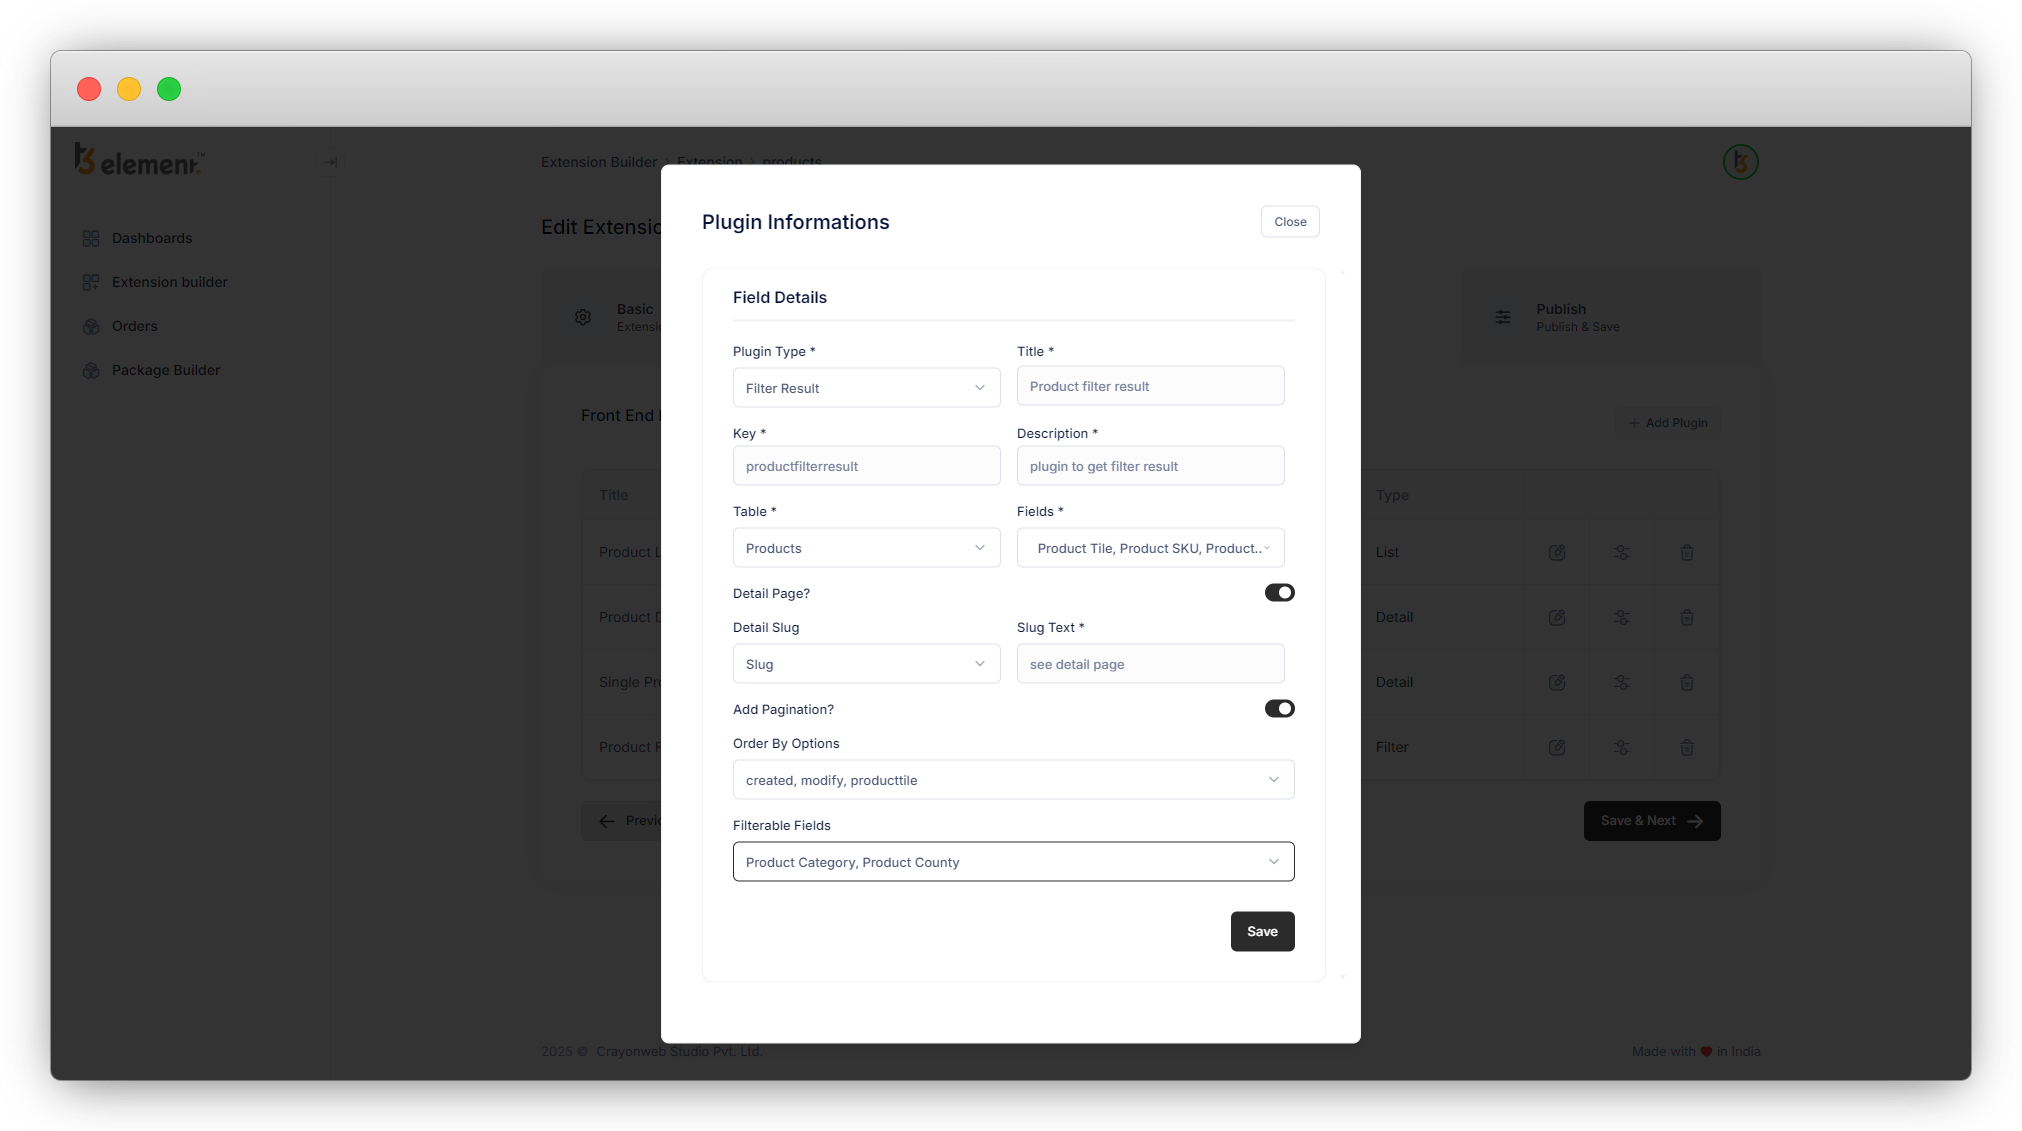
2. Select the “Filter Result” plugin, and after selecting that plugin, you will see the screen below with the fields for the “Filter Result” plugin.
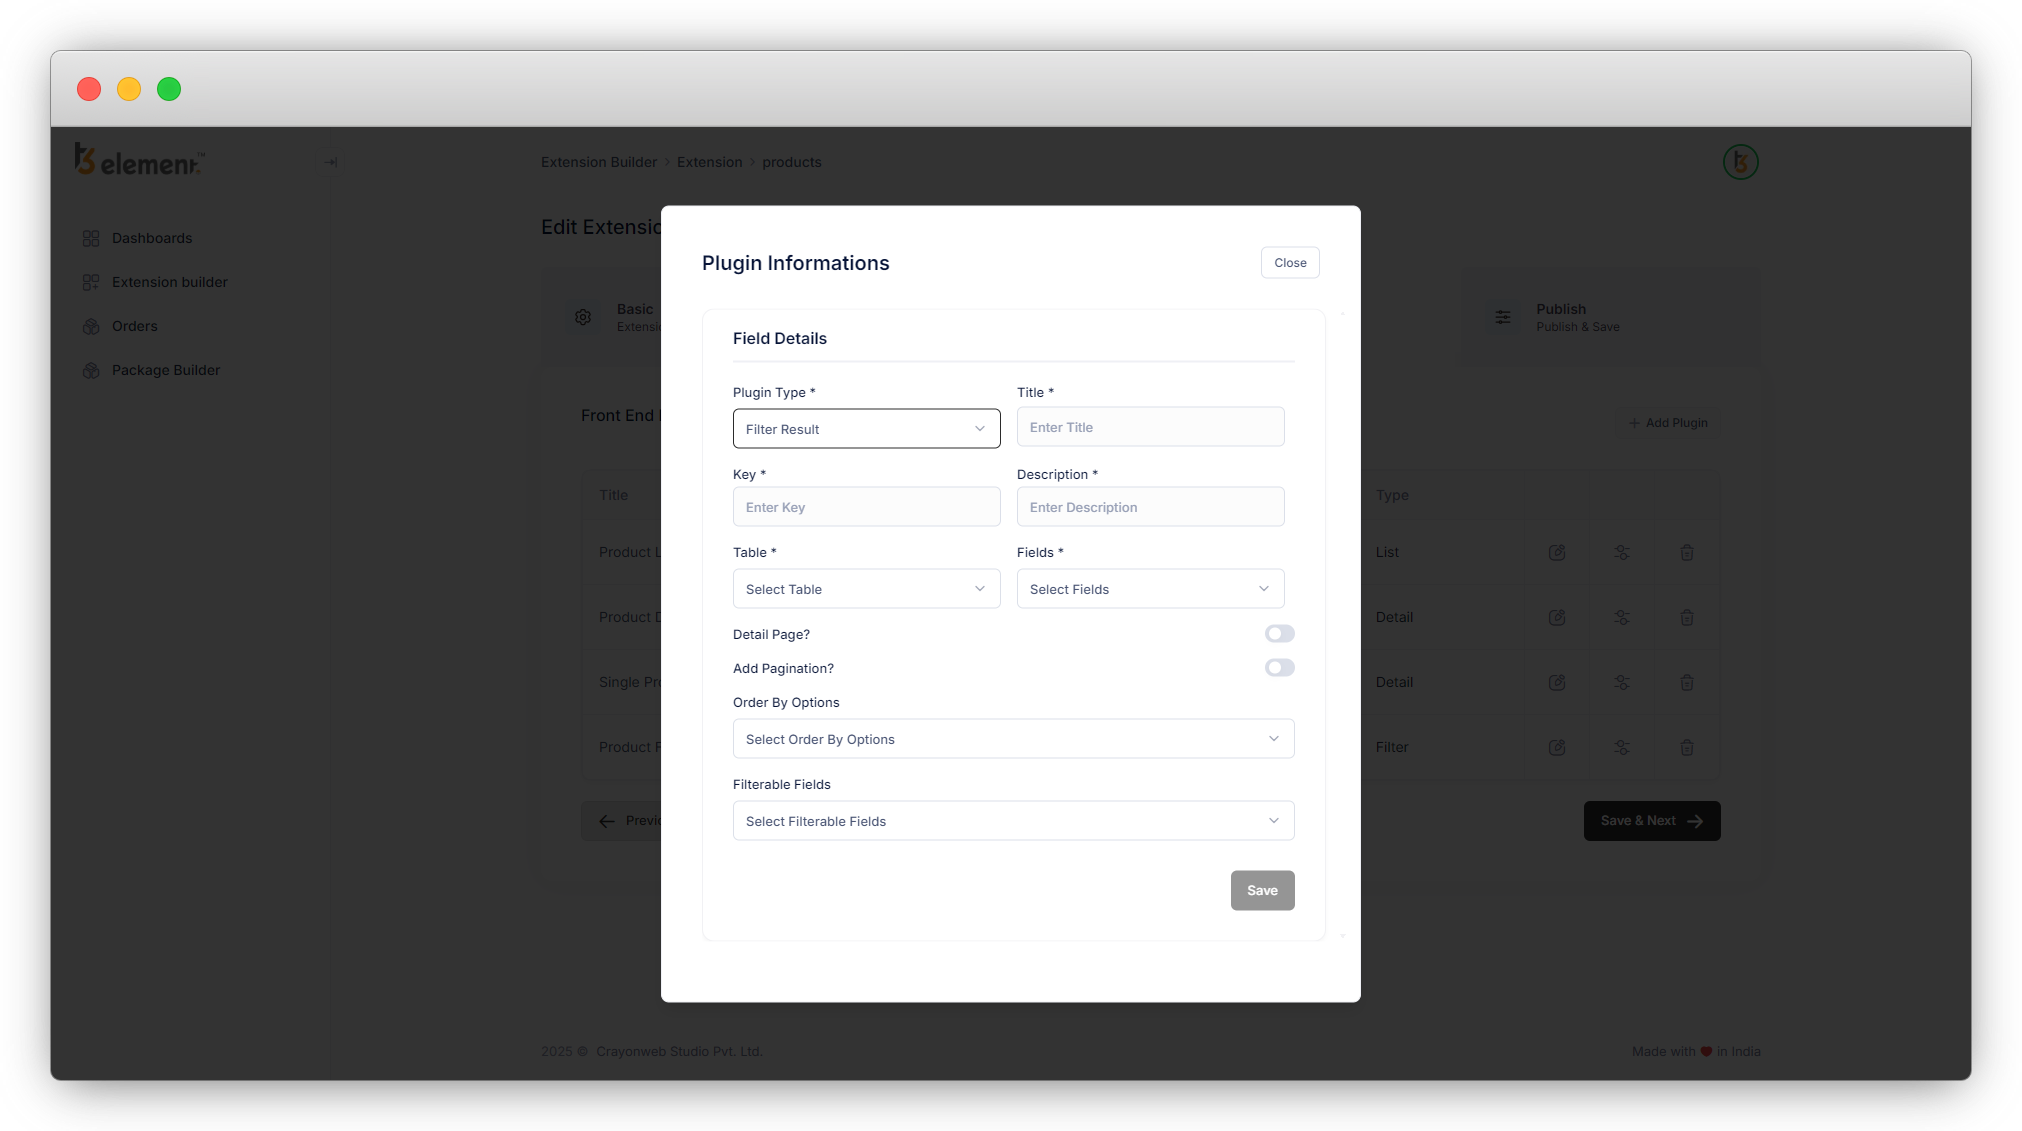
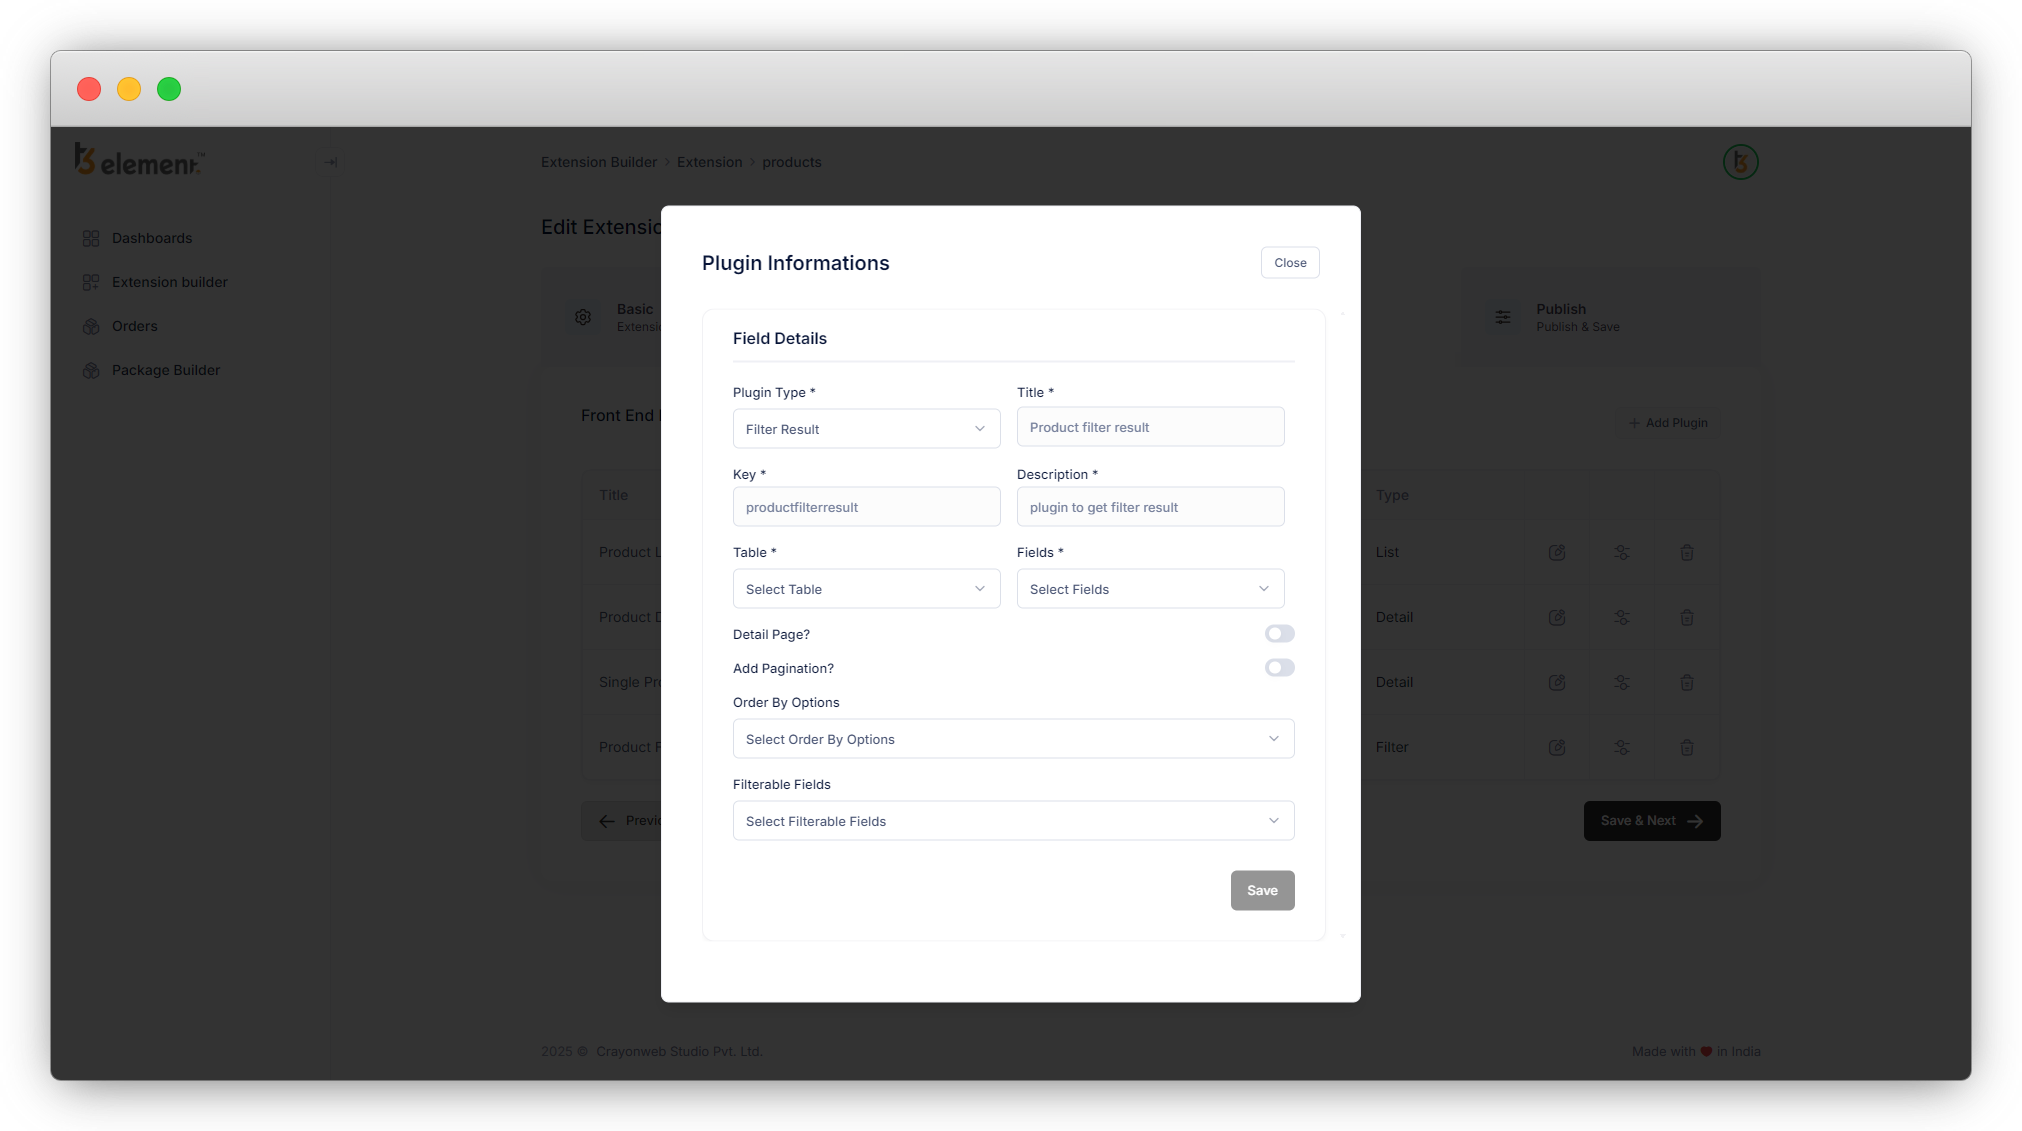
3. Add the Title, Key, and Description for the plugin. (Title and Key are the mandatory fields).
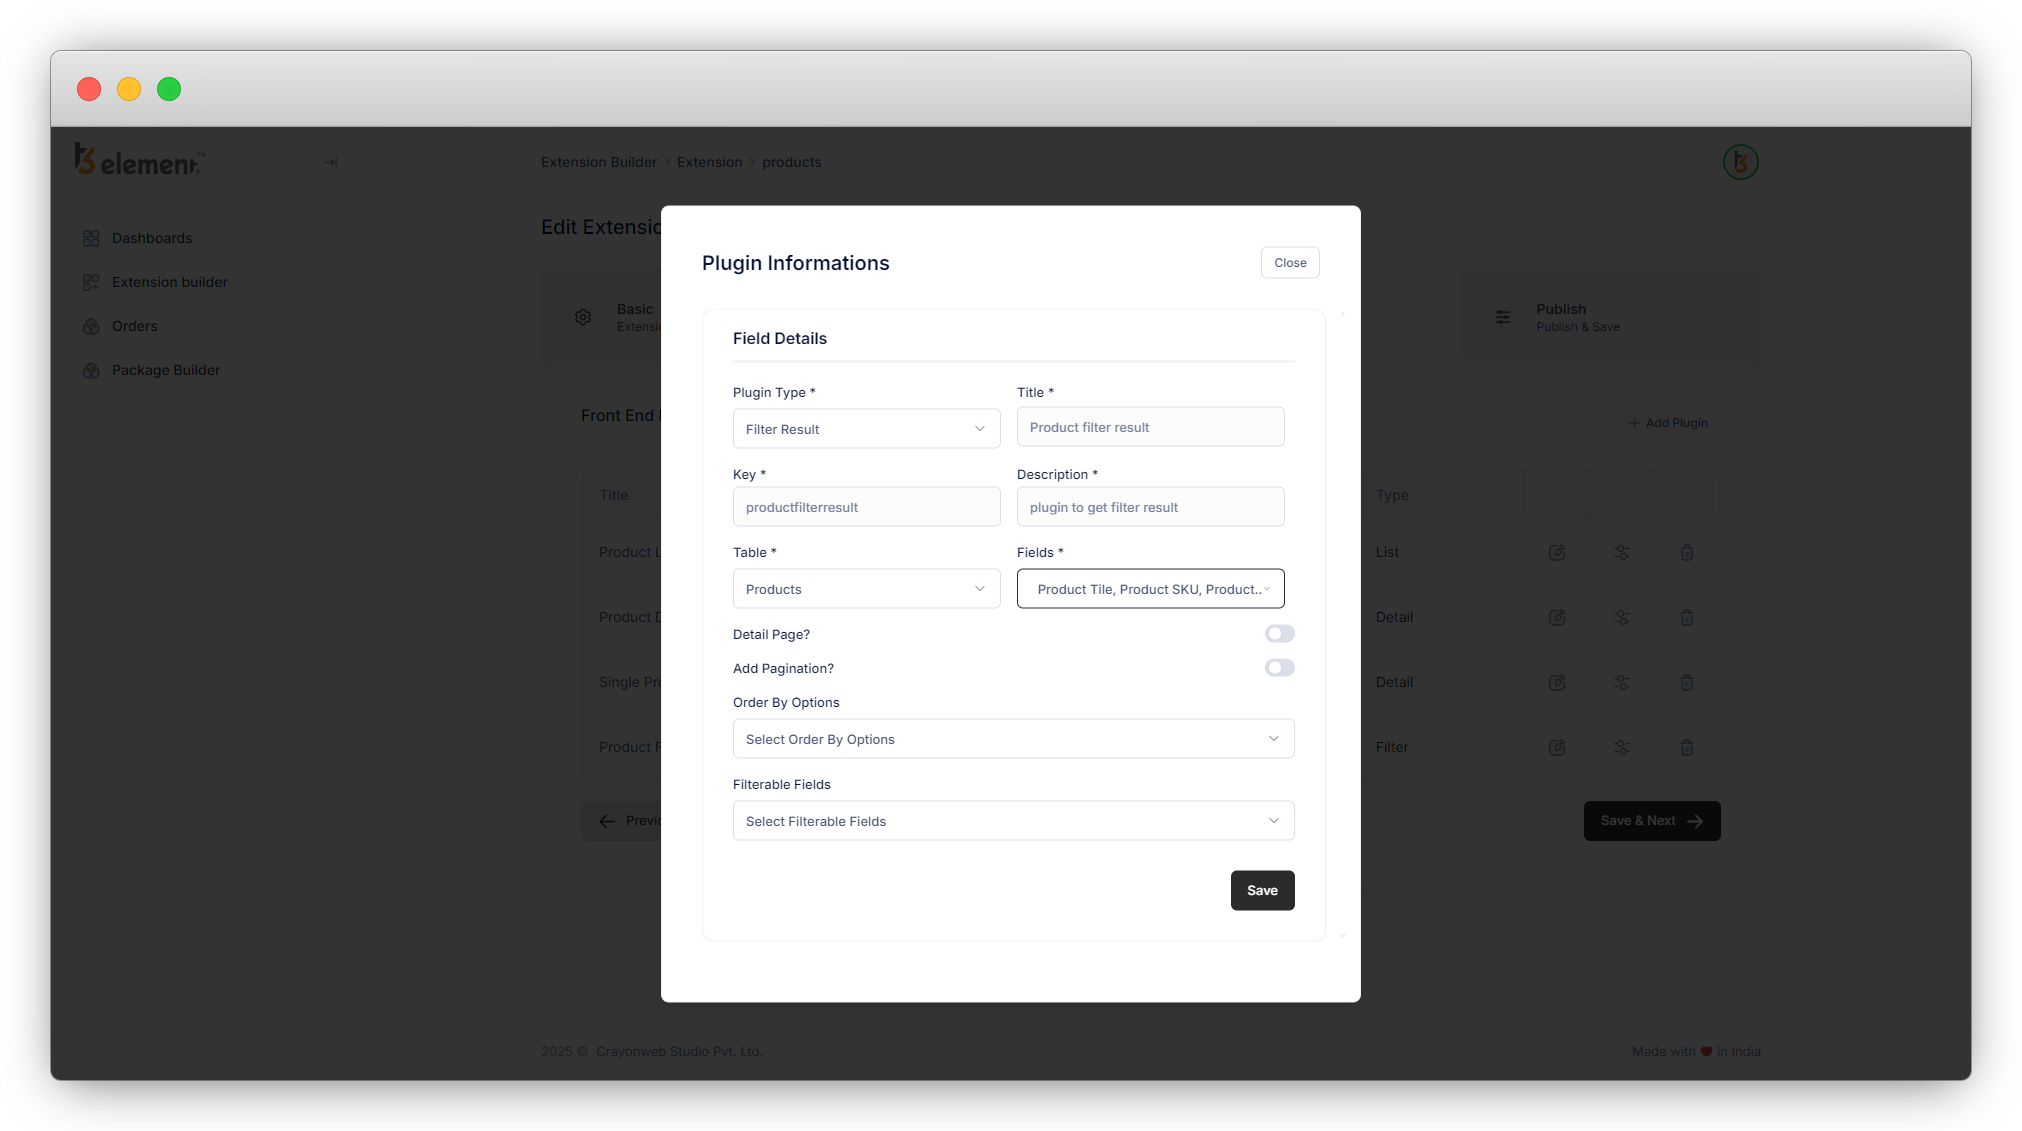
4. Select the table “Products” as we want to create the filter result plugin for the products table.
5. After selecting the table “Products”, the “Fields” dropdown will be enabled.
6. All the selected fields will appear on the filter result page. E.g if you have a filter “Product Origin”, select the country USA, all the products that originated in the USA will be displayed on the filter result page, and the details will be displayed according to the selected fields. Let’s select the fields “Product Title”, “Product SKU”, “Product Image”, and “Short Description” for the filtered products.
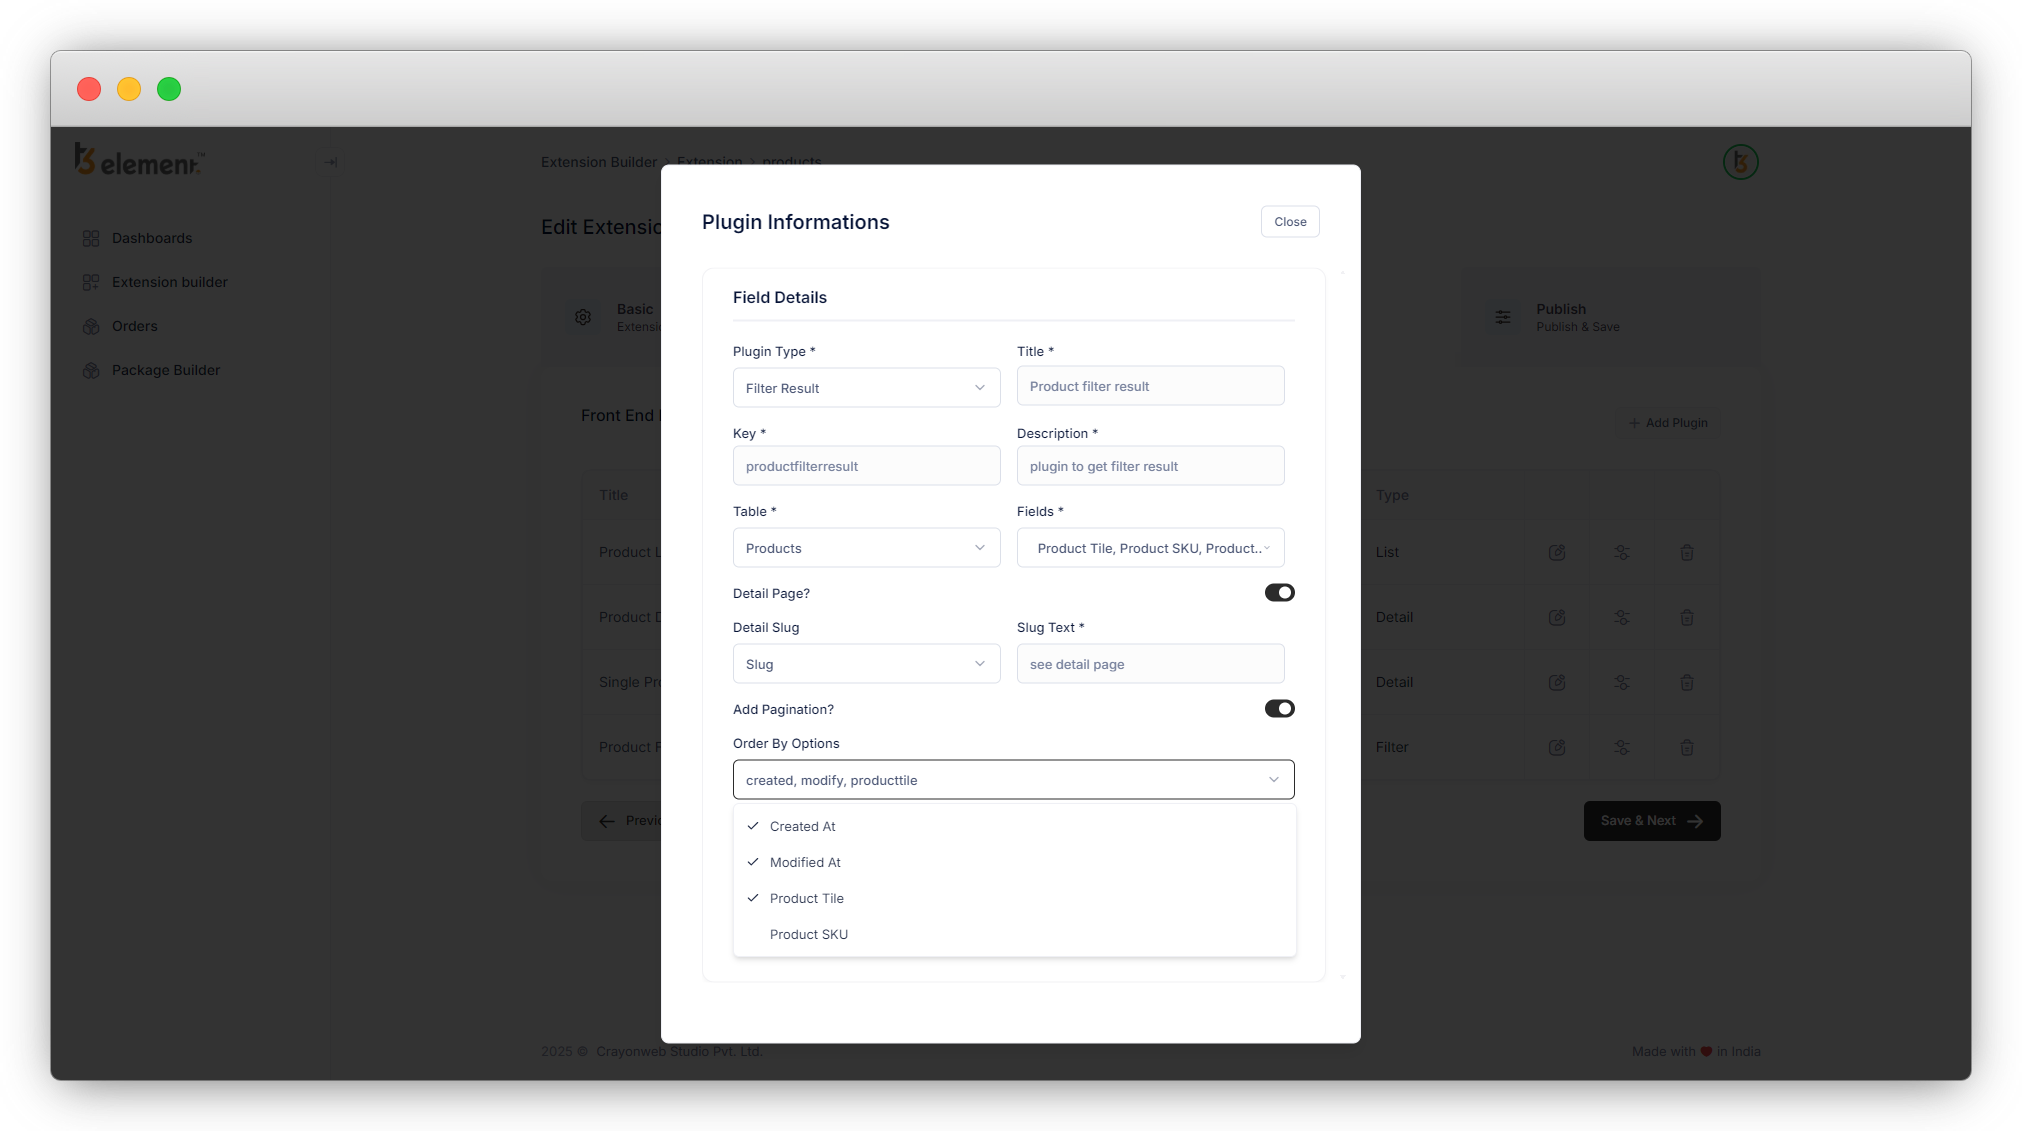
7. Check the “Detail Page” checkbox if you want to add the detail page link in the filtered products, here we are checking this checkbox so we can have the detail page link in the resulting products.
- As you select this option, you will see another 2 fields “Detail Slug” and “Slug Text”.
- We have the field “Slug” in the “Products” table so we have the option of the “Slug” field in “Detail Slug”.
- In the “Slug Text” field let’s add the text “See detail page” for the link to the product detail page.

8. The product list should have the pagination so let’s check the “Add Pagination” checkbox.
9. “Order By Options” is a mandatory field, select the options you think you will need in your extension. Let’s select the “Created At”, “Product Title”, and “Launch Date” fields. Please note here that the “Created At” and “Modified At” fields are default fields for “Order By Options” field, and other fields like here “Product Title”, “Product SKU”, “Launch Date”, etc. will be added according to your selected table’s fields. All the fields with the data type “String” and “Date” will be shown here as options.
10. As in the product table, we have 2 “single select” fields – Product type and Product country and 1 “Category” field – Product category so as seen in the above screenshot we have 3 options for the filterable fields, The radio field would be listed as one of the filterable fields if it were present in the products table.
11. Let’s select the fields “Product Category” and “Product country” as filterable fields. Remember here that you will have to select the same fields you already have selected in the “Filter” plugin, otherwise, there will be a mismatch of fields in “Filter” and “Filter Result” and you may get the wrong filtered data.
12. Click on the “Save” button to save the plugin information and after being redirected to the plugin list, open the template of the plugin by clicking on the second action icon, update the fluid template if you want to update it, else just click on the “Save” button so the template will be saved.
13. Let’s create the plugin “Form”.
Share


