
URL copied to clipboard

Table – Country of Origin
4 views
__readtime__ Min
read
1. The same procedure has been followed to create another table “Country of Origin”.
2. Click on the button “Add Model” to create the new table/model.
3. You will see the window of “Model information”.
4. Fill up the information like the title for the model and key (auto-generated).
5. Then add the elements as per the requirement. Here the only field “Add countries” is required, and here the string field is used.
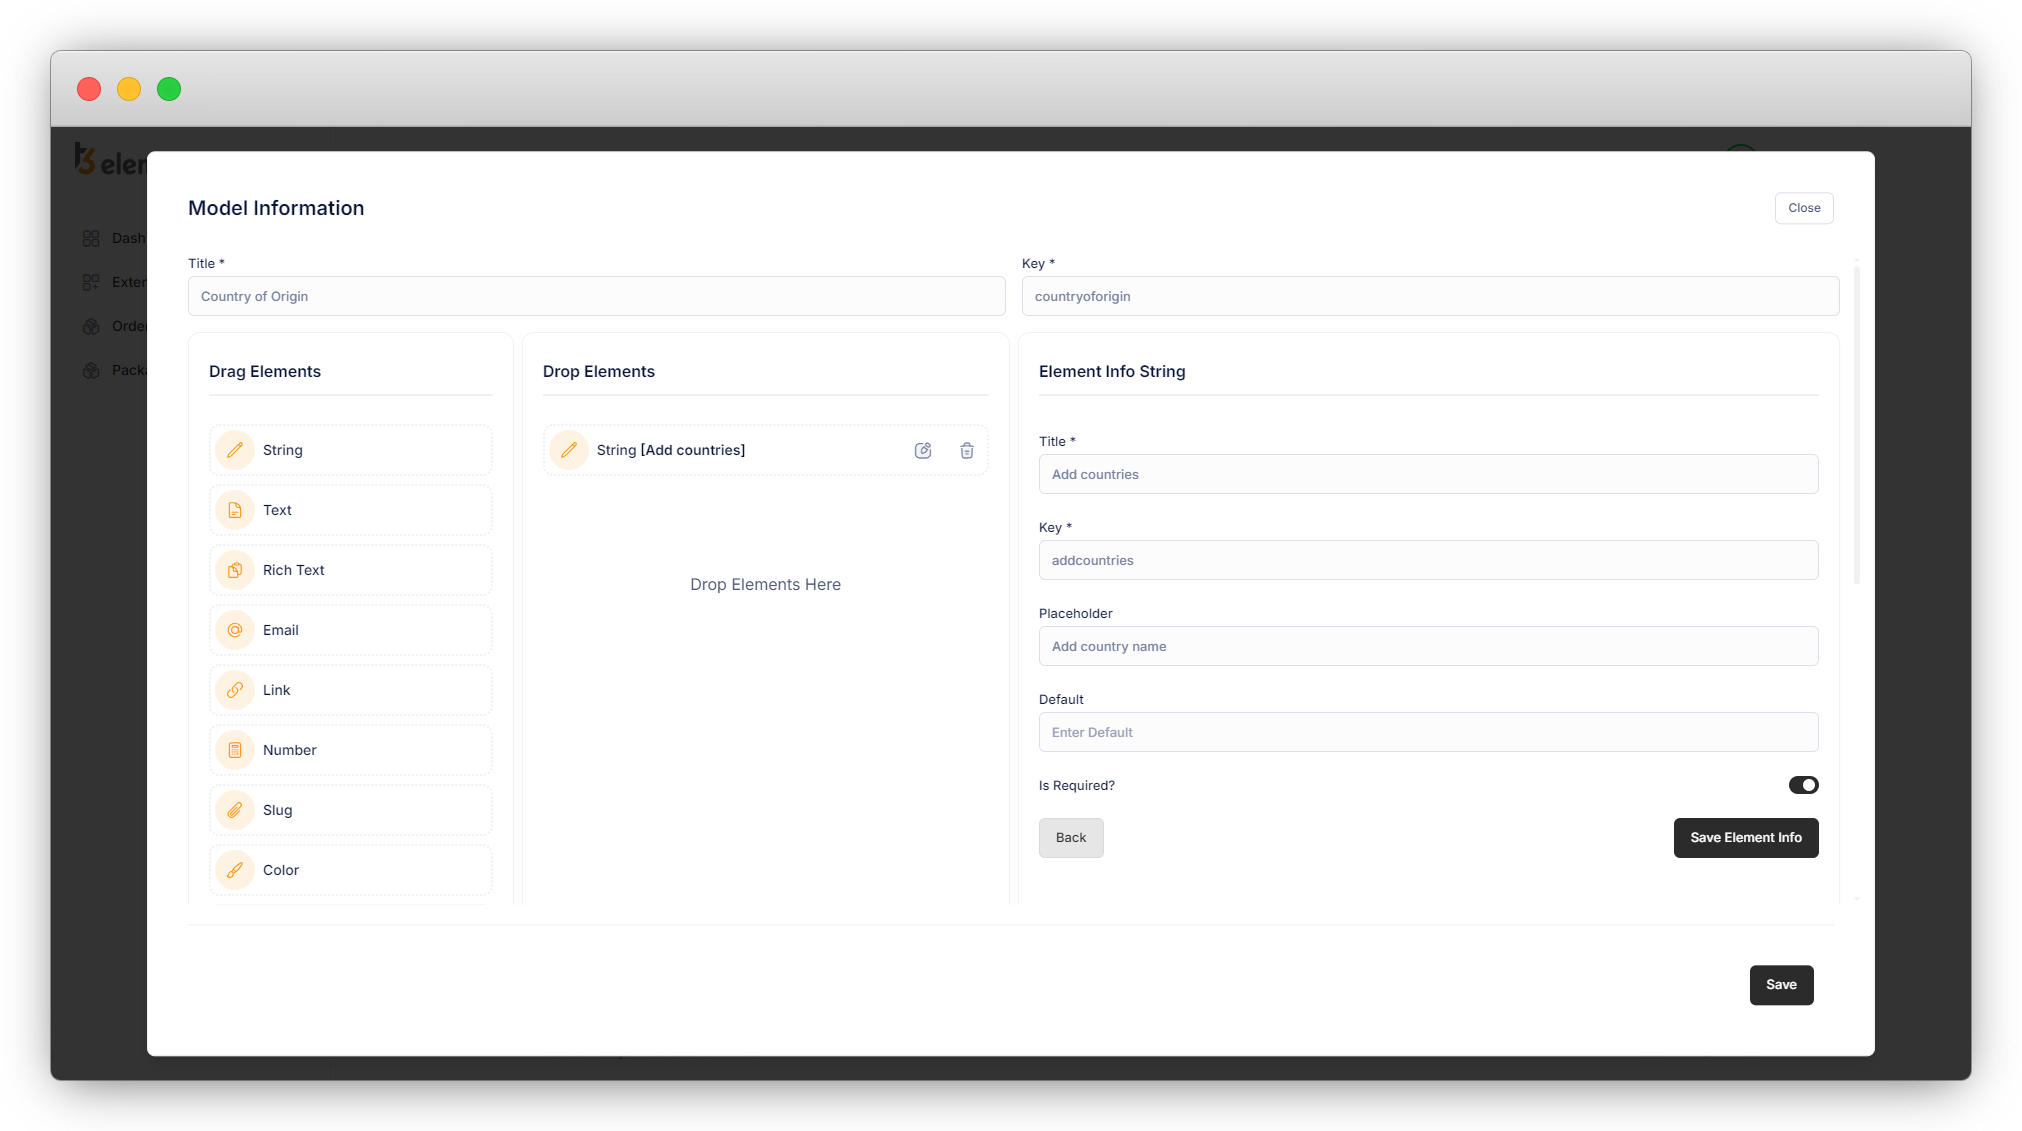
6. Click on the button “Save Element Info” and the element will be saved.
7. As you can see in the above screenshot, the string field is used. You can add more fields according to your requirements. Let’s add one more field of “Image” for the country flag.
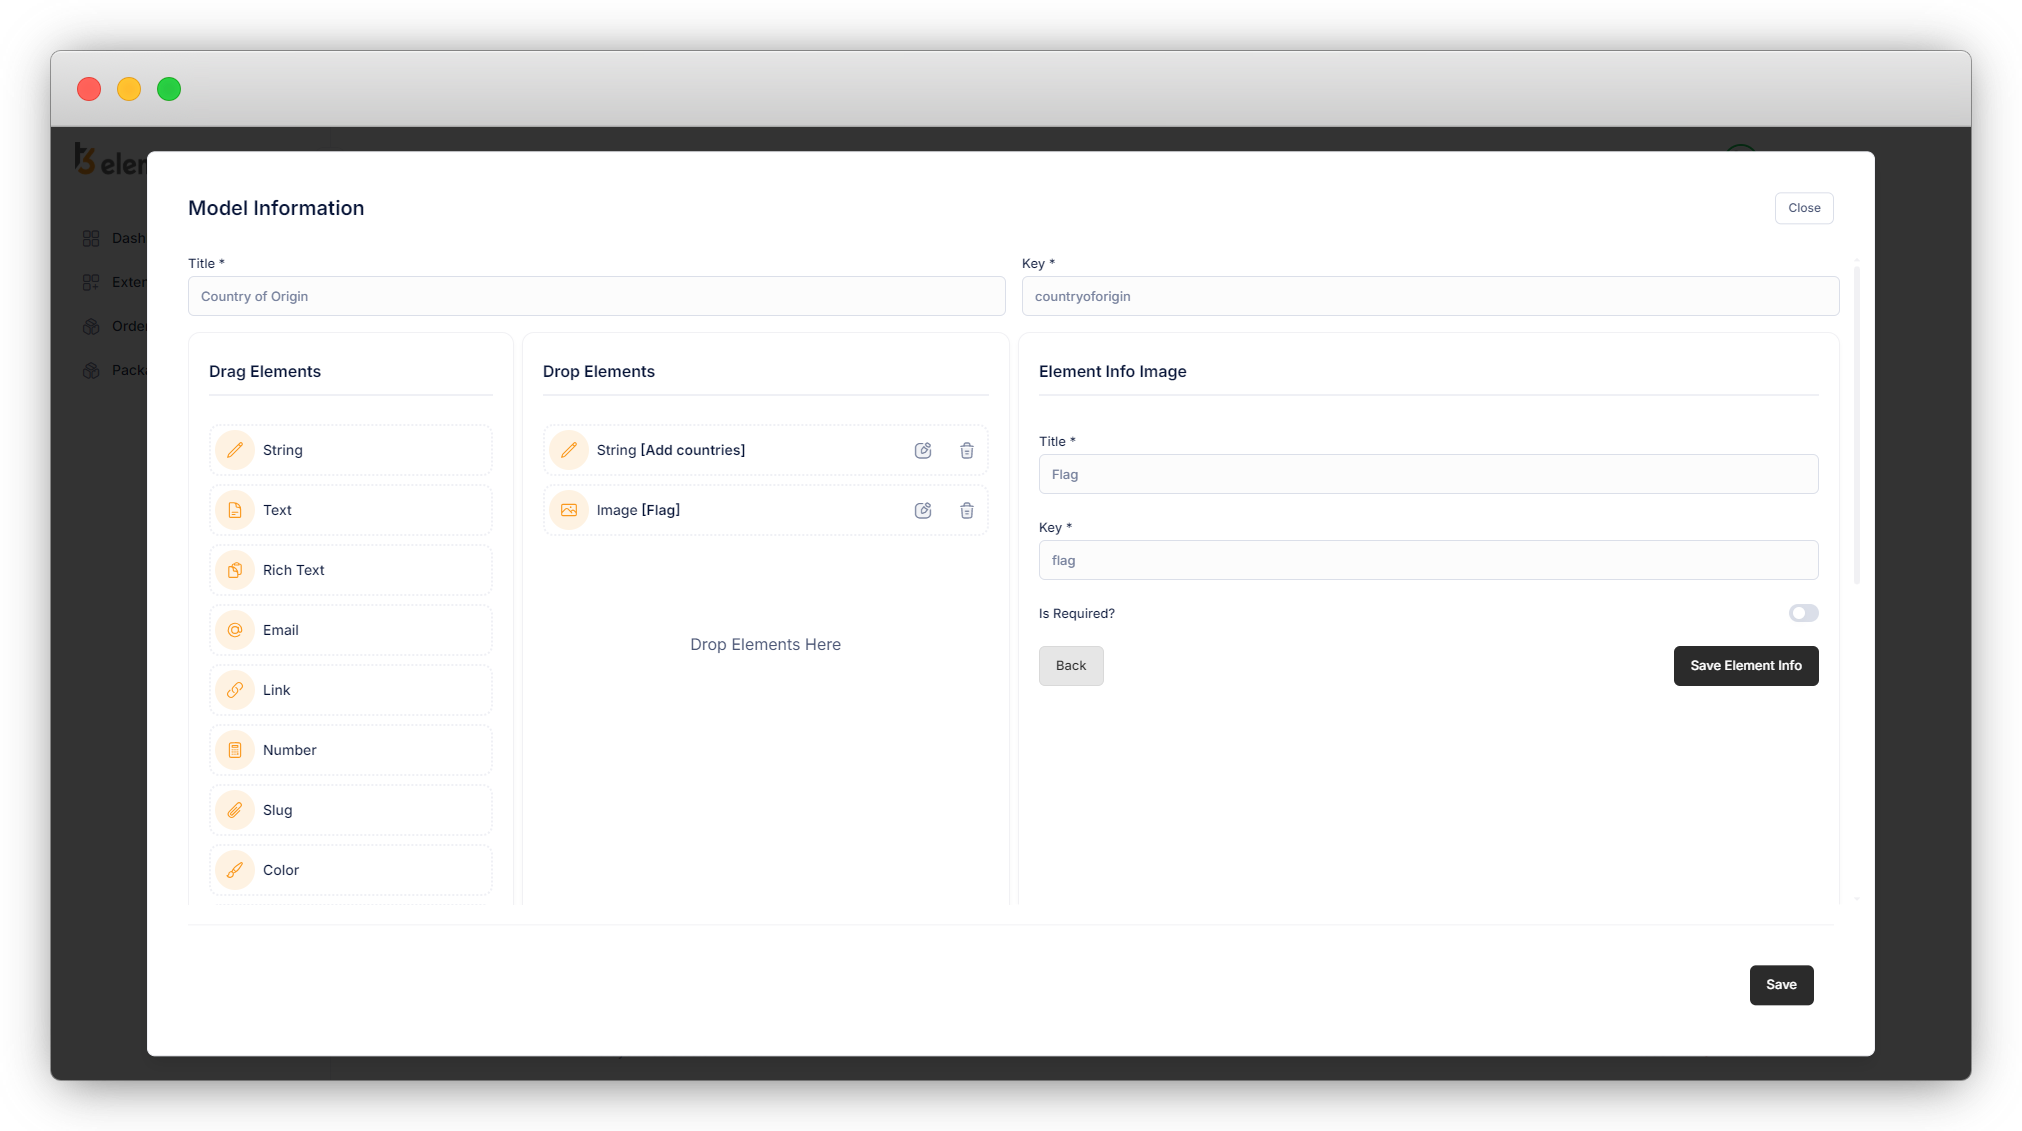
8. Click on the button “Save Element Info” and the element will be saved.
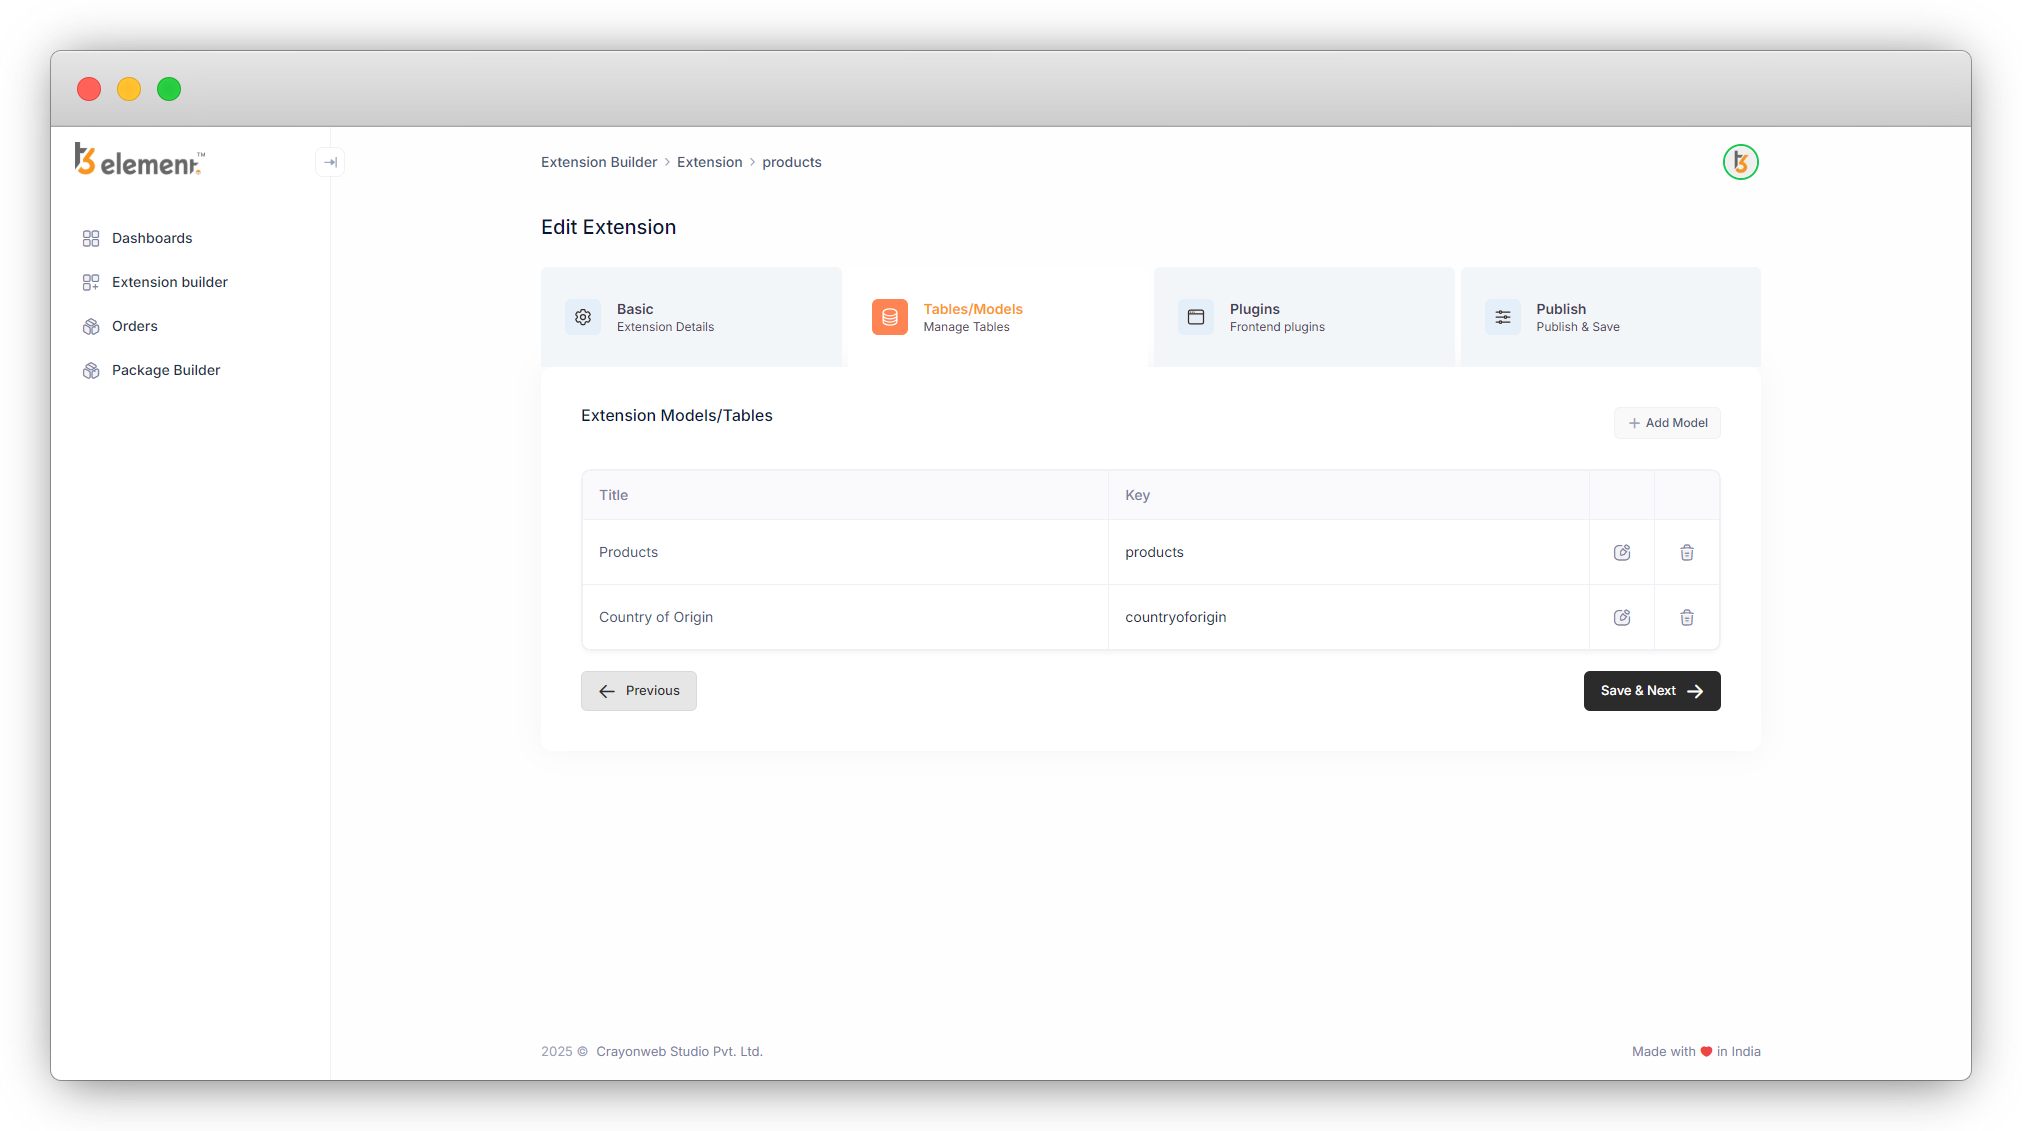
9. Then click on the “Save” button to save the table/model.
10. And you will see both the tables in the list of tables.
11. Here just keep in mind that if you want to use this table “Country of Origin” in any other table as a foreign table, you must add the “String” element for the field you want to use as a foreign field. Let’s see an example.
12. Let’s add another field into the Products table for the “Product’s country” and use the table “Country of Origin”. Let’s see in detail.
- Add the element “Select “.
- Title: Add the title for the field – Product Country
- Key: Add the key for the field – productcountry.
- Select type: select the type “Single select”.
- Fetch data from table: Select the table “Country of Origin”.
- Select Field: Here you will get only “Add countries” fields which is a string field. We added 2 fields in the “Country of Origin” table which are “Add Countries” and “Flag” but only the string field will be available to establish the relationship with the foreign table as you can see in the screenshot below:

Click on the “Save Element Info” to save the element and then save the model. After saving the model you will be redirected to the list of models, here just click on “Save & Next” and you will see the next tab for “Frontend Plugins “
Share


