
URL copied to clipboard

Add TYPO3 categories
4 views
__readtime__ Min
read
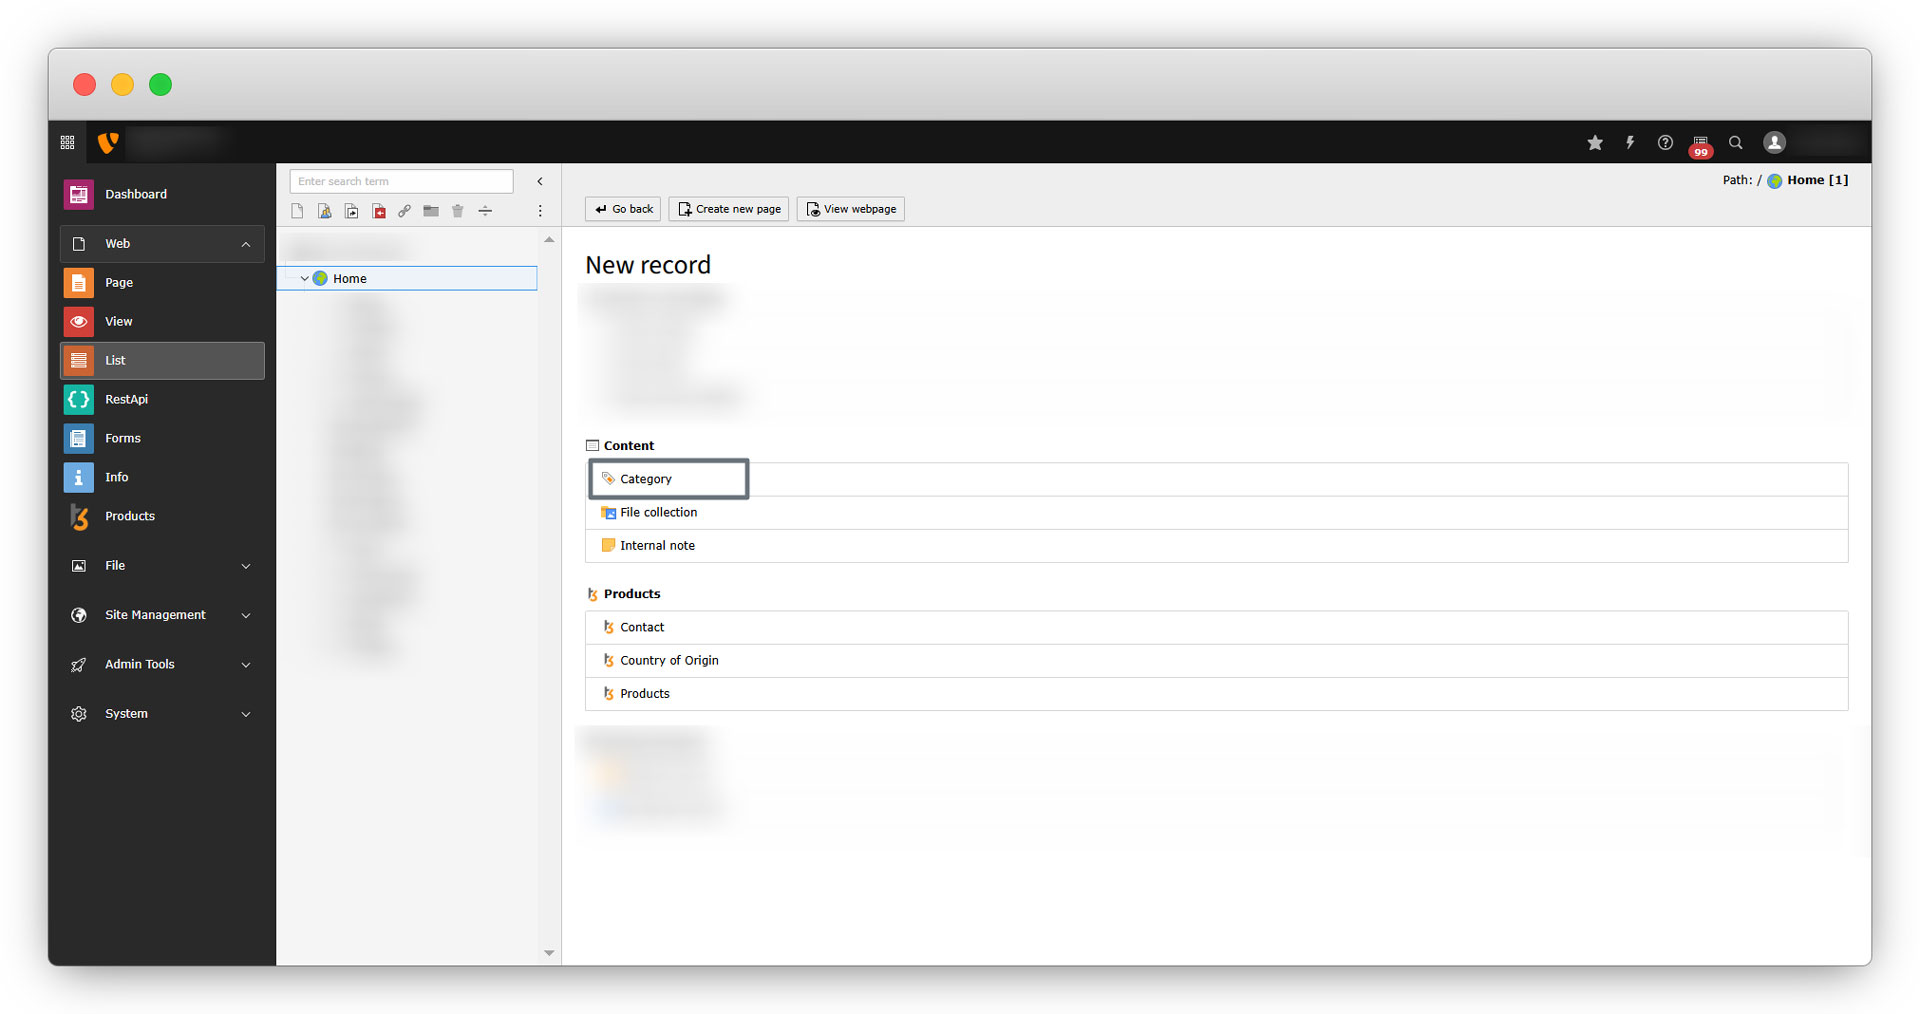
1. Go to the root page “Home”.
2. Select the “List” module, and click on the “Create new record”. You will see an option to add a category as seen in the screenshot below:
3. You will see the below screen:
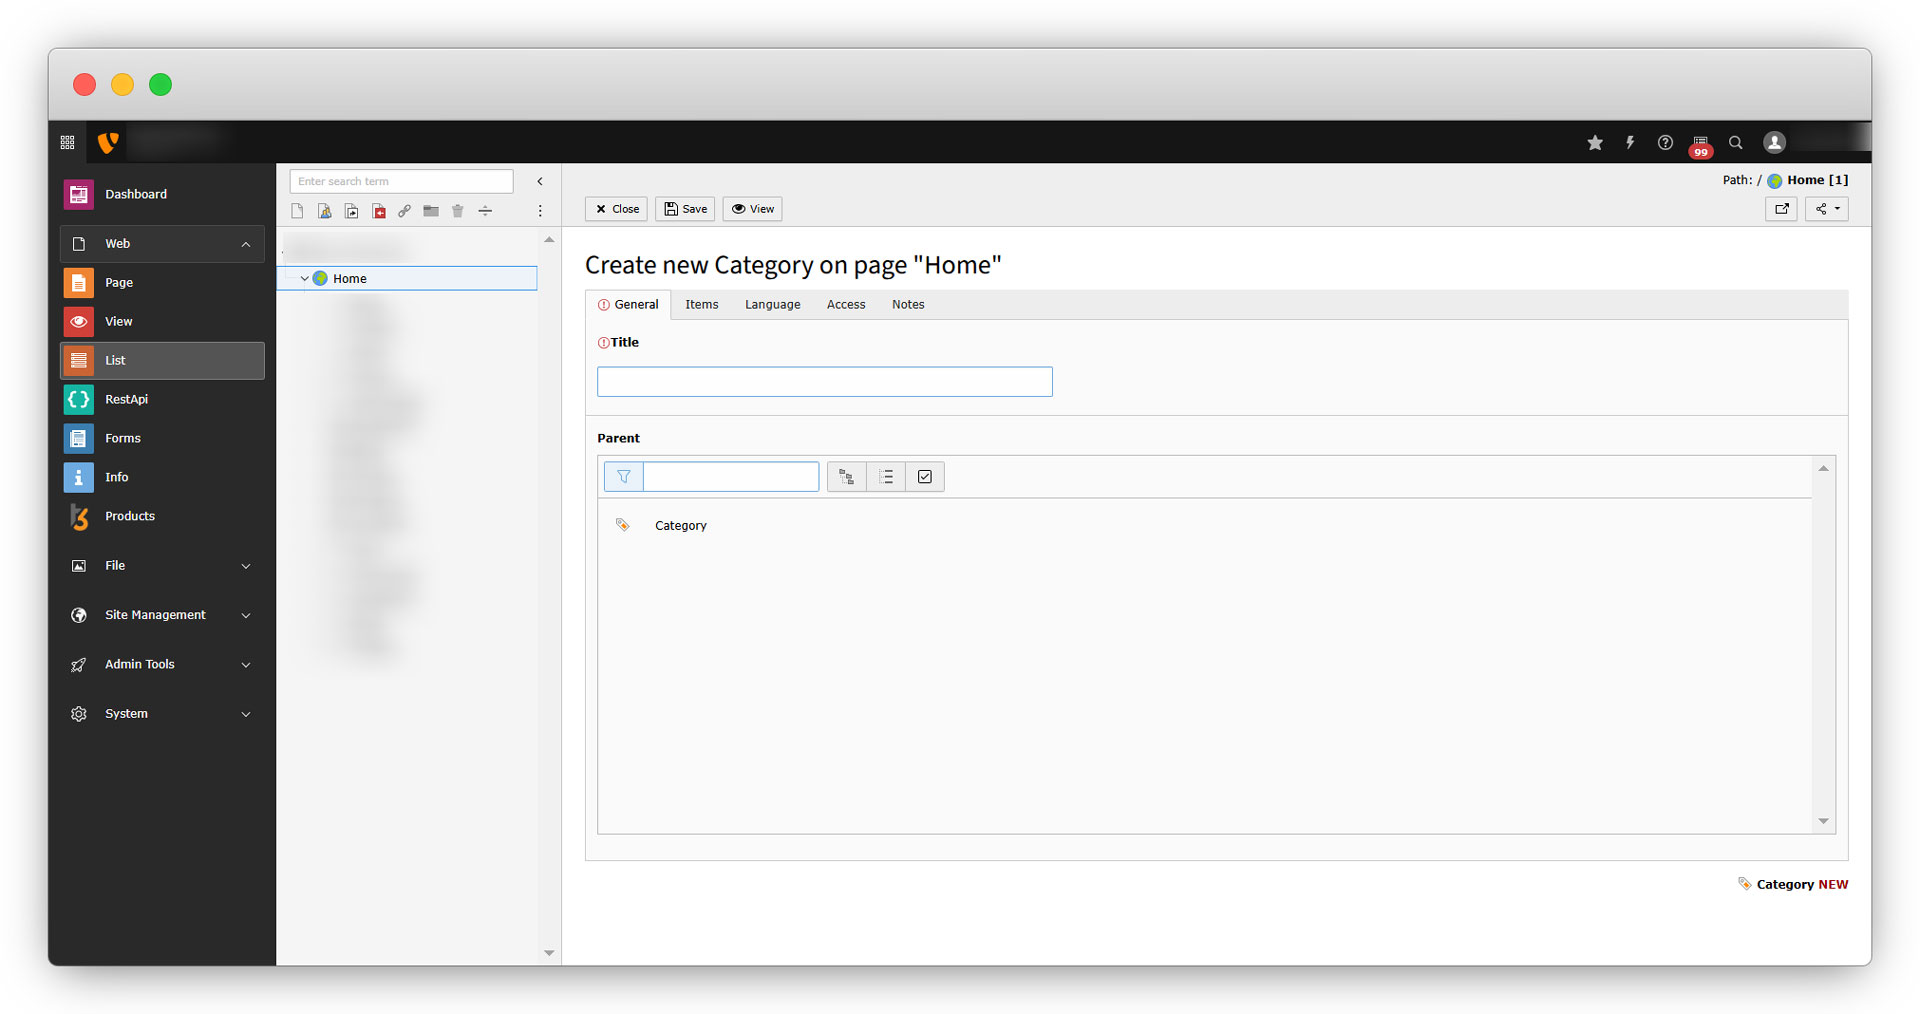
4. Add the categories as per your requirements. You can also create the child categories. If you are not aware of TYPO3 categories, you can refer to the doc. – https://docs.typo3.org/p/t3g/blog/main/en-us/Guides/Categories/Index.html
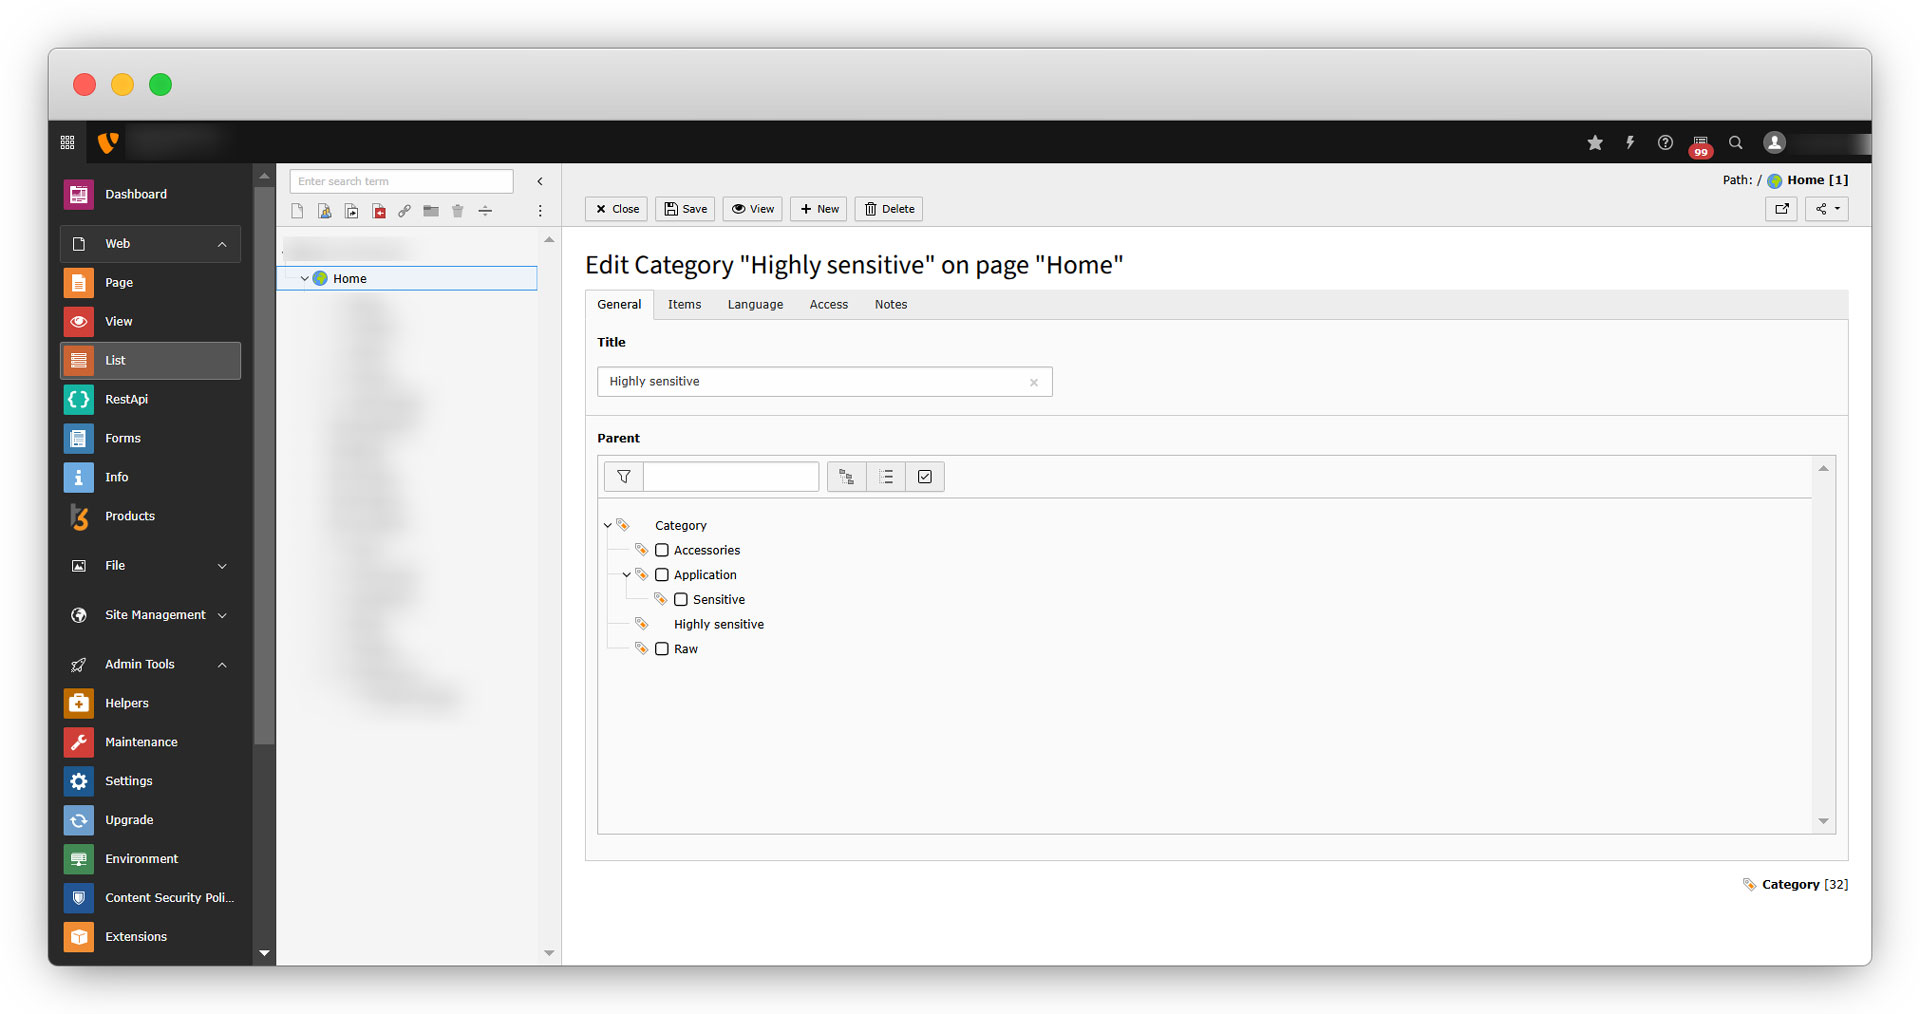
5. Let’s add a first category. Add the title of the category and as we haven’t any existing category so there will be no parent for the first category. To create a new category, add the title of the category and click on the “Save” button from the top left and you will see the saved category as seen in the screenshot below.
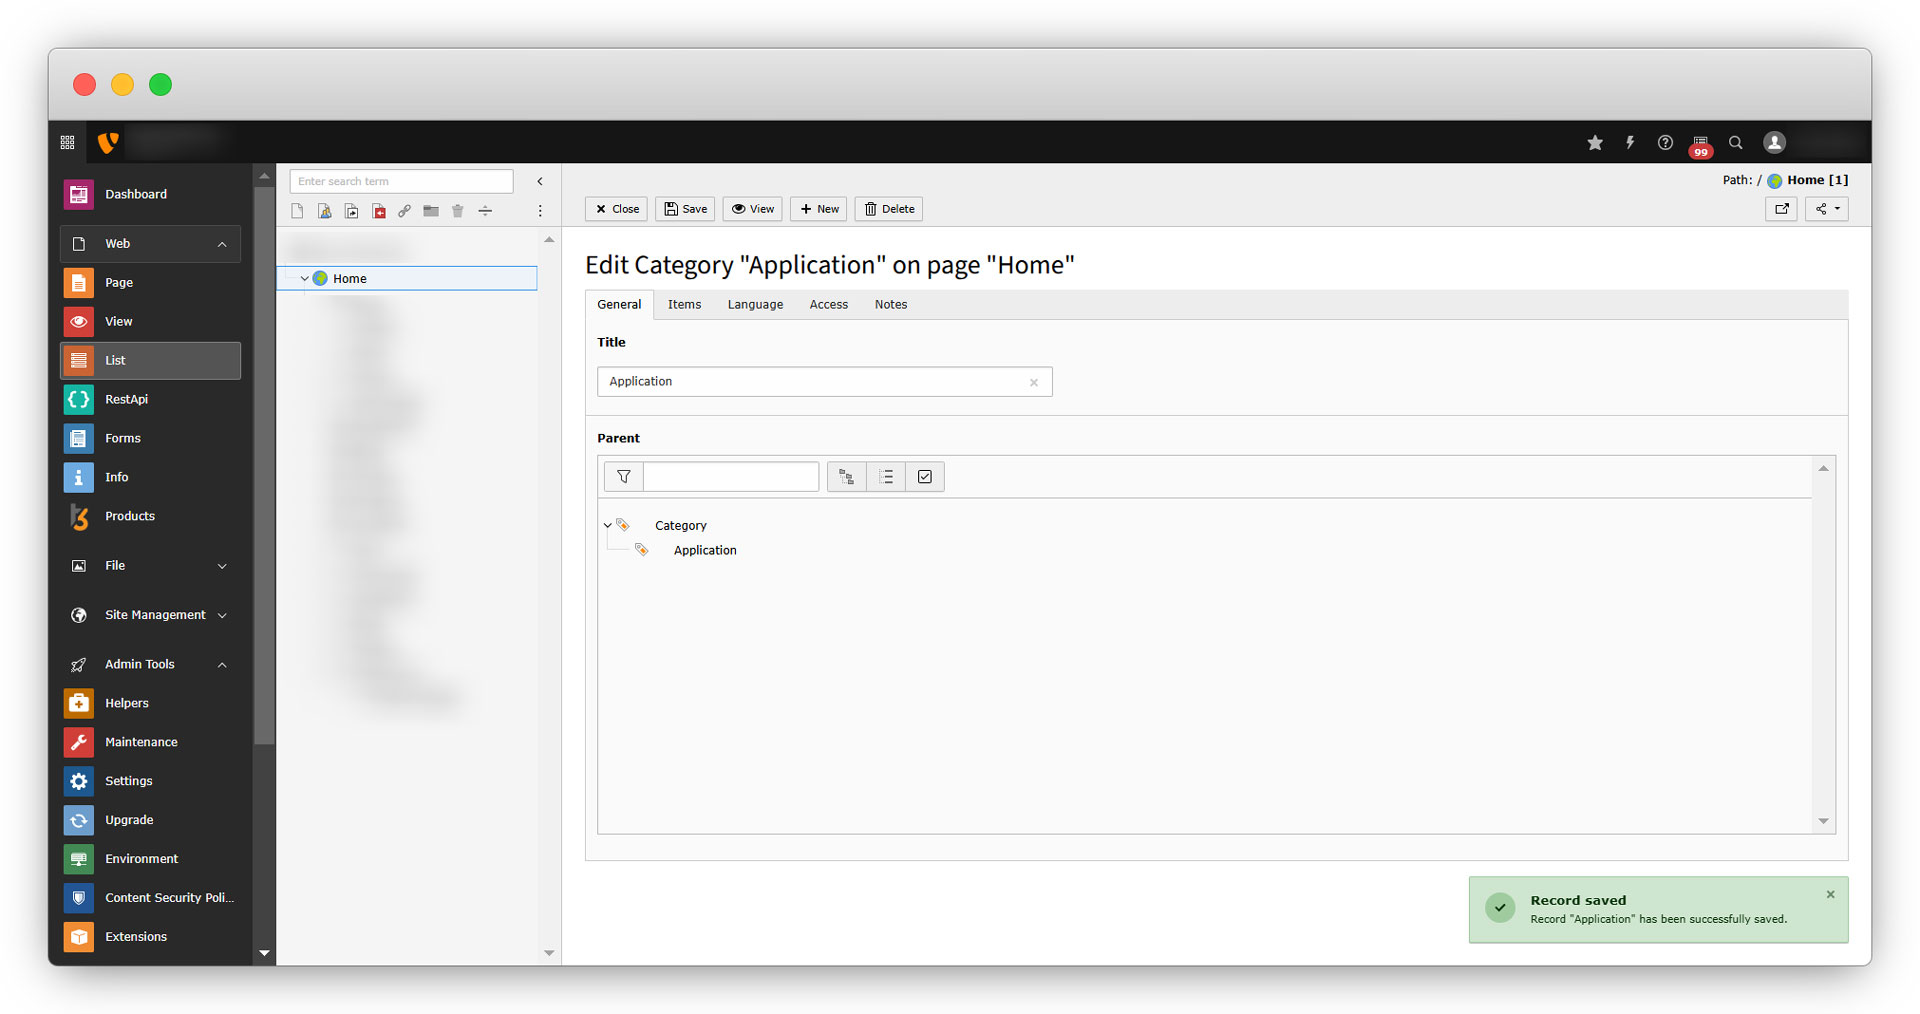
6. Let’s add a child category for the first category “Application”. Click on the “+New” from the top left. Creating it as a child category of “Application”, add the title of the new child category and check the checkbox of the “Application” from the category tree as seen in the screenshot below
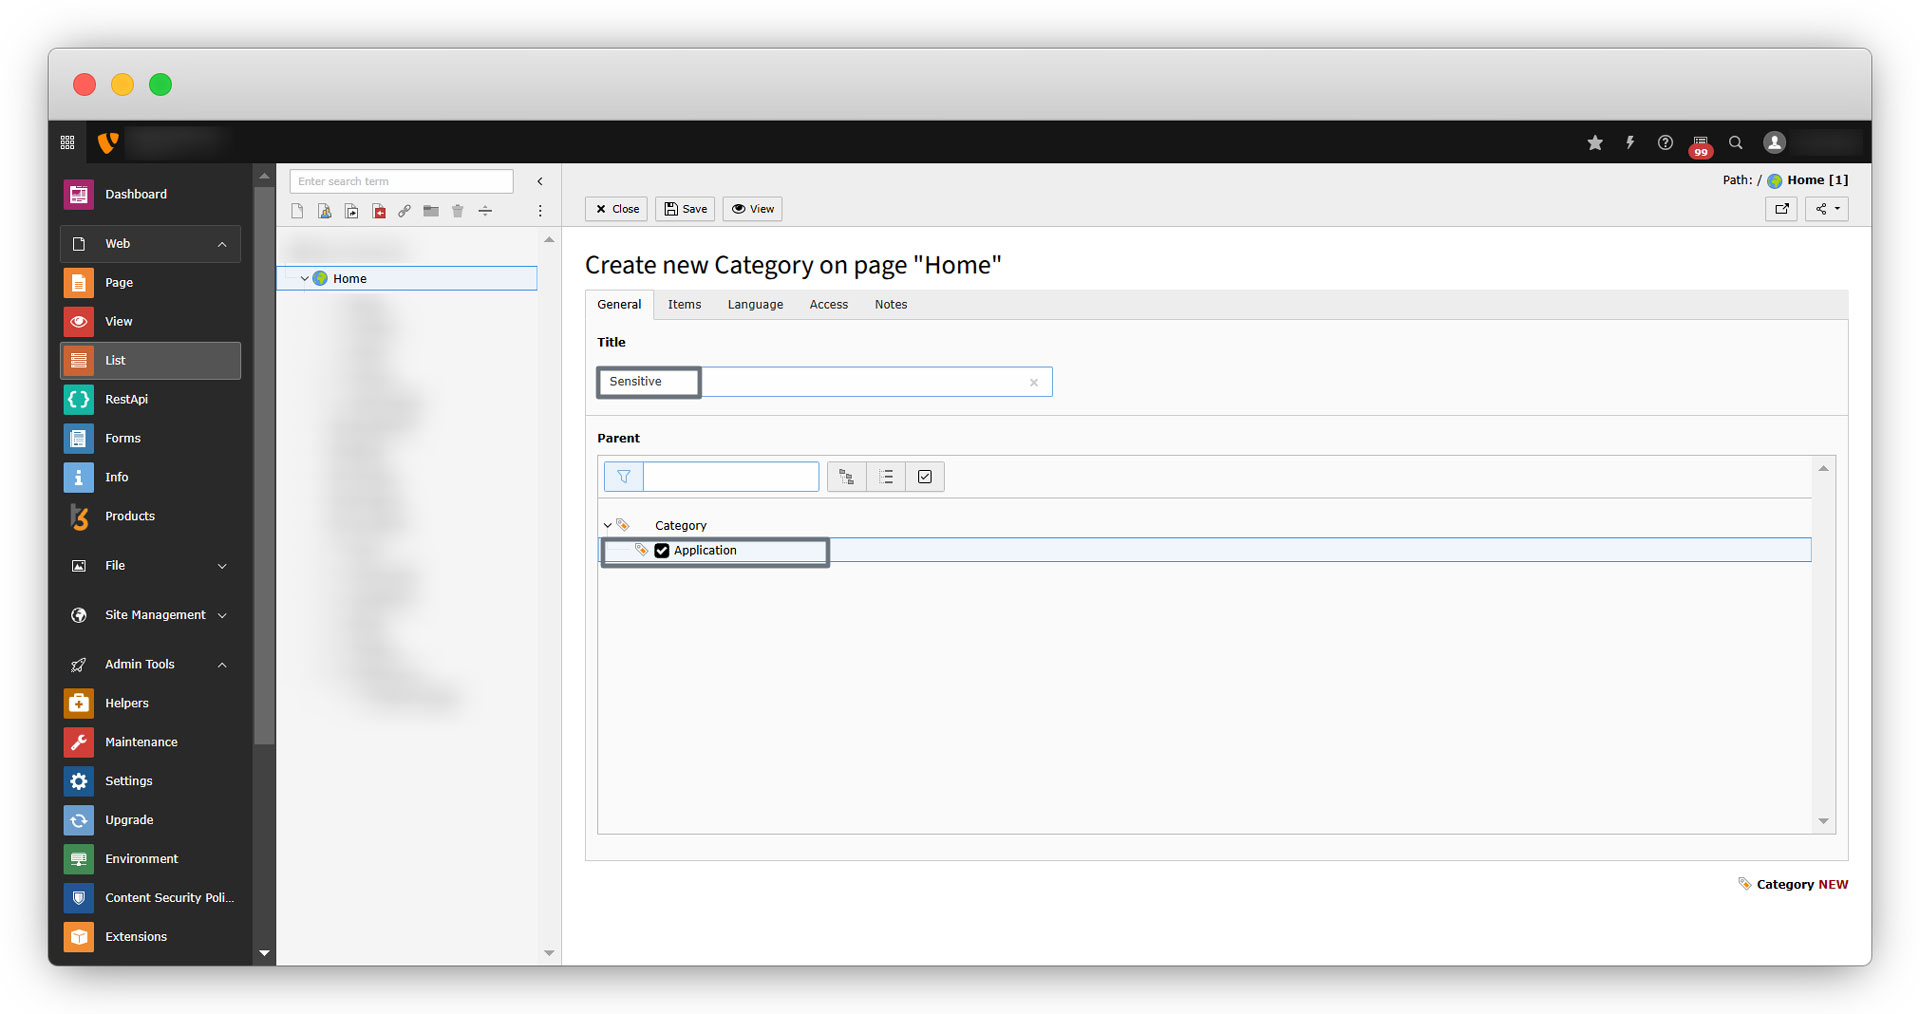
7. Click on the “Save” button and you will see the category “Sensitive” has been added as a child category of “Application”.
8. Here we have added other categories as you can see in the below screenshot of the category tree. Add categories like this as per your requirement.
9. Now, let’s add the details for the first product. Here our first product to be added is the “Tangent galvanometer”.
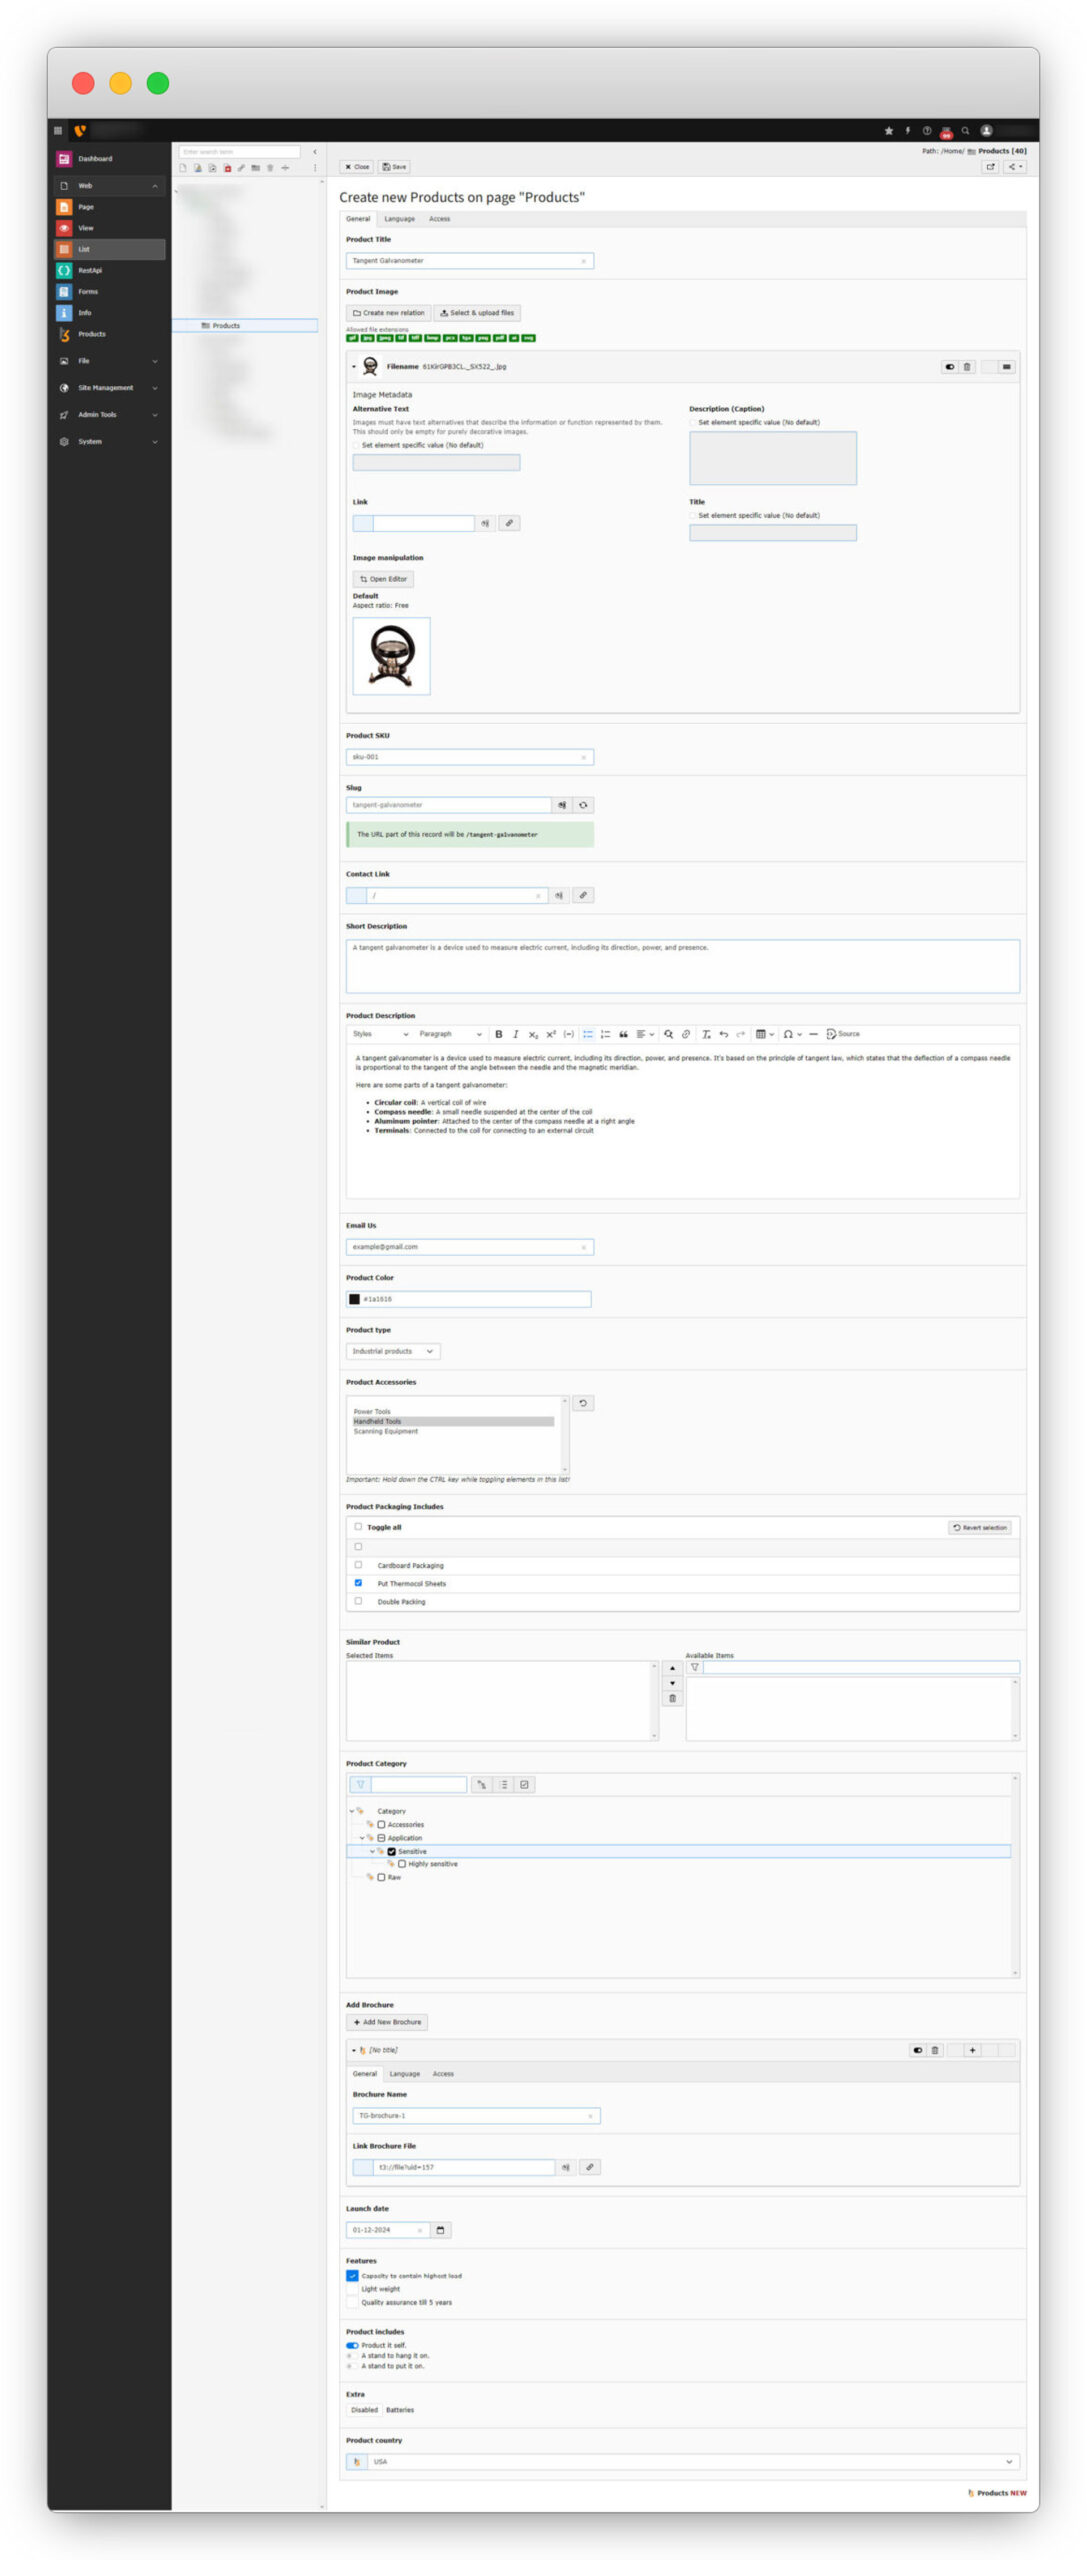
9.1. Product Title: Added the product title “Tangent Galvanometer”.
9.2. Product Image: Uploaded the product image.
9.3. Product SKU: Added the product sku “sku-001”.
9.4. Slug: The slug has been generated automatically “tangent-galvanometer”. We can edit the slug if it is required.
9.5. Contact Link: For now added “/” here, which redirects to the home page.
9.6. Short Description: Added a short description of the product so that one can get basic knowledge about the product.
9.7. Product Description: This should contain all the information about the product that can convince the potential customer to buy that product.
9.8. Email Us: Add the email ID here on which a user can send his/her query or contact you.
9.9. Product Color: Specify the color code of the product. Here it is #1a1616
9.10. Product type: Select the product type from the dropdown. The selected option here is “Industrial products”. (The options you will get here would be the options you have added at the time of creating the table in the extension builder.)
9.11. Product Accessories: The selected option here is “Handheld Tools”.
9.12. Product Packaging Includes: The selected option here is ” Put Thermocol Sheets”.
9.13. Similar Product: There are no other products to select for “Similar Product” as we still haven’t added any other products.
9.14. Product Category: The selected category here is “Sensitive”. You can see all the categories here we added as TYPO3 categories.
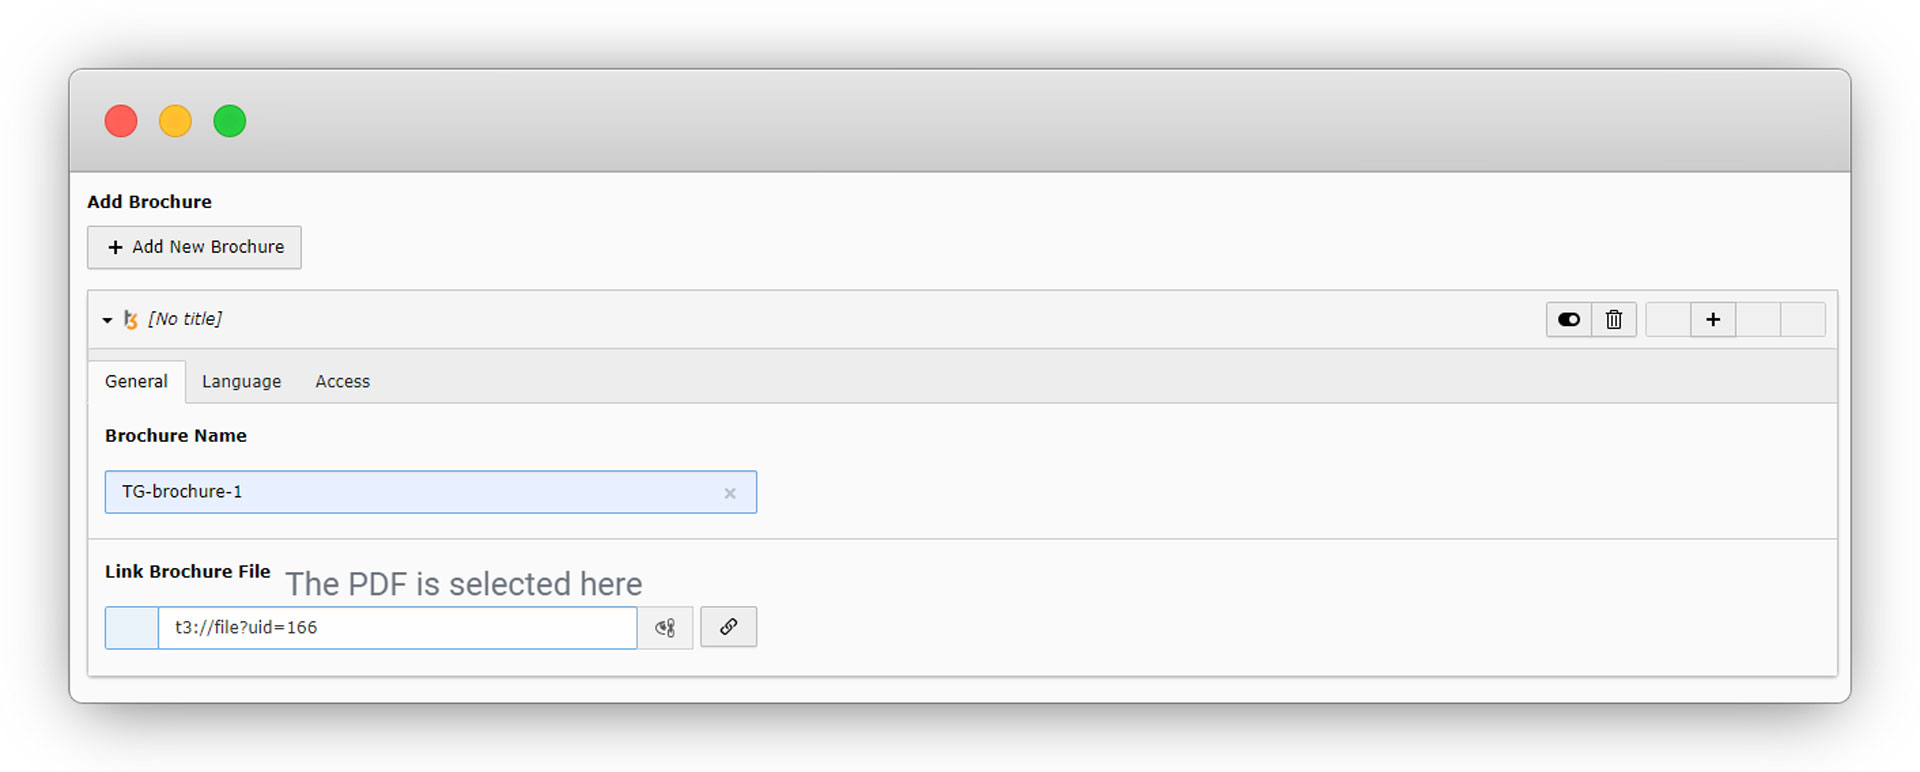
9.15. Add Brochure: Click on the “+Add New Brochure” button and you will get an option to add “Brochure Name” and “Link Brochure File”. See the below screenshots and follow them.
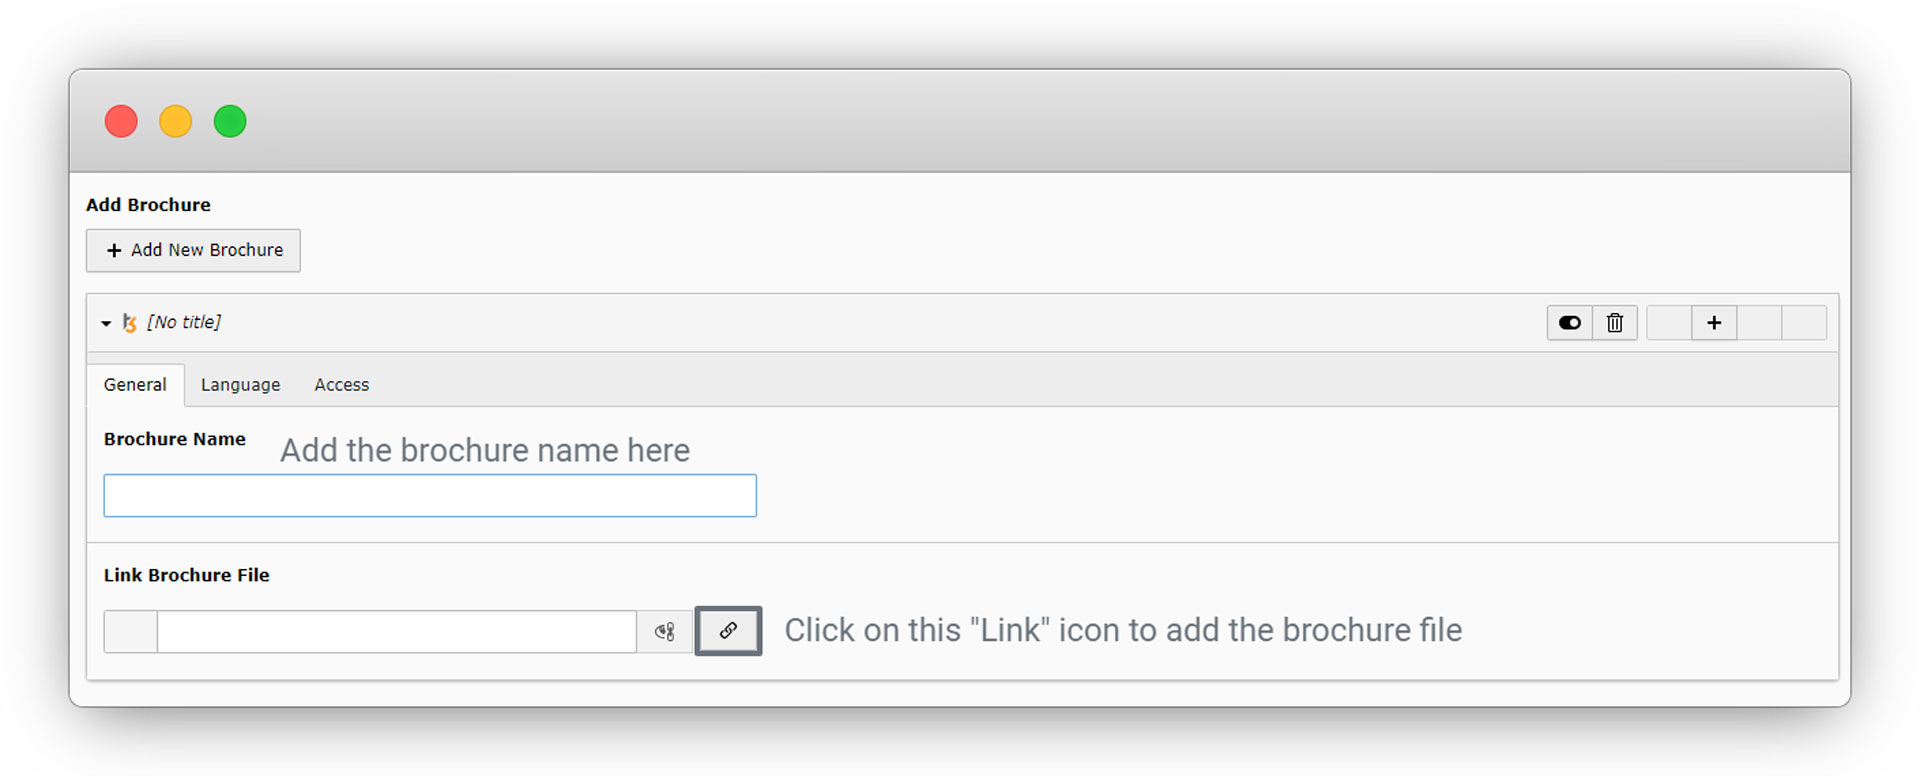
Add the title and click on the link icon to add the brochure file, as you click on the link icon you will see a popup as seen in the screenshot below:
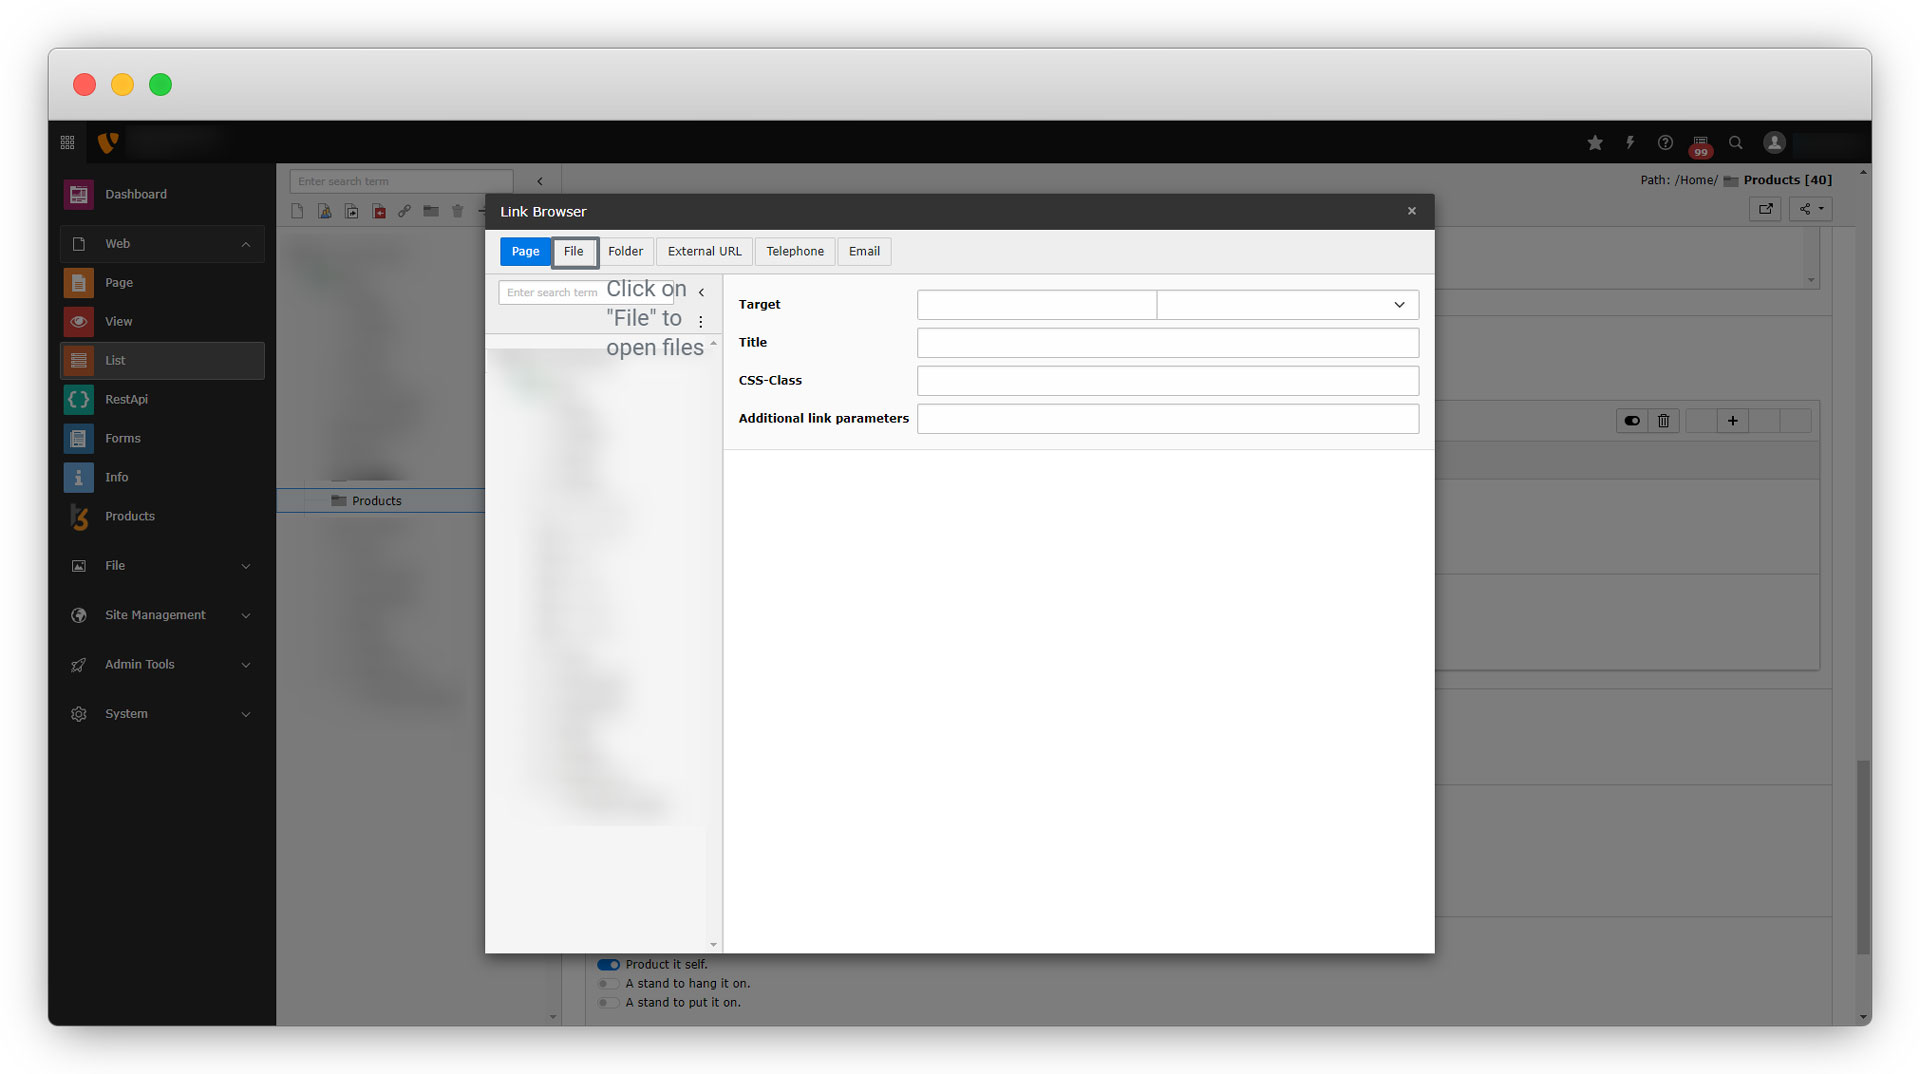
Click on the “File” from the top left to get the existing files and also to upload a new file. After clicking on the “Files”, you will see the below popup:
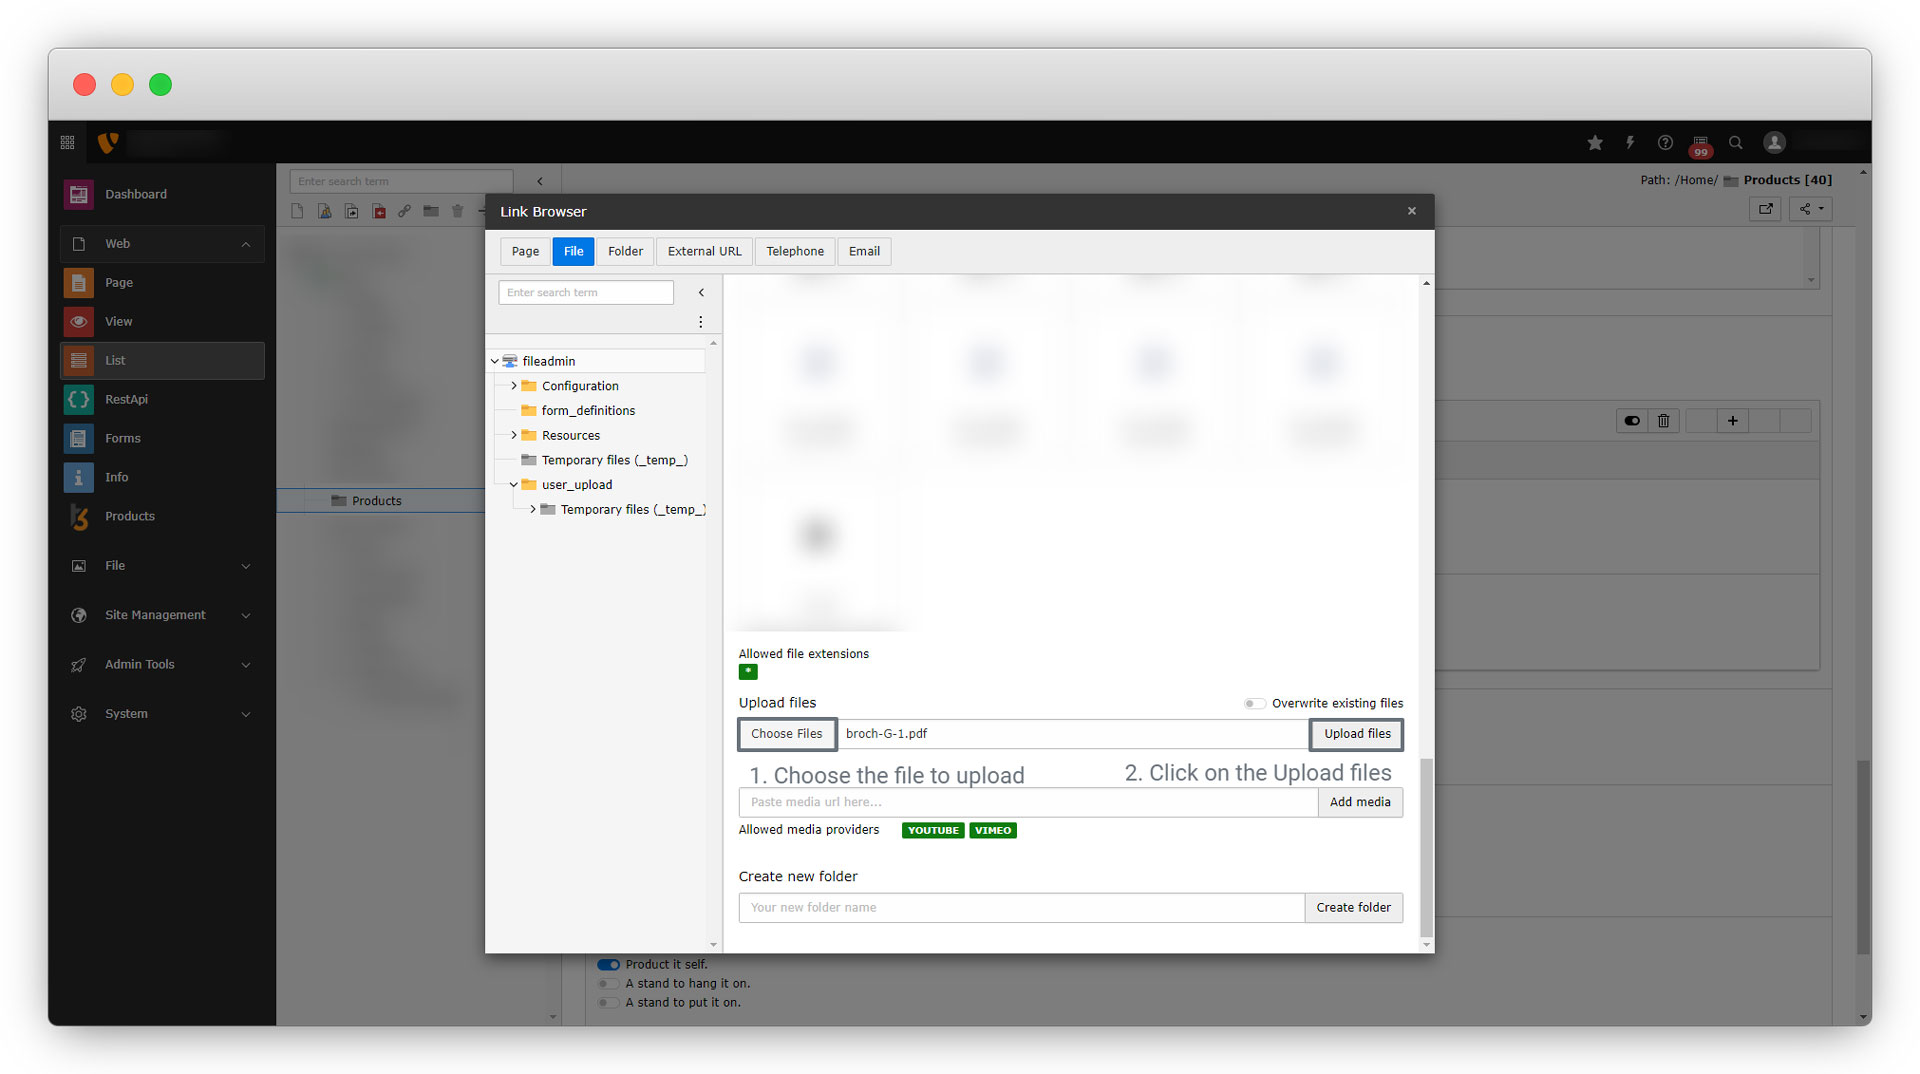
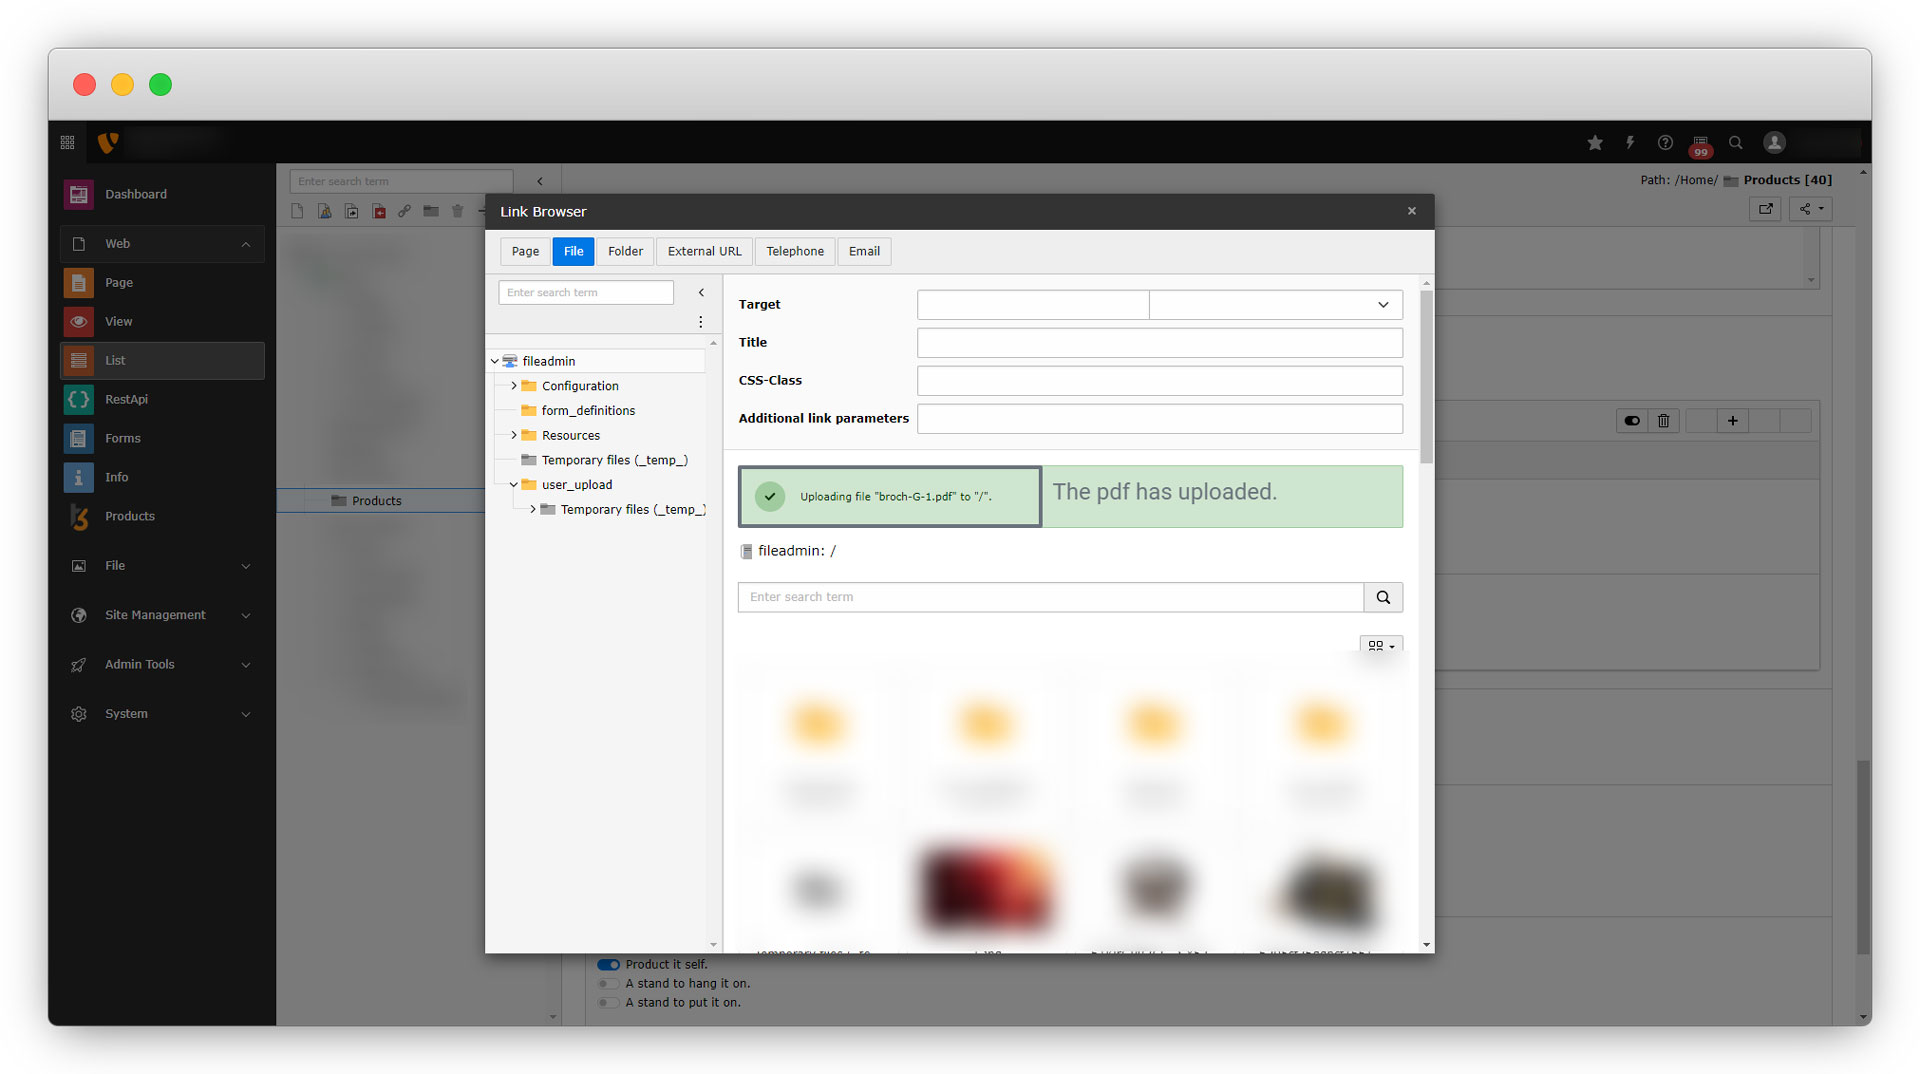
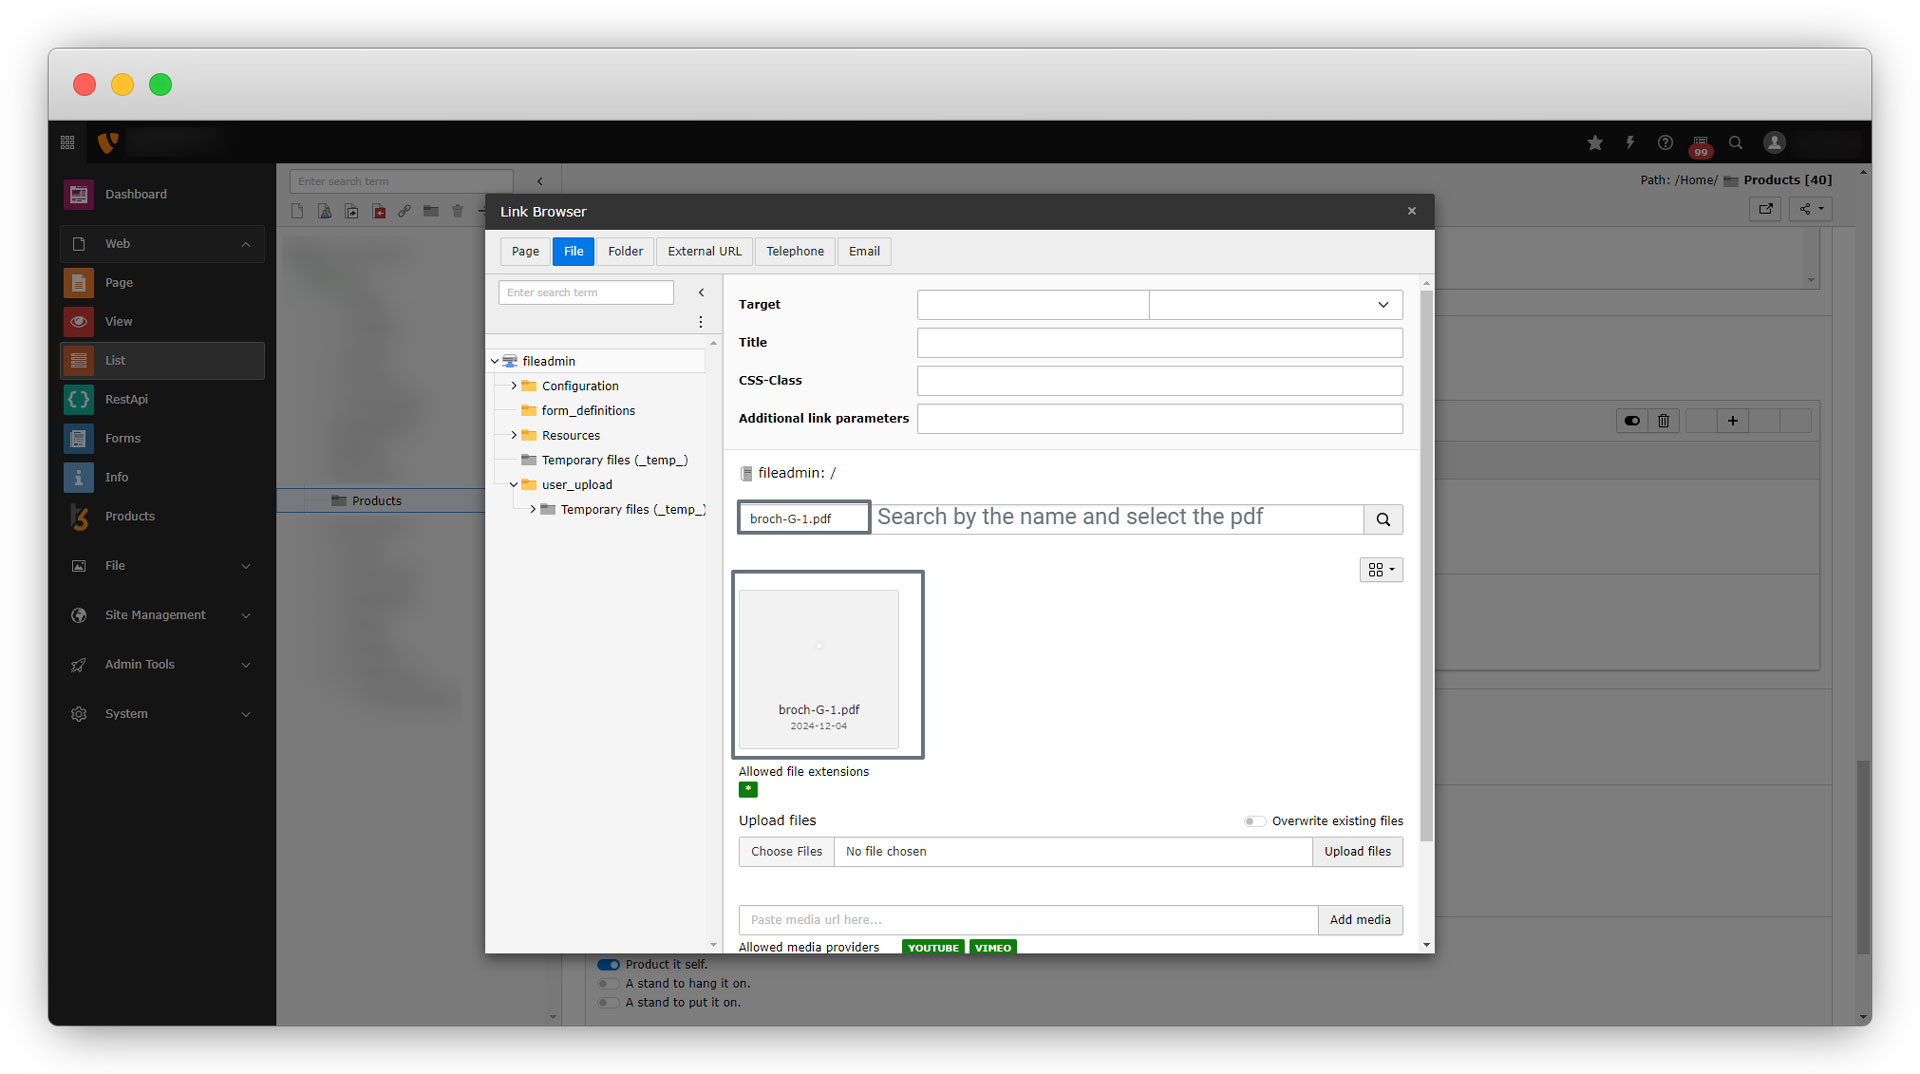
As seen in the above screenshot, select the brochure file and click on the button “Upload files”, you will see a success message once the file is uploaded. Then select that file to add it as a brochure or if you can’t see that file then use search to search that file and select.
You will see the file is added to the field after selecting it.
9.16. Launch date: Select the date. Click on the input and you will get a calendar to pick the date.
9.17. Features: Select one or multiple features. Here the selected feature is “Capacity to contain highest load”.
9.18. Product includes: Select what your product includes. Here the selected option is “Product it self”
9.19. Extra: You can select the options by clicking on the button. If the button is “Enabled” then the option is added and if the button is “Disabled” then that option is not added. Here the option is “Batteries” and we are not adding it.
9.20. Product country: Select the country of origin for the product. you will get all the countries we have added to the “Countries” folder. You can add more country options too to the “Countries” folder.
Share


