
URL copied to clipboard

Front End Plugin
5 views
__readtime__ Min
read
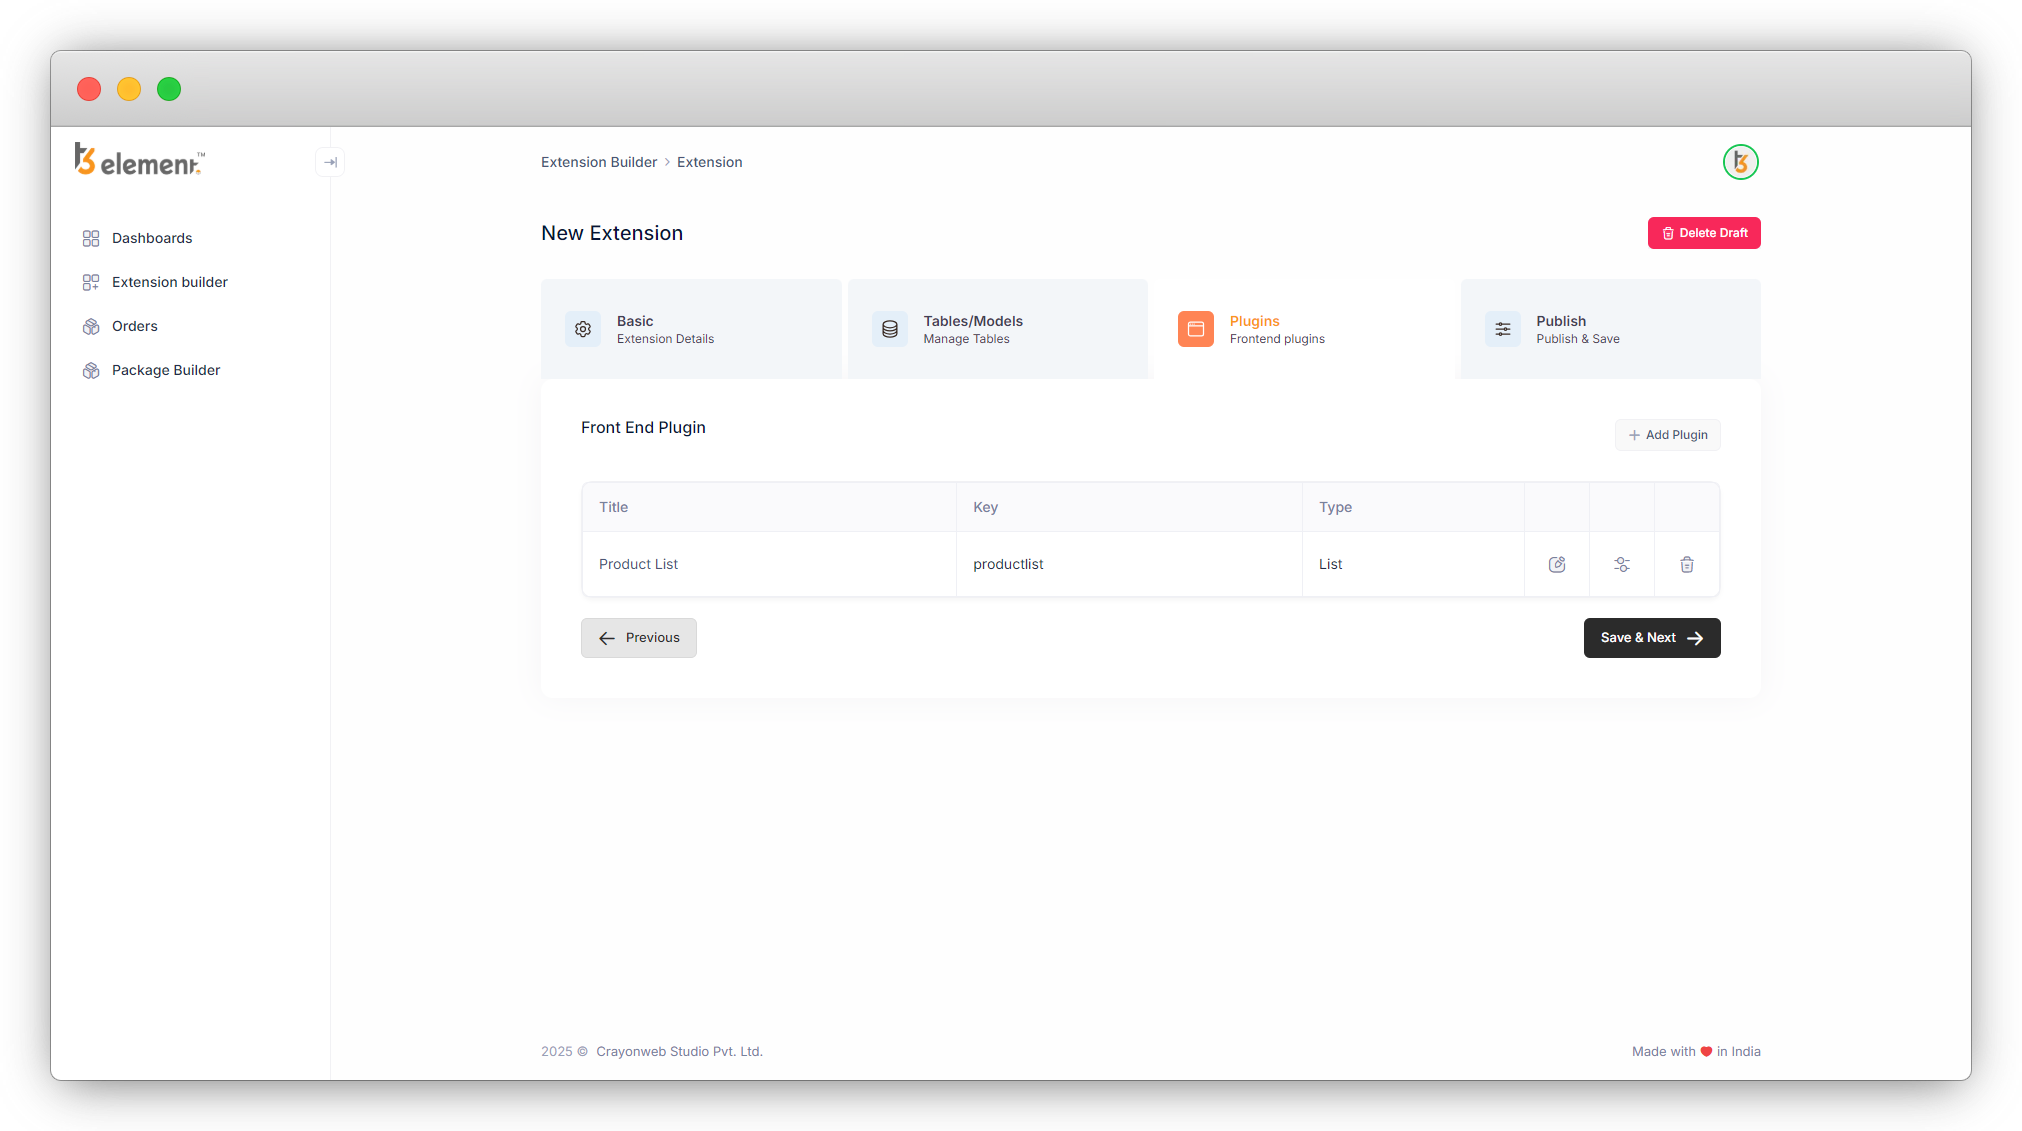
1. After creating the tables/models, you can create front-end plugins. You will see an empty list of plugins as you can see in the screenshot below:

2. To add the new plugin, click on the button “Add Plugin”, and you will see the screen for “Plugin Information” as seen in the screenshot below:
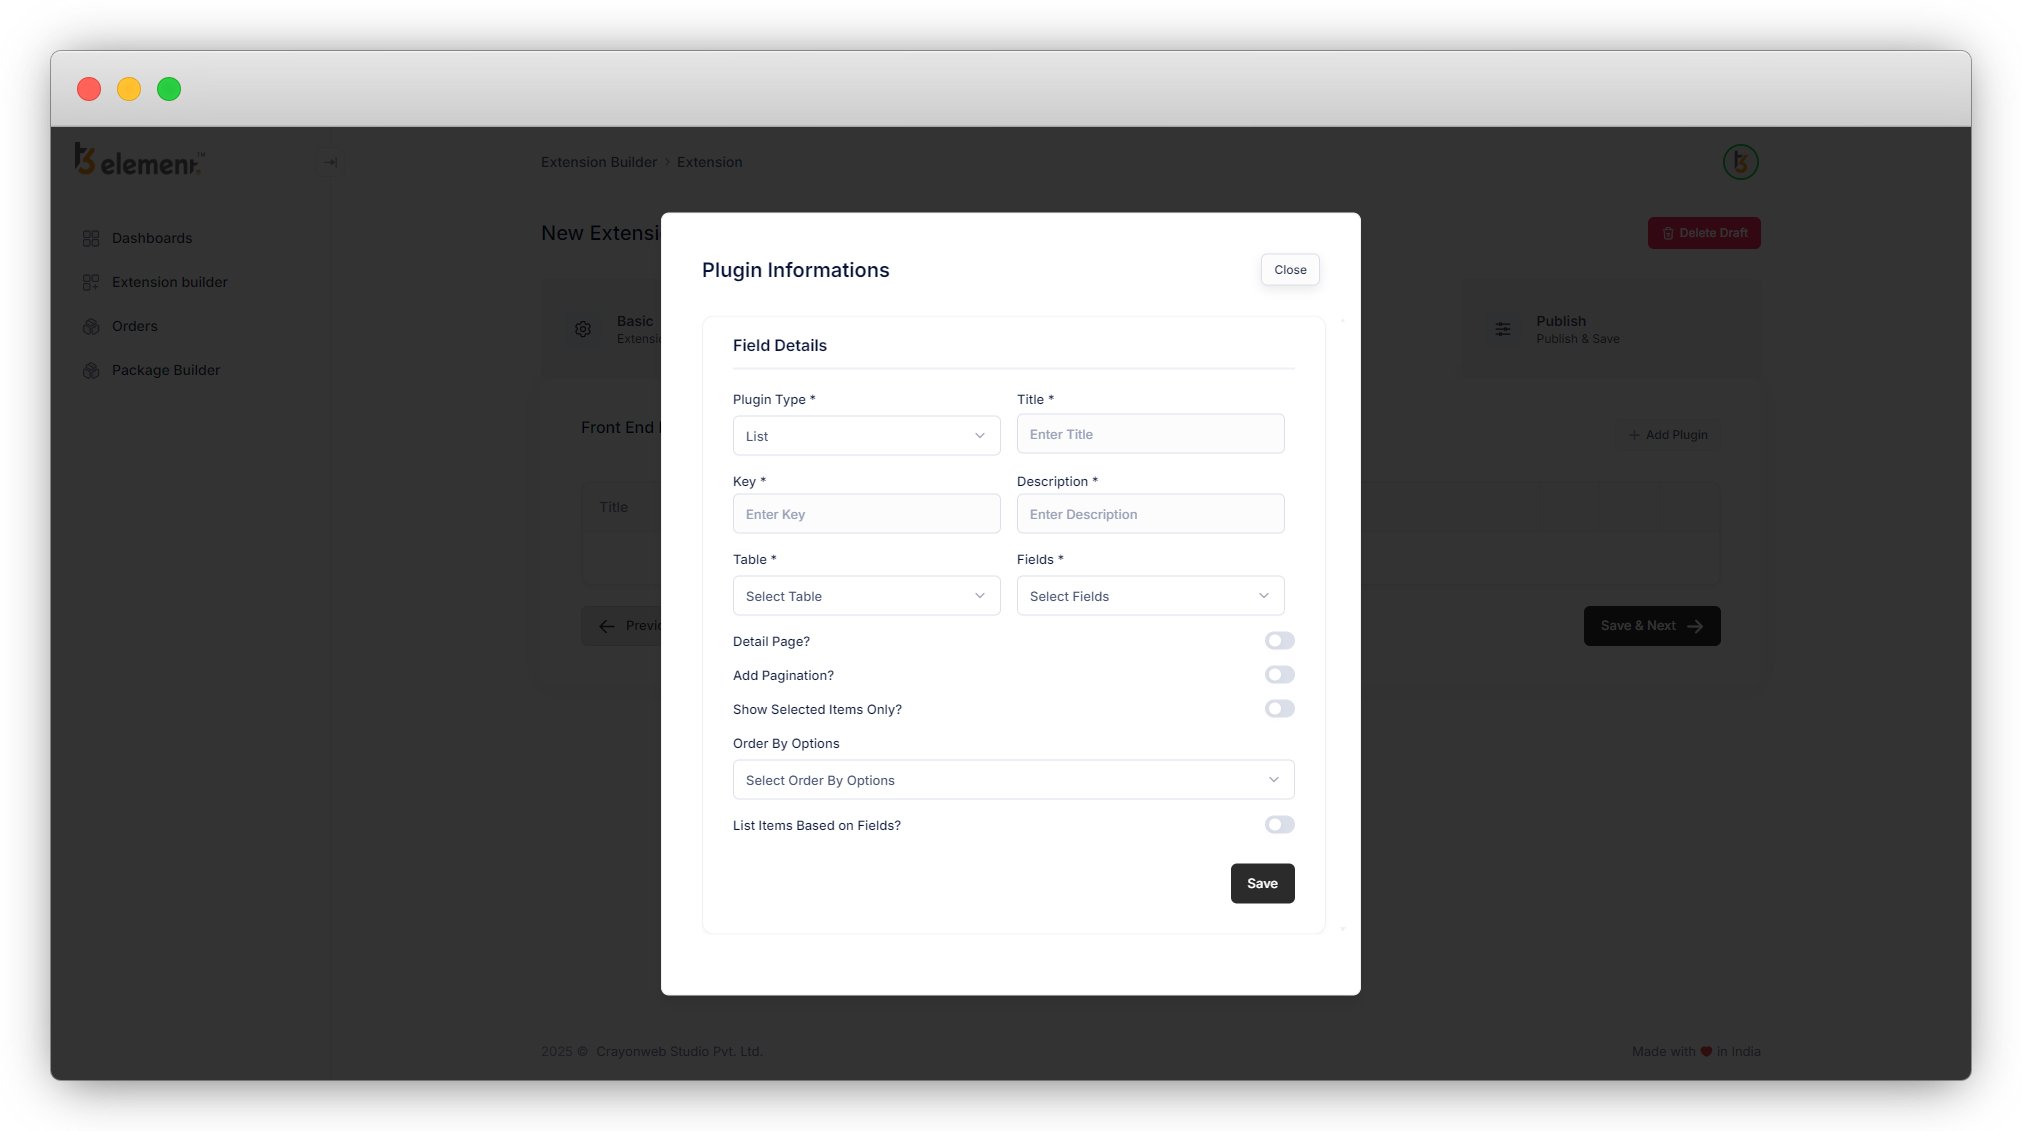
3. Fill up all the field details. There are 5 plugin types and according to the various plugin types, there are multiple possibilities for the plugin.
Let’s check each “plugin type” and the possibilities according to each of them.
Plugin Type – List
This type of plugin will create a list.
- Plugin Type: Select the Plugin Type “List”. [Required]
- Title: Add title for the plugin. [Required]
- Key: Add a key for the plugin. This will be generated automatically according to the title, later you can edit if you want to edit it but it should be unique. You can not use the same key in different plugins. [Required]
- Description: Write a description of your plugin.
- Table: Select the table from here, you want to create a list for. [Required]
- Fields: Add the fields of the selected table. Only include the fields you wish to display in a list. Suppose you are creating a list of products and you want to display the “Product Name”, “Product SKU” and “Product Category” fields in your list, then just select those 3 fields here and they will appear in your list, other fields will not be seen in the list.
- Detail Page ?: If you want a detail page for your list items then check this field. E.g. if you have blogs or products in your list, you will need a detail page for them, and in that case, you can check this field and you will be able to access the detail page. And if you want only a list of records then you can skip this field. If you check this field, other fields will appear like “Detail Slug” and “Slug Text”.
- Detail Slug: Select the field you want to generate the slug based on but to select that field, be sure that you have added the field “slug” in your table. E.g., if you are going to list the products from the table “Products”, and want to add the “Detail Slug” field, be sure that you have added the field “Slug” in your “Products” table for being able to select the slug field here.
- Slug Text: Add the text here, and by clicking on that text you will be redirected to the detail page.
- Add Pagination?: Check this checkbox if you want to add the pagination to the list.
- Show Selected Items Only?: Check this checkbox if you want to show selected items only. By using this option you will be able to select the items that you want to show in a front-end list. If you are checking this checkbox then you will not have the option of “Filterable Fields“.
- Order By Options: This field will sort the list of your records. You can select a single or multiple options from the available options. Two options are default options which are “Created At” and “Modified At”.
- Created At: This field will list the records ordered by the created date of the records.
- Modified At: This field will list the records ordered by the modified date of the records.
Other options will be added to this field according to your table field. If you have string and date fields in your table then all those string and date fields will be added here as options and you can select them to utilize.
These options will be rendered in a dropdown field in the TYPO3 setup, and you can select any one of them. Suppose you have selected 2 options “Created At” and “Modified At” at the time of creating the plugin, you will find them as drop-down options and can select any one from them (drop-down: A Drop-down field is a type of data field which provides users with a list of items, from which only one selection can be made.)
- List Items Based on Fields?: You can check the checkbox if you want to filter the list items according to any field of the table. As you check this checkbox, another dropdown field “Filterable Fields” will appear below this field.
Note here that if you check this checkbox, the field “Show Selected Items Only” will be hidden. You can not use both the fields “Show Selected Items Only” and “List Items Based on Fields” at a time.- Filterable Fields: Here you will get options from your table. To get the options here, adding the “single select” field /”radio” field/”category” field in your table is a must. You will get the “single select” field /”radio” field/”category” field here in this field as an option. You can select any of them or all of them. And when you use the plugin in the TYPO3 backend, the filter will be provided with these options, you can select any one of them and you will get the filtered list according to the field you have selected.
Plugin Type – Detail
This type of plugin will create a detail page of the particular record.
- Plugin Type: Select the Plugin Type “Detail”. [Required]
- Title: Add the title for the plugin. [Required]
- Key: Add a key for the plugin. This will be generated automatically according to the title, you can edit the key later if you want to edit it but it should be unique. You can not use the same key in different plugins. [Required]
- Description: Write a description of your plugin.
- Table: The table you wish to create the detail page for the records of should be the one you select from this list. [Required]
- Fields: Select the fields of the selected table that you want to show on your detail page, only those selected fields will be added to the detail page. Suppose you are creating a detail page of a product and you want the “Product Name”, “Product SKU”, “Product Category”, “Product Short Description”, “Product Description”, and “Product Price”, then just select those fields only and they will appear in the detail page, other fields will be eliminated from the detail page.
- Display back button?: Check this checkbox if you want to add the back button to the detail page, you will be redirected to the list page after clicking on the “Back” button. If you check this option, you will get an option in your TYPO3 backend to add the label for the “Back” button after installing the extension in the TYPO3 setup. Default the back button’s text is “Back to List”.
- Only show selected item?: This option allows you to get a detail page of any record to render as a normal page. E.g if you want to show a product detail page content of any product XYZ as normal page content, you can do that by just checking this option.
- Check this checkbox, and in the TYPO3 setup when you will add the detail plugin in any page, you will have the option to select a record.
- Select the record you want to show the detail of that record on that page.
- Save the page and view the webpage. you will see the content of the detail page of the selected record.
- If you are using this option, the plugin should be a separate detail plugin from the detail plugin you want for the item’s detail page from the list.
Plugin Type – Filter
You can create a filter by creating this plugin.
- Plugin Type: Select the Plugin Type “Filter”. [Required]
- Title: Add the title for the plugin. [Required]
- Key: Add a key for the plugin. This will be generated automatically according to the title, you can edit the key later if you want to edit it but it should be unique. You can not use the same key in different plugins. [Required]
- Description: Write a description of your plugin.
- Table: The table you wish to create the filter for the records of should be the one you select from this list. [Required]
- Filterable Fields: Here you will get options from your table. To get the options here, it is a must to add the “single select” field and/or “radio” field and/or “category” field in your table. You will get the “single select” and/or “radio” and/or “category” fields from your table to here in this field as options. Select the fields you want to create a filter for. Suppose you want to create a filter on products based on the product size and product type then you can select both fields here.
Note: To get the result for your filter in the front-end you must create a plugin with the plugin type “Filter Result”.
Plugin Type – Filter result
You can get the filter result by using this plugin.
- Plugin Type: Select the Plugin Type “Filter Result”. [Required]
- Title: Add the title for the plugin. [Required]
- Key: Add a key for the plugin. This will be generated automatically according to the title, you can edit the key later if you want to edit it but it should be unique. You can not use the same key in different plugins. [Required]
- Description: Write a description of your plugin.
- Table: The table you wish to obtain the filter result for the records, should be the one you select from this list. [Required]
- Fields: Add the fields of the selected table. Only include the fields you wish to display in a filter result.
- Detail Page?: If you want to open the detail page of your records when they appear as a filter result, check this checkbox.
- When you check this field, other fields will appear like “Detail Slug” and “Slug Text”.
- Detail Slug: Select the field you want to generate the slug based on but to select that field, be sure that you have added the field “slug” in your table.
- Slug Text: Add the text here, and by clicking on that text you will be redirected to the detail page of that record.
- Add pagination: Check this checkbox if you want to add the pagination for the filter result.
- Order by options: This field will provide sorting for the list of your records. You can select a single or multiple options from the available options. In your TYPO3 setup, you will get those options in a dropdown and you will be able to select any one option from that dropdown and the records will be sorted according to that selected option. Two options are default options which are “Created At” and “Modified At”.
- Created At: This field will list the records ordered by the created date of the records.
- Modified At: This field will list the records ordered by the modified date of the records.
Other options will be added to this field according to your table field. If you have string and date fields in your table then all those string and date fields will be added here as options and you can select them to utilize them.
These options will be rendered in a dropdown field in the TYPO3 setup, and you can select any one of them. Suppose you have selected 2 options “Created At” and “Modified At” at the time of creating the plugin, you will find them as drop-down options and can select any one from them (drop-down: A Drop-down field is a type of data field which provides users with a list of items, from which only one selection can be made.)
- Filterable Fields: Be sure about the field selection here. It is mandatory to select the fields that are selected in the plugin type “Filter”. If any mismatch is found for this field, between the plugin type “Filter” and “Filter Result”, then you will not get the proper filter result.
Plugin Type – Form
To create a form, you can use this plugin. This plugin will allow you to create a form with the fields of any existing table.
- Plugin Type: Select the Plugin Type “Form”. [Required]
- Title: Add the title for the plugin. [Required]
- Key: Add a key for the plugin. This will be generated automatically according to the title, you can edit the key later if you want to edit it but it should be unique. You can not use the same key in different plugins. [Required]
- Description: Write a description of your plugin.
- Table: You should choose the table from this list for which you wish to create a form. [Required]
- Fields: Select the fields of the table you want to include in the form.
4. Once you fill up all the details for the plugin and click on the “Save” button, you will be redirected to the list of plugins, here the plugin will be seen in the list, and at the far right three icons will appear as you can see in the below screenshot:
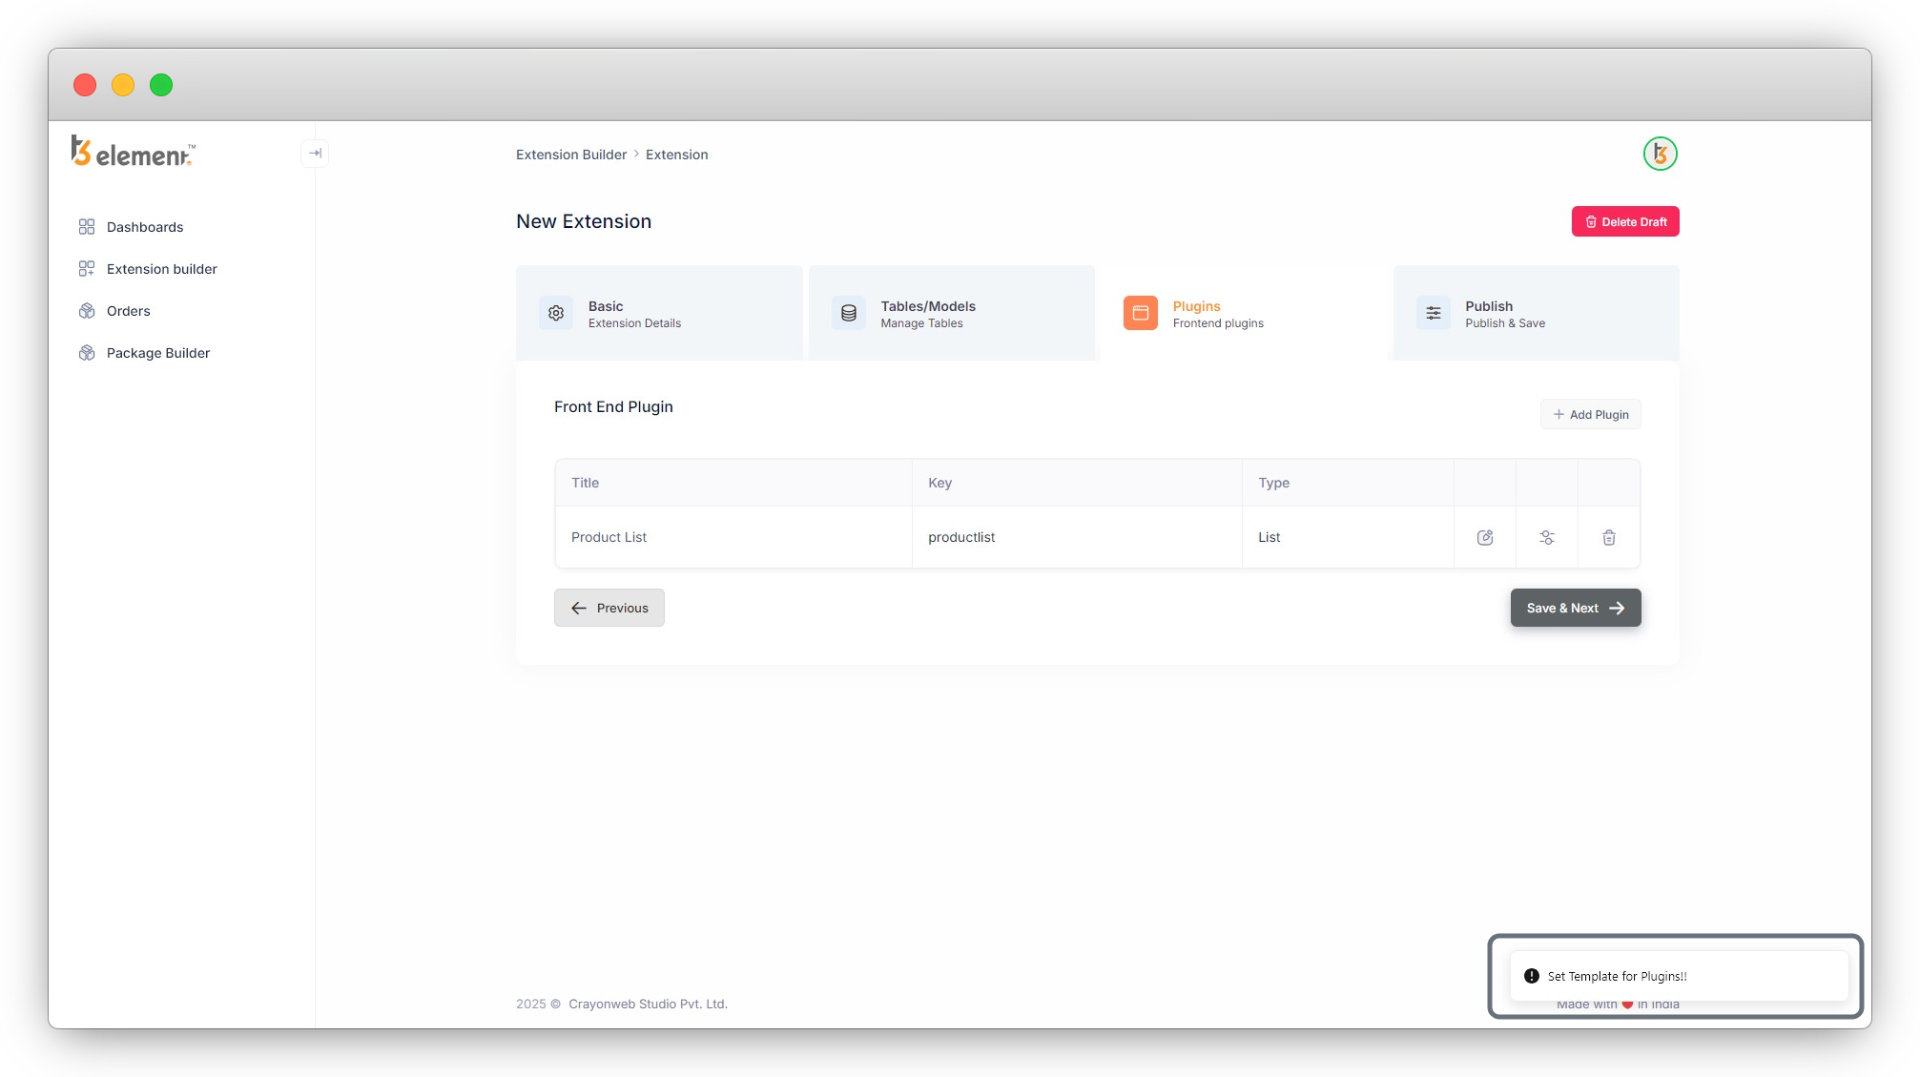
If you click on the “Save & Next” button to save the plugin, you will get the message of “Set template for plugins!!” as you can see in the below screenshot:
So before saving the plugin, you need to click on the second icon to open the plugin template and the below screen will be seen, just click on the “Save” button and the template will be saved.
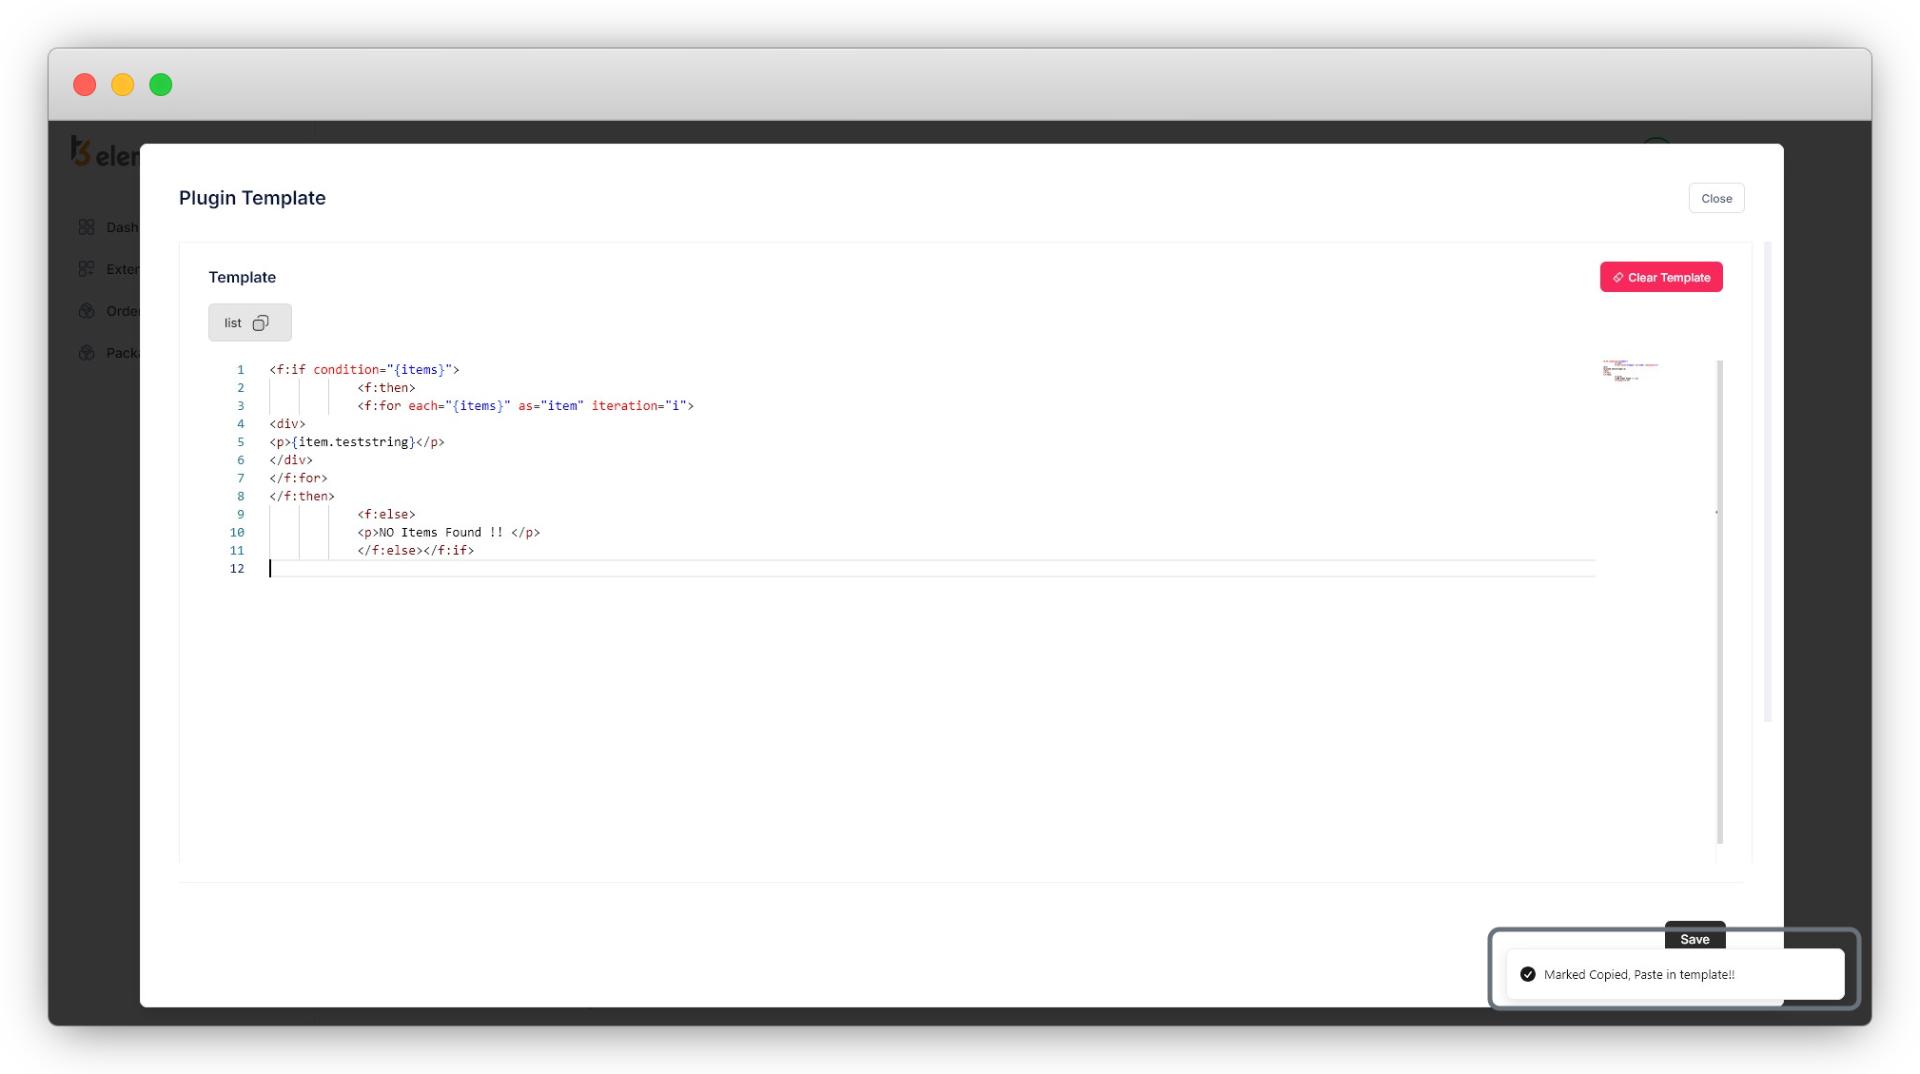
You can make changes to the template anytime as per your requirements. As you save the plugin, you will be redirected to the plugin list again, and get message “Plugin Template Save!!”.
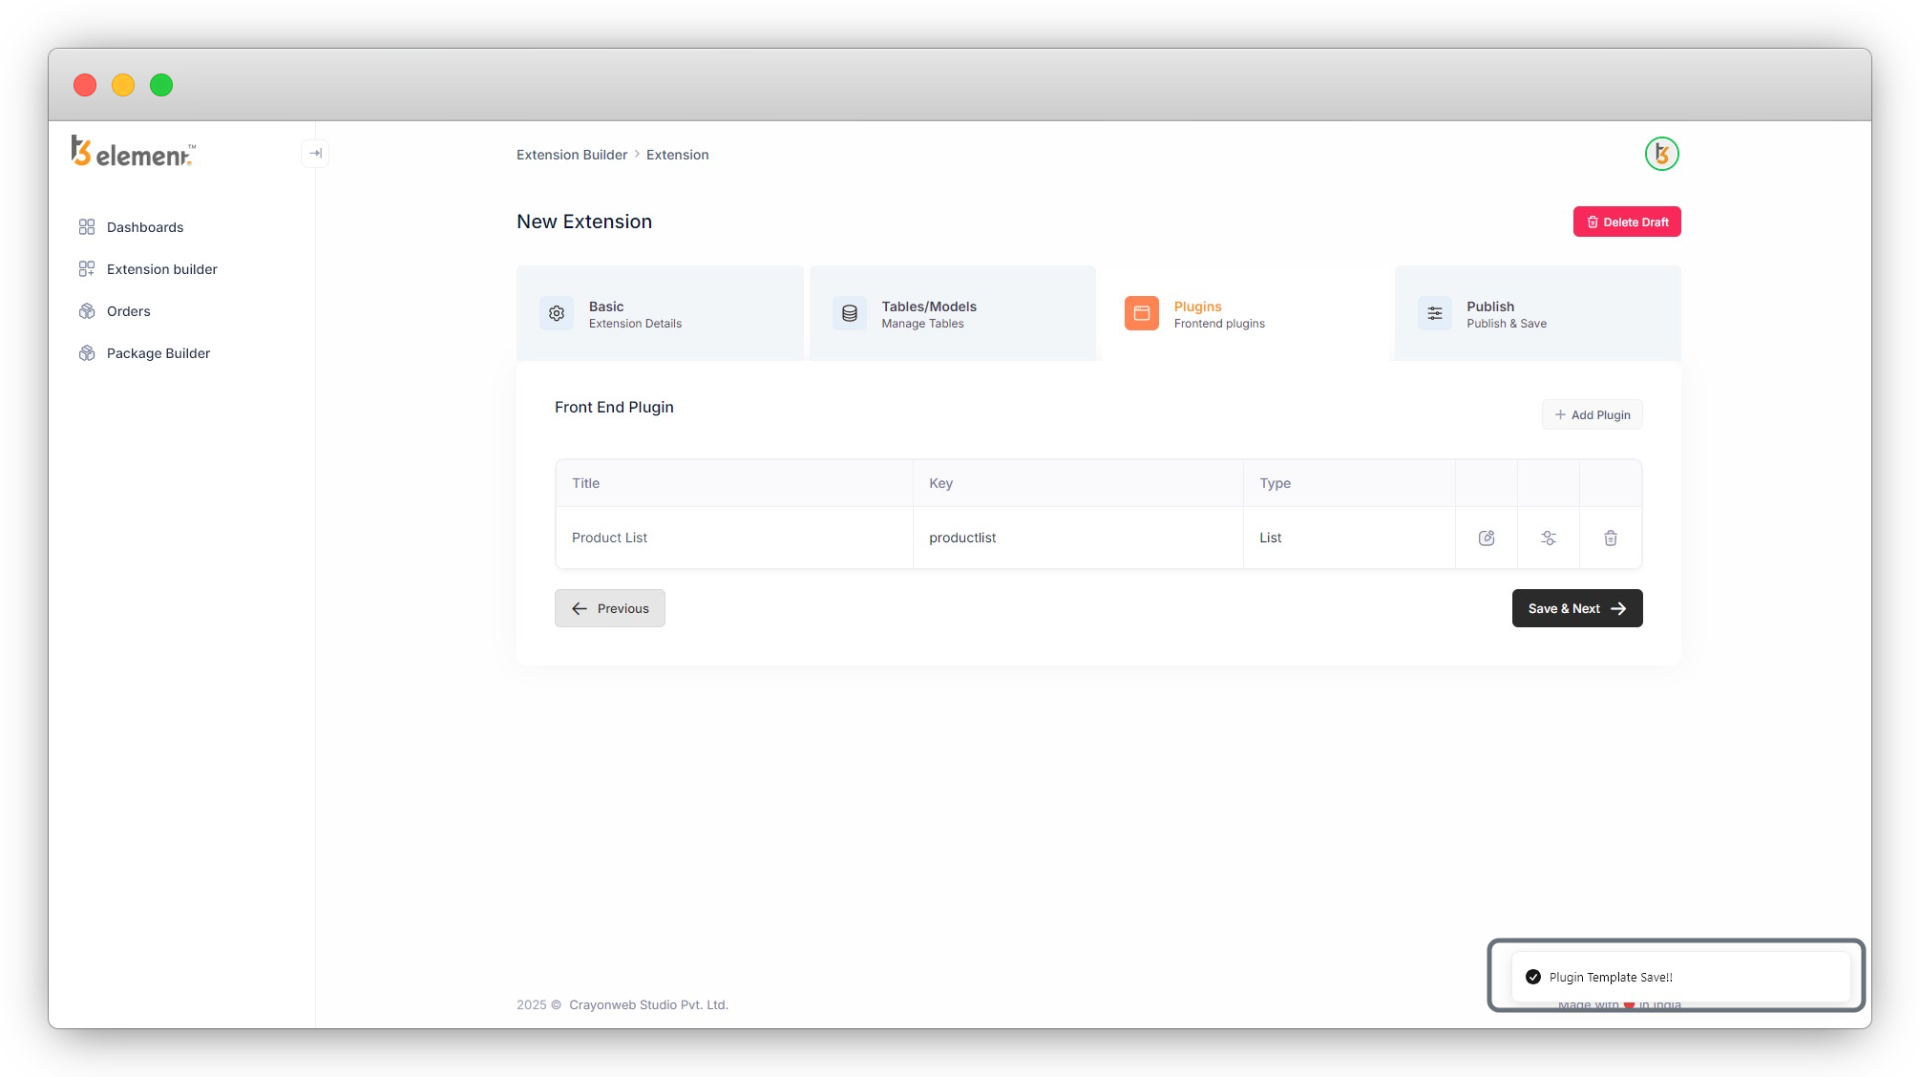
Now you can save the plugin by clicking the “Save & Next” button, but before saving the plugin, let’s understand all the three action icons of plugins which are “Edit”, “Template” and “Delete”.
4.1. Edit Icon: Edit the plugin details by clicking this icon.
- You can edit any of the plugin details from here. Click on the edit icon, the very first action icon and you will see all the plugin details you have filled up when creating the plugin. Update any detail you want and click the “Save” button.
4.2. Template Icon: Here you will get the template code according to the plugin you have created. Each plugin you create will have its own template code according to the plugin type, the table, and the fields of the table you have selected, and it also depends on the other fields like “Add pagination”.
Templating is the essential part of the plugin, it will decide the structure for your plugin. You can manipulate the template code according to your requirements. Also, you can remove the code completely by using the button “Clear Template”. We will see all the utilities in the example.
There are 2 parts of the templating here. i ) Template ii ) Markers. Below is the explanation of these 2 parts. Also, you can check the example to understand this in detail.
- Template:
- Click on the second action icon to edit the template, and you will see a screen with markers and a fluid template. If you want to manipulate/edit the template, be sure that you know the TYPO3 fluid template (ref. link: https://docs.typo3.org/other/typo3/view-helper-reference/main/en-us/)
- After manipulating the template click on the save button and the template will be saved.
- Markers:
- Markers are created for user convenience.
- You can copy the original code (before manipulating the template) by just clicking the marker and pasting the code if you want the original code of the plugin.
- You can have multiple markers according to the options you have selected for that plugin.
Note here that if you are making any changes in the table field or in the plugin, you will have to update the template accordingly. As you make changes in the plugin or in any table fields, you will get the code with those changes into the markers in the template, so just clear the existing template code, copy the markers, and paste the code that’s it.
4.3. Delete Icon: Delete the plugin by clicking this icon.
- You can delete the plugin if you don’t find it useful. After deleting the plugin, you will not be able to restore that plugin, so think twice before deleting the plugin.
4.4. As you click on the “Save & Next” button in the plugin list, the backend module tab will open as seen in the screenshot below:
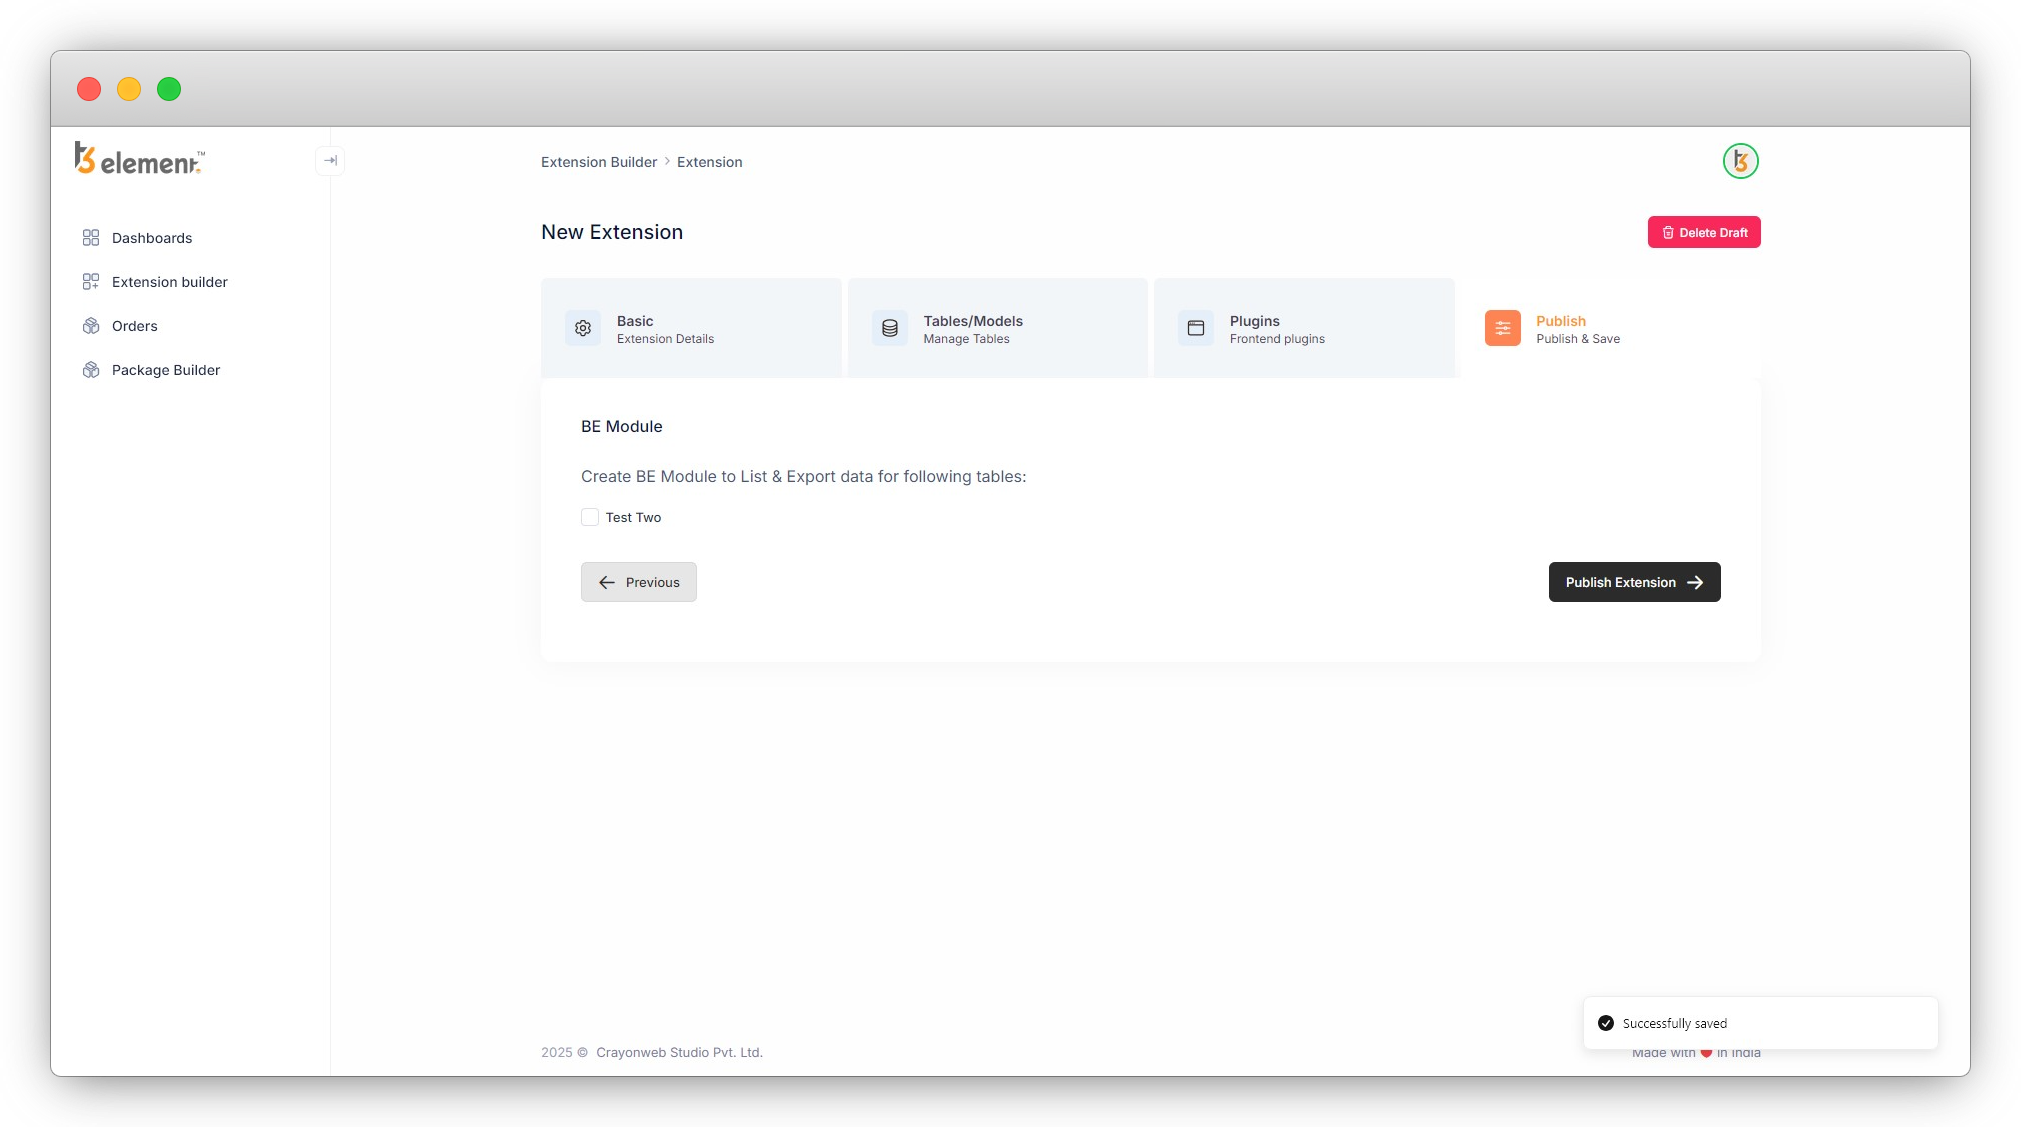
Let’s understand the backend module in detail.
Share


